在React中使用个性化SVG图标
前段时间和大家一起探讨了在React框架体系下如何使用SVG和 构建SVG图标系统。不管是引入.svg文件当作React组件,还是通过工程能力将.svg文件转换成React组件,它们之间都有一定的共性,比如说无法修改SVG部分的外观特性等。但在SVG的内联使用中,我们是可以通过CSS的特性或调整SVG元素标签的属性,可以自定义SVG外观,甚至还可以添加动效。因此,今天想和大家探讨如何在React中使用自定义(个性化)的SVG。
构建个性化SVG
如果你对SVG有所了解的话,应该知道在SVG中很多地方和HTML非常的相似,比如说,在<svg>元素中可以包含一个子元素或多个子元素,以及单个或多个后代元素。即使是同一个SVG图标,也存在这样的场景。比如说一个关闭图标:
如果使用Sketch构建这个图标的话,有可能是两个<line>元素组合在一起构建出来:
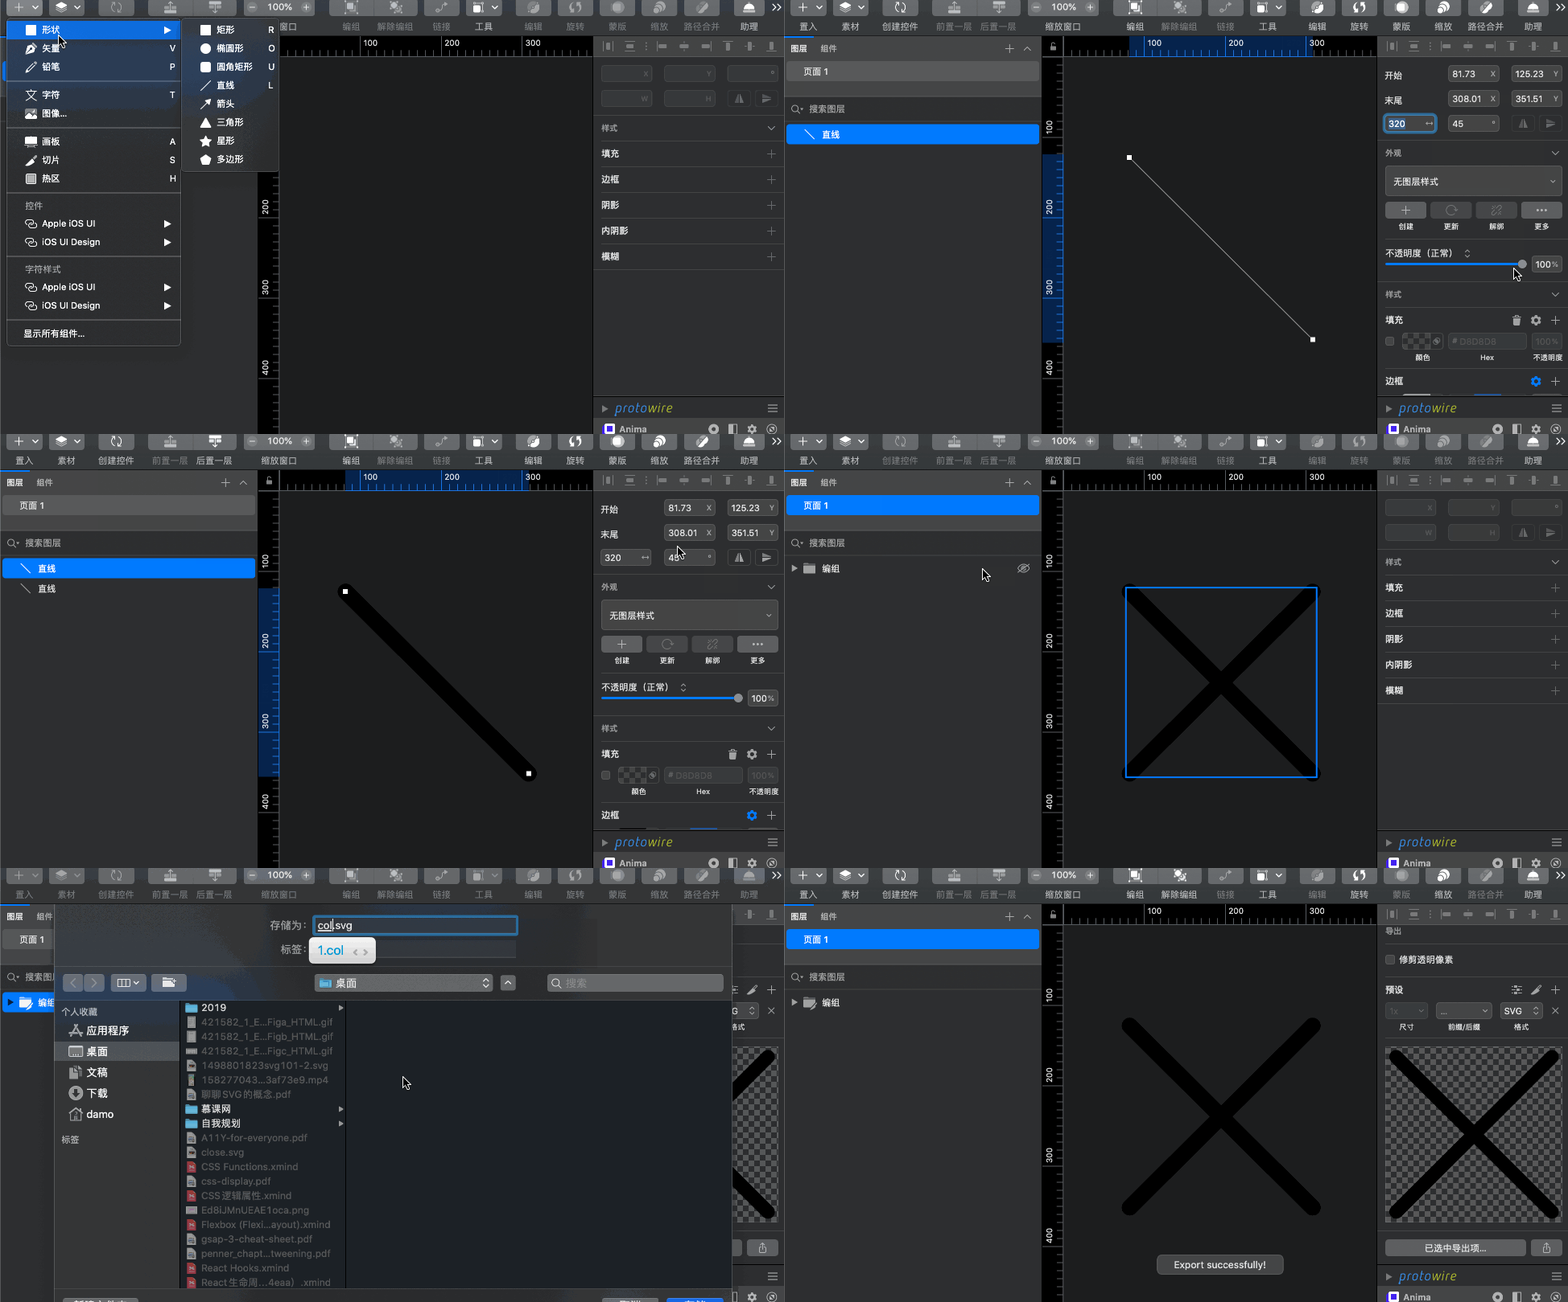
Sketch直接导出来的SVG代码中会有部分垃圾代码,但我们可以使用SVGO对其进行优化:
<!-- 优化前的代码 -->
<?xml version="1.0" encoding="UTF-8"?>
<svg width="257px" height="257px" viewBox="0 0 257 257" version="1.1" xmlns="http://www.w3.org/2000/svg" xmlns:xlink="http://www.w3.org/1999/xlink">
    <title>编组</title>
    <g id="页面-1" stroke="none" stroke-width="1" fill="none" fill-rule="evenodd" stroke-linecap="round">
        <g id="编组" transform="translate(10.899600, 10.107908)" stroke="#000000" stroke-width="20">
            <line x1="7" y1="3" x2="228.941775" y2="233.525158" id="直线" transform="translate(117.970887, 118.262579) rotate(-1.086781) translate(-117.970887, -118.262579) "></line>
            <line x1="7" y1="3" x2="228.941775" y2="233.525158" id="直线" transform="translate(117.970887, 118.262579) rotate(88.913219) translate(-117.970887, -118.262579) "></line>
        </g>
    </g>
</svg>

<!-- 优化后的代码 -->
<svg xmlns="http://www.w3.org/2000/svg" width="257" height="257" viewBox="0 0 257 257">
    <g fill="none" fill-rule="evenodd" stroke="#000" stroke-linecap="round" stroke-width="20" transform="translate(10.9 10.108)">
        <line x1="7" x2="228.942" y1="3" y2="233.525" transform="rotate(-1.087 117.97 118.263)"/>
        <line x1="7" x2="228.942" y1="3" y2="233.525" transform="rotate(88.913 117.97 118.263)"/>
    </g>
</svg>
你可能已经看到了,这个<svg>元素中有两个<line>元素构建了关闭图标。
我们再来看另一种构建这个关闭按钮的方式,和上面唯一不同的方式就是**使用路径(<path>)**来绘制:
<svg xmlns="http://www.w3.org/2000/svg" width="200" height="200" class="icon" viewBox="0 0 1024 1024">
    <defs><style/></defs>
    <path d="M925.468404 822.294069 622.19831 512.00614l303.311027-310.331931c34.682917-27.842115 38.299281-75.80243 8.121981-107.216907-30.135344-31.369452-82.733283-34.259268-117.408013-6.463202L512.000512 399.25724 207.776695 87.993077c-34.675754-27.796066-87.272669-24.90625-117.408013 6.463202-30.178323 31.414477-26.560936 79.375815 8.121981 107.216907l303.311027 310.331931L98.531596 822.294069c-34.724873 27.820626-38.341237 75.846432-8.117888 107.195418 30.135344 31.43699 82.72919 34.326806 117.408013 6.485715l304.178791-311.219137 304.177767 311.219137c34.678824 27.841092 87.271646 24.951275 117.408013-6.485715C963.808618 898.140501 960.146205 850.113671 925.468404 822.294069z"/>
</svg>
虽然两种不同的方式构建出一个相同的关闭图标,但是两者之间还是有着很大的差异性。比如说,这个关闭图标两条直线希望不同的颜色,那么只有第一种方式才能实现,只需要给两个<line>的stroke设置不同的颜色:
<line stroke="red" x1="7" x2="228.942" y1="3" y2="233.525" transform="rotate(-1.087 117.97 118.263)"/>
<line stroke="orange" x1="7" x2="228.942" y1="3" y2="233.525" transform="rotate(88.913 117.97 118.263)"/>
这个时候效果如下:
但对于使用第二种方式构建的SVG图形,要实现这样的效果是不可能的。
另外,通过多个元素来SVG图形,并且希望不同的SVG元素具有个性化特性,即简称 自定义SVG图形。这种SVG图形的使用场景也越来越广泛,比如现在比较流行的SVG插画,就可以采用这种方式来构建:
如果你对SVG构建基本图形方面的知识感兴趣的话,可以花点时间阅读《通过Sketch设计软件学习SVG基础知识》和《How to Simplify SVG Code Using Basic Shapes》。
SVG动效
时至今日,Web动效在Web应用的开发中非常常见,而Web动效的开发方式也在不断的变革,比如:
- 早期的
.gif图,实现帧率变换的动效以及现代的.apng图替代.gif图动效 - CSS的
animation的帧动效 - JavaScript的动效
其实在SVG的世界中,动效也是SVG的特性之一。而且在SVG制作动效的方式也有很多种。
.svg文件自身就具备动效
不管是早期的.gif文件,还是近年出现的.apng文件,都是以文件格式来描述动效的一种方式:
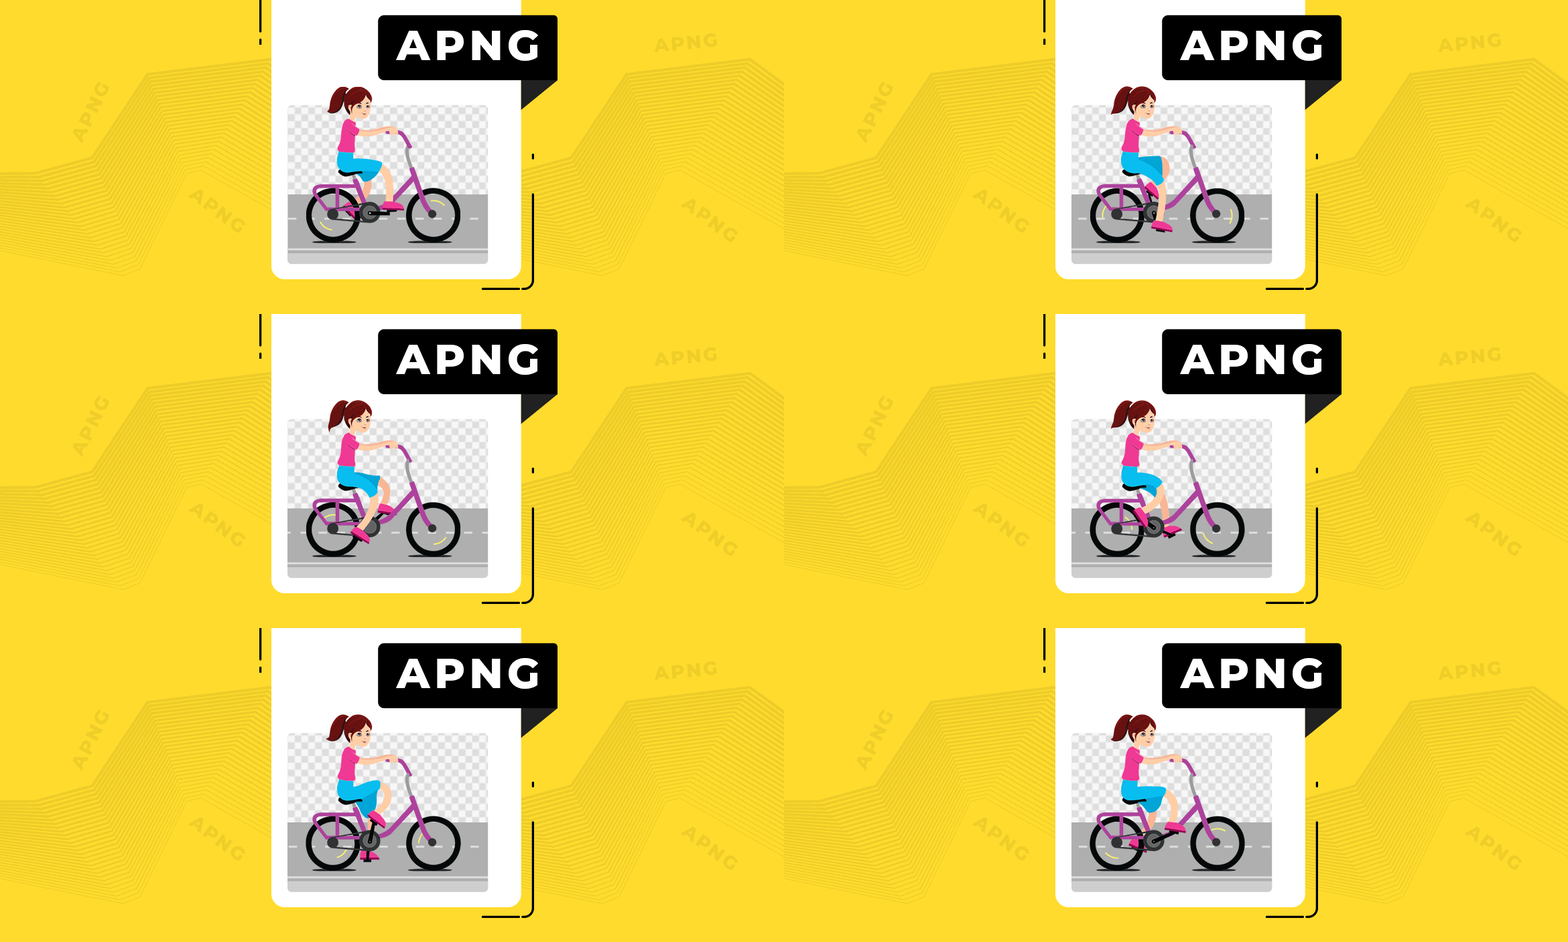
其实,在SVG的世界中,.svg文件也可以类似于.gif(或.apng)文件格式类似,用文件方式来描述动画效果,比如:
如果我们有一个类似上图的.svg文件,不管是在HTML的<img>还是在CSS的background-image中引入该.svg文件,都将会具有动画效果(有点类似于.gif文件):
<!-- HTML -->
<img src="path/svg__animation.svg" alt="">

/* CSS */
.box {
    width: 30vmin;
    height: 30vmin;
    max-width: 400px;
    max-height: 400px;
    border: 1px solid black;
    box-shadow: 0 0 10px rgba(0,0,0,0.2);
    background: url(path/svg__animation.svg);
}
如果你将上面示例中引用的.svg文件下载到本地,并且用文本编辑器打开该文件,你可以看到对应的SVG代码如下所示:
<!-- .svg文件对应的SVG代码 -->
<svg viewBox="0 0 100 100" xmlns="http://www.w3.org/2000/svg">
    <style>
        circle {
            animation: bounce 2s infinite ease-in-out alternate;
            transform-origin: 50px 50px;
        }
        @keyframes bounce {
            to {
                transform: scale(0);
            }
        }
    </style>
    <circle cx="50" cy="50" r="25" />
</svg>
从代码中不难发现,虽然是.svg格式的文件,但在该文件对应的SVG代码中有我们熟悉的CSS Animation的身影。
CSS animation实现SVG动效
上面的示例告诉我们,在<svg>中我们可以通过内联<style>的方式引入CSS的animation特性,让SVG动起来。

简单地说,如果想通过animation来控制<svg>中的某个元素(比如某个<path>元素)动起来,就需要用多个元素来构建一个SVG图形,比如下面这个效果:
上面的SVG图标对应的SVG代码如下:
<svg id="my-icon" xmlns="http://www.w3.org/2000/svg" viewBox="0 0 290 290">
    <title>SVG Animation with CSS Animation</title>
    <circle id="circle" cx="145" cy="145" r="124.67" style="fill: none;stroke: #444;stroke-miterlimit: 10;stroke-width: 20px"/>
    <polyline id="checkmark" points="88.75 148.26 124.09 183.6 201.37 106.32" style="fill: none;stroke: #444;stroke-linecap: round;stroke-linejoin: round;stroke-width: 25px"/>
</svg>
正如上面的代码所示,我们可以在对应的<cirle>和<polyline>元素上显式的设置class或id,然后将<style>内联到<svg>中(有点类似于将<style>放置在HTML的<head>中),并且借且CSS的animation能力(@keyframes定义的动效)让SVG动起来。
<!-- SVG Code -->
<svg id="my-icon" xmlns="http://www.w3.org/2000/svg" viewBox="0 0 290 290">
    <title>SVG Animation with CSS Animation</title>
    <style>
        #circle {
            opacity: 0;
            transform: scale(0.9);
            transform-origin: center;
            animation: circle-animation 0.5s ease-out forwards;
        }

        #checkmark {
            stroke-dasharray: 400;
            stroke-dashoffset: 400;
            transform-origin: center;
            stroke: #cfd8dc;
            animation: checkmark-animation 1s ease-out forwards;
            animation-delay: 0.25s;
        }

        @keyframes circle-animation {
            100% {
                opacity: 1;
                transform: scale(1);
            }
        }

        @keyframes checkmark-animation {
            40% {
                transform: scale(1);
            }

            55% {
                transform: scale(1.2);
            }

            70% {
                transform: scale(1);
            }

            100% {
                stroke-dashoffset: 0;
                transform: scale(1);
            }
        }
    </style>
    <circle id="circle" cx="145" cy="145" r="124.67" style="fill: none;stroke: #444;stroke-miterlimit: 10;stroke-width: 20px" />
    <polyline id="checkmark" points="88.75 148.26 124.09 183.6 201.37 106.32" style="fill: none;stroke: #444;stroke-linecap: round;stroke-linejoin: round;stroke-width: 25px" />
</svg>
这个时候SVG就动起来了:

事实上,SVG和CSS可以很完美的结合在一起。换句话说,上面示例中放置在<svg>中的内联样式<style>也可以单独的放置在.css文件中。比如说,我们可以在CSS中对SVG元素的一些属性设置样式:
<!-- SVG Code -->
<svg xmlns="http://www.w3.org/2000/svg" viewBox="0 0 290 290">
    <circle id="circle" cx="145" cy="145" r="124.67" />
    <polyline id="checkmark" points="88.75 148.26 124.09 183.6 201.37 106.32" />
</svg>

/* CSS */
#circle {
    stroke: #90f;
    fill: #ddfc90;
    stroke-width: 20px;
    stroke-miterlimit: 10;
}

#checkmark {
    stroke: #90f;
    stroke-linecap: round;
    stroke-linejoin: round;
    stroke-width: 25px;
    fill: none;
}
这个时候你看到的SVG图标像下面这样:
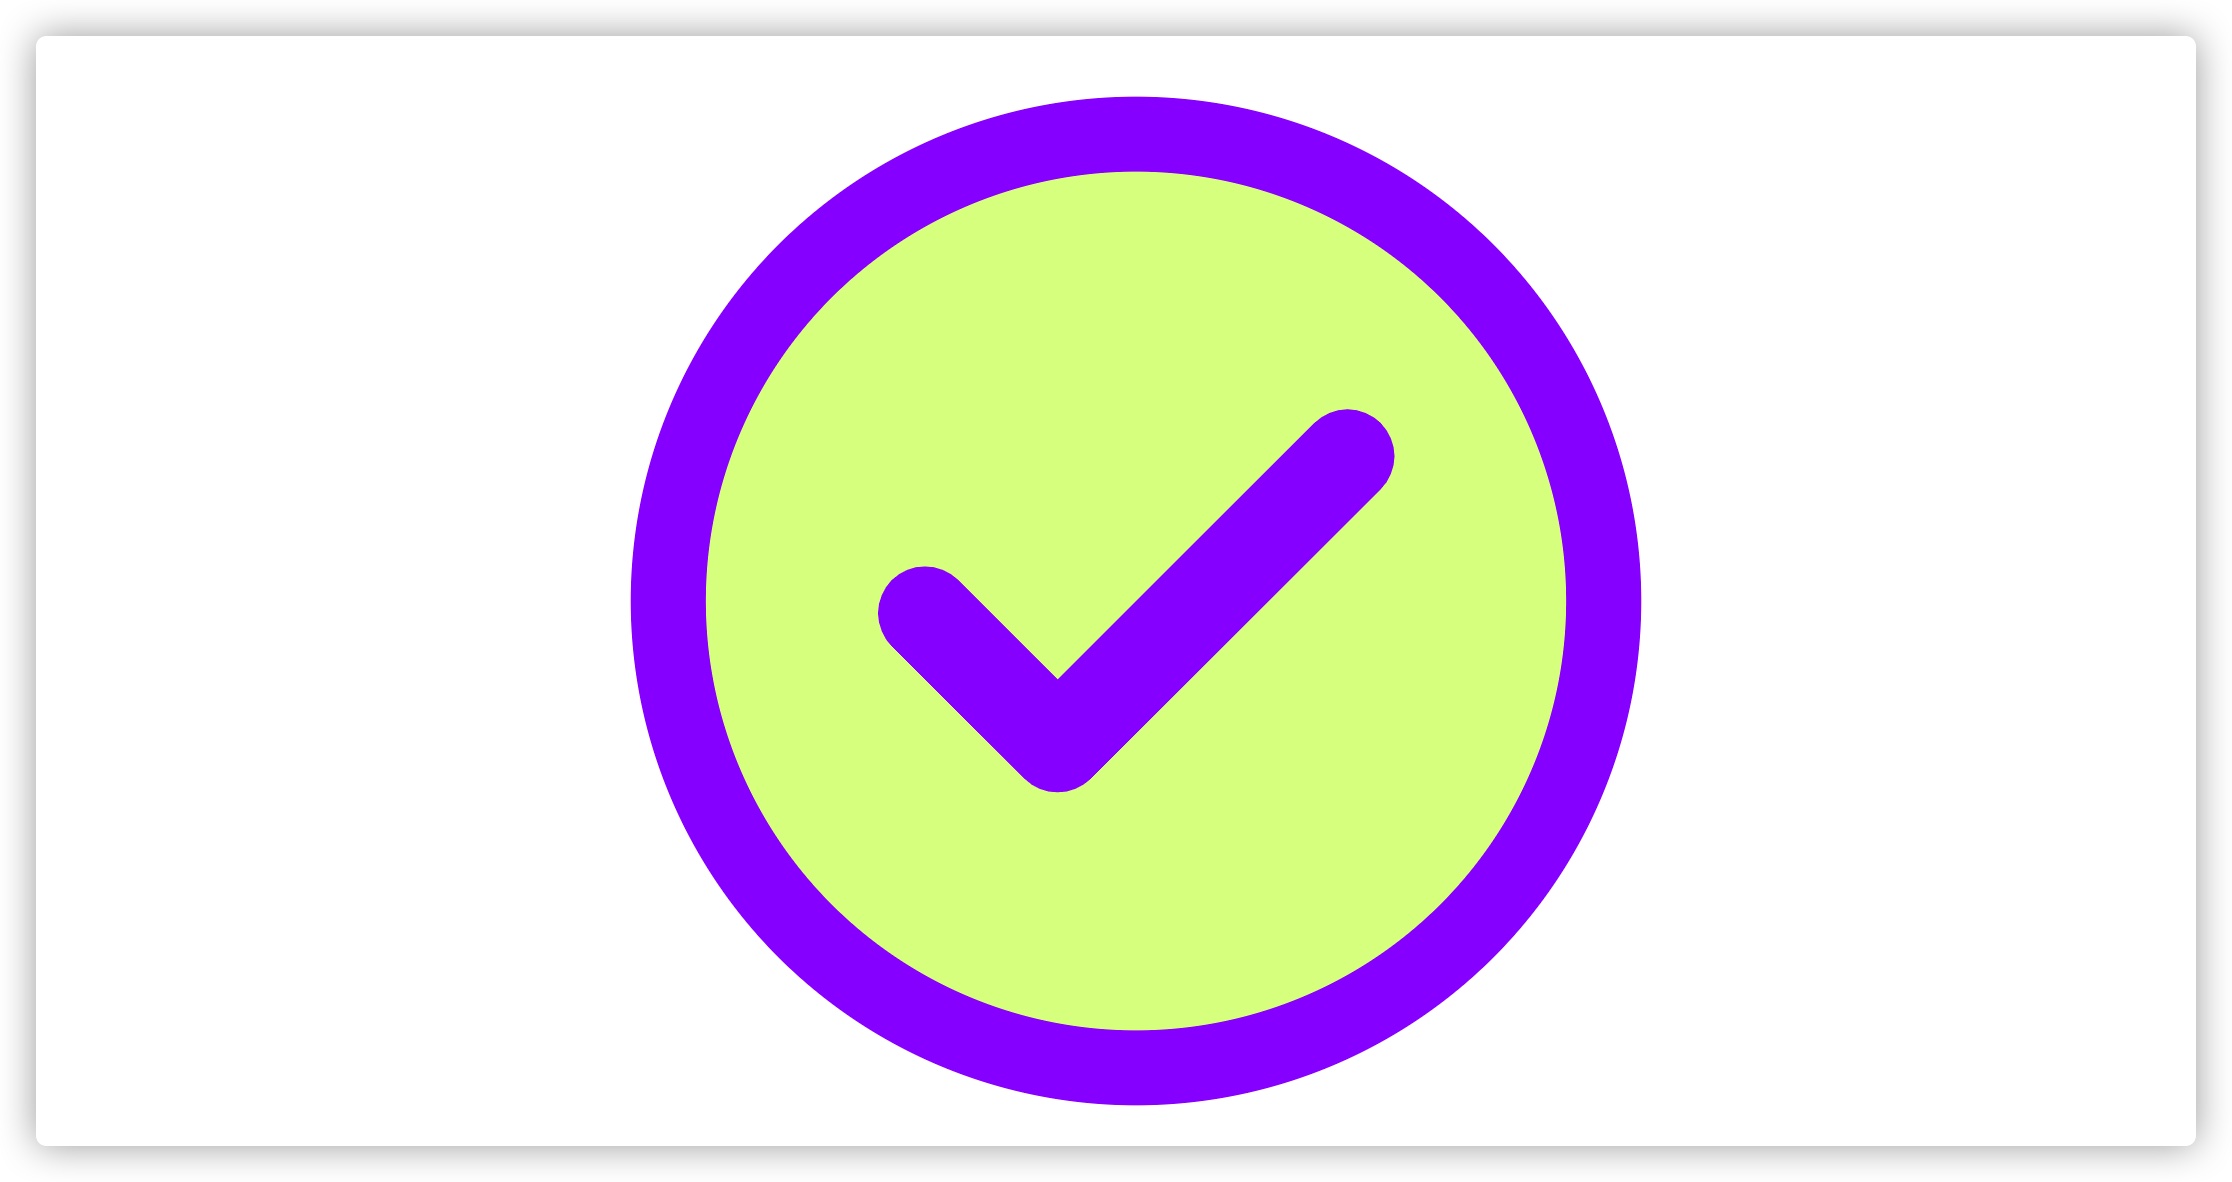
如果在CSS中添加动效相关的代码:
#circle {
    opacity: 0;
    transform: scale(0.9);
    transform-origin: center;
    animation: circle-animation 0.5s ease-out forwards;
}

#checkmark {
    stroke-dasharray: 400;
    stroke-dashoffset: 400;
    transform-origin: center;
    animation: checkmark-animation 1s ease-out forwards;
    animation-delay: 0.25s;
}

@keyframes circle-animation {
    100% {
        opacity: 1;
        transform: scale(1);
    }
}

@keyframes checkmark-animation {
    40% {
        transform: scale(1);
    }

    55% {
        transform: scale(1.2);
    }

    70% {
        transform: scale(1);
    }

    100% {
        stroke-dashoffset: 0;
        transform: scale(1);
    }
}

是不是很简单。其实在SVG中,这样的动画效果也被称为是路径动效,简单地说,就是改变SVG元素的stroke-dashoffset和stroke-dasharray属性的值,就可以让路径动起来:
来看一个示例:
<!-- SVG -->
<svg class="animated-heart-svg" viewBox="0 0 100 100">
    <path class="animated-heart" pathLength="1" d="M49.998,90.544c0,0,0,0,0.002,0c5.304-14.531,32.88-27.047,41.474-44.23C108.081,13.092,61.244-5.023,50,23.933  C38.753-5.023-8.083,13.092,8.525,46.313C17.116,63.497,44.691,76.013,49.998,90.544z"></path>
</svg>

/* CSS */
.animated-heart-svg {
    max-width: 40vw;
    width: 80%;
    height: auto;
}

.animated-heart {
    fill: none;
    stroke: #ff5722;
    stroke-width: 2px;
    stroke-linecap: round;
    stroke-dasharray: 1px;
    stroke-dashoffset: 1px;
    animation: drawHeart 3s ease-out infinite;
}

@keyframes drawHeart {
    90%,
    100% {
        stroke-dashoffset: 0px;
    }
}
效果如下:
有关于这方面更详细的介绍还可以阅读@cassiecodes的《Creating my logo animation》一文。
SVG自带的动画元素构建动效
在SVG中自带动效特性的元素,比如:<animate>、<animateMotion>、<animateTransform>。
<animate>
<animate>放置在SVG形状元素的内部,用来定义一个元素的某个属性如何踩着时点改变。在指定持续时间里,属性从开始值变成结束值。
<svg viewBox="0 0 10 10"  width="100" height="100" xmlns="http://www.w3.org/2000/svg">
    <rect width="10" height="10">
        <animate attributeName="rx" values="0;5;0" dur="5s" repeatCount="indefinite" />
        <animate attributeName="fill" values="#000;#09f;#f36" dur="10s" repeatCount="indefinite" />
    </rect>
</svg>
效果如下:
<animateMotion>
<animateMotion>元素使一个元素的位置动起来,并顺着路径同步旋转。定义这个路径是与在<path>元素中定义路径的方法相同。你可以设置这个属性以定义对象是否与跟着路径的正切值旋转。
<svg width="300" height="150" xmlns="http://www.w3.org/2000/svg" viewBox="0 0 300 150">
    <path fill="none" stroke="lightgrey" d="M20,50 C20,-50 180,150 180,50 C180-50 20,150 20,50 z" />

    <circle r="10" fill="#09f">
        <animateMotion dur="10s" repeatCount="indefinite" path="M20,50 C20,-50 180,150 180,50 C180-50 20,150 20,50 z" />
    </circle>
</svg>
效果如下:
<animateTransform>
<animateTransform> 元素用于变动transform属性。这个新元素是必要的,否则我们就不能让一个简单的、仅仅是一个数字的属性比如说x动起来。旋转属性看起来是这样的:rotation(theta, x, y),这里theta是以角度数计量的角度,x和y都是绝对位置。在下面的示例中,将变动旋转的中心以及角度。
<svg width="300" height="100" xmlns="http://www.w3.org/2000/svg" viewBox="0 0 300 100">
    <rect x="0" y="0" width="300" height="100" fill="none" stroke="black" stroke-width="1" />
    <rect x="10" y="10" width="20" rx="5" height="10" fill="#09f" transform="rotation">
        <animateTransform
            attributeName="transform"
            begin="0s"
            dur="10s"
            type="rotate"
            from="0 60 60"
            to="360 100 60"
            repeatCount="indefinite"
        />
    </rect>
</svg>
效果如下:
有关于使用SVG自带的动画元素制作动效更详细的教程可以阅读:
我们来看@Jeremie在其教程中提供的几个案例:
在React中构建个性化SVG
前面花了一定的篇幅和大家一起探讨了SVG中通过不同的元素设置不同的样式,从而构建出具有个性化的SVG图形。同时和大家一起探讨了几种不同的方式让SVG动起来。比如说,让一个SVG元素某个部分颜色不同,甚至让SVG元素某个部位动起来,这样的场景越来越多见了。
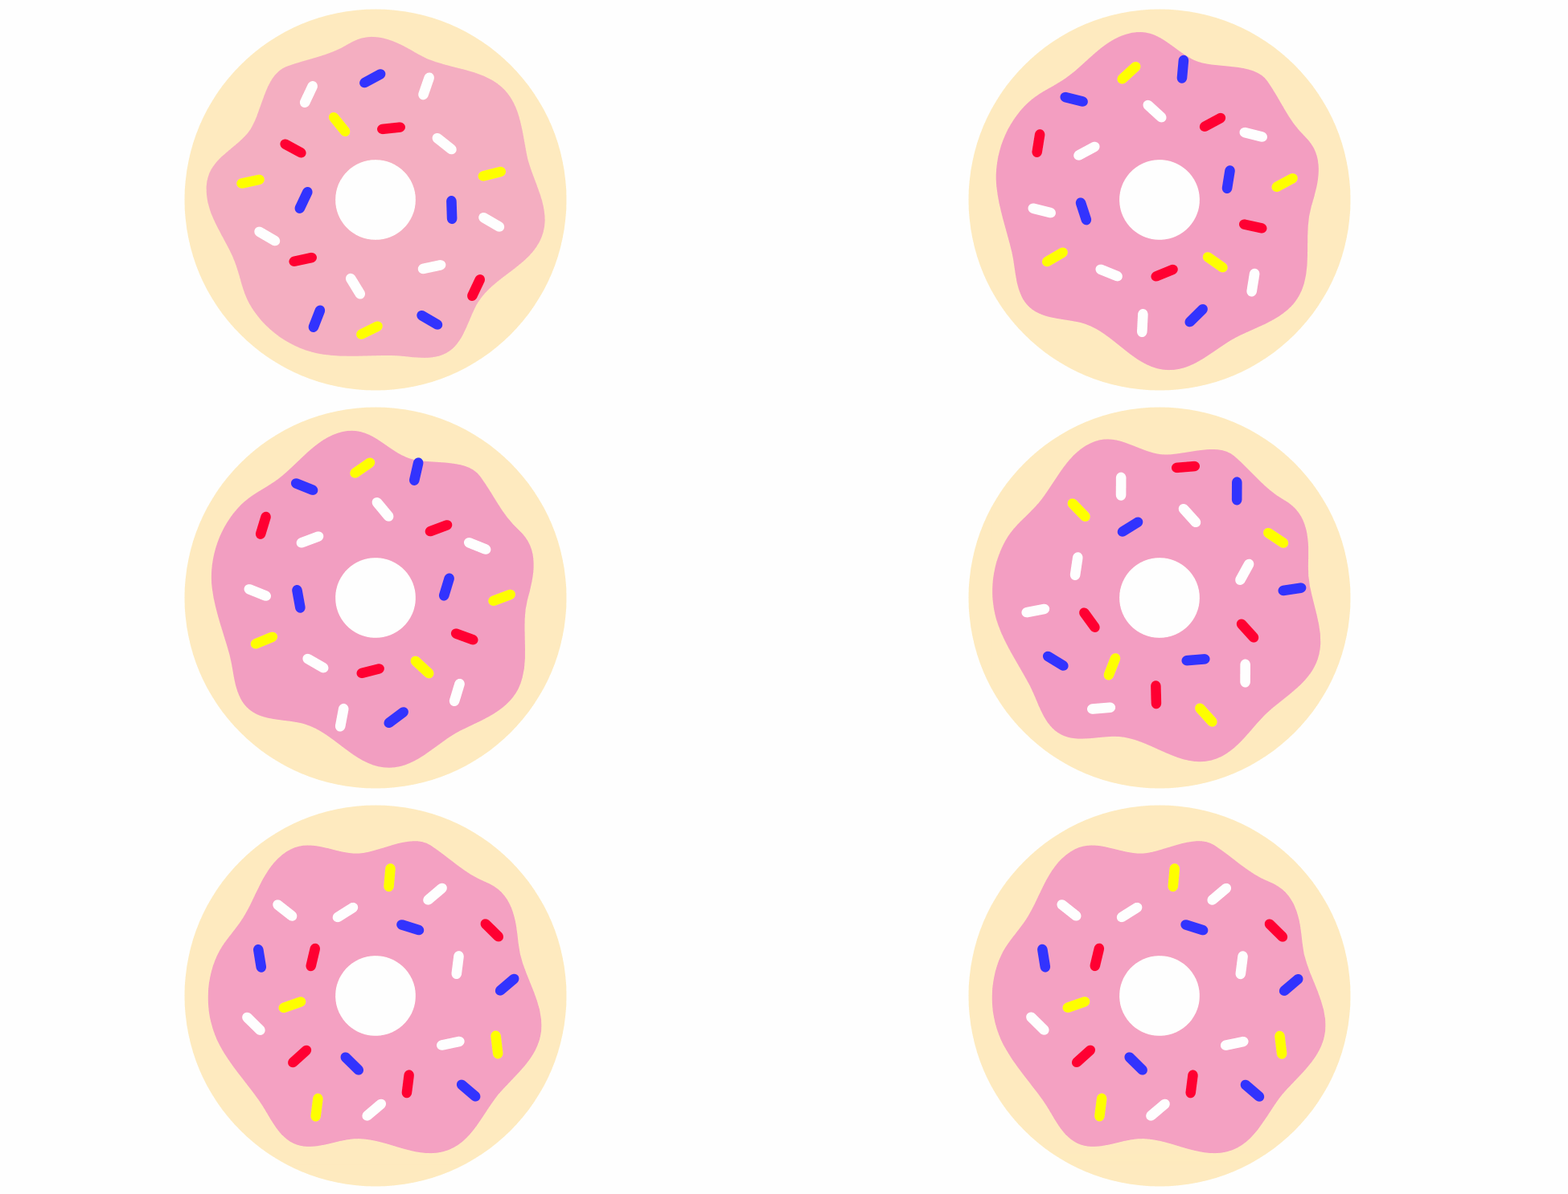
而React可以帮助我们以组件的方式构建可重用的UI组件。在介绍如何使用React构建SVG组件之前,我们先简单的来分析一段SVG源码:
<svg class="ghost" version="1.1" id="Layer_1" xmlns="http://www.w3.org/2000/svg" xmlns:xlink="http://www.w3.org/1999/xlink" width="127" height="132" viewBox="0 0 127 132">
    <path fill="#FFF6F4" d="M116.223,125.064c1.032-1.183,1.323-2.73,1.391-3.747V54.76c0,0-4.625-34.875-36.125-44.375
        s-66,6.625-72.125,44l-0.781,63.219c0.062,4.197,1.105,6.177,1.808,7.006c1.94,1.811,5.408,3.465,10.099-0.6
        c7.5-6.5,8.375-10,12.75-6.875s5.875,9.75,13.625,9.25s12.75-9,13.75-9.625s4.375-1.875,7,1.25s5.375,8.25,12.875,7.875
        s12.625-8.375,12.625-8.375s2.25-3.875,7.25,0.375s7.625,9.75,14.375,8.125C114.739,126.01,115.412,125.902,116.223,125.064z"></path>
    <circle fill="#013E51" cx="86.238" cy="57.885" r="6.667"></circle>
    <circle fill="#013E51" cx="40.072" cy="57.885" r="6.667"></circle>
    <path fill="#013E51" d="M71.916,62.782c0.05-1.108-0.809-2.046-1.917-2.095c-0.673-0.03-1.28,0.279-1.667,0.771
        c-0.758,0.766-2.483,2.235-4.696,2.358c-1.696,0.094-3.438-0.625-5.191-2.137c-0.003-0.003-0.007-0.006-0.011-0.009l0.002,0.005
        c-0.332-0.294-0.757-0.488-1.235-0.509c-1.108-0.049-2.046,0.809-2.095,1.917c-0.032,0.724,0.327,1.37,0.887,1.749
        c-0.001,0-0.002-0.001-0.003-0.001c2.221,1.871,4.536,2.88,6.912,2.986c0.333,0.014,0.67,0.012,1.007-0.01
        c3.163-0.191,5.572-1.942,6.888-3.166l0.452-0.453c0.021-0.019,0.04-0.041,0.06-0.061l0.034-0.034
        c-0.007,0.007-0.015,0.014-0.021,0.02C71.666,63.771,71.892,63.307,71.916,62.782z"></path>
    <circle fill="#FCEFED" stroke="#FEEBE6" stroke-miterlimit="10" cx="18.614" cy="99.426" r="3.292"></circle>
    <circle fill="#FCEFED" stroke="#FEEBE6" stroke-miterlimit="10" cx="95.364" cy="28.676" r="3.291"></circle>
    <circle fill="#FCEFED" stroke="#FEEBE6" stroke-miterlimit="10" cx="24.739" cy="93.551" r="2.667"></circle>
    <circle fill="#FCEFED" stroke="#FEEBE6" stroke-miterlimit="10" cx="101.489" cy="33.051" r="2.666"></circle>
    <circle fill="#FCEFED" stroke="#FEEBE6" stroke-miterlimit="10" cx="18.738" cy="87.717" r="2.833"></circle>
    <path fill="#FCEFED" stroke="#FEEBE6" stroke-miterlimit="10" d="M116.279,55.814c-0.021-0.286-2.323-28.744-30.221-41.012
        c-7.806-3.433-15.777-5.173-23.691-5.173c-16.889,0-30.283,7.783-37.187,15.067c-9.229,9.736-13.84,26.712-14.191,30.259
        l-0.748,62.332c0.149,2.133,1.389,6.167,5.019,6.167c1.891,0,4.074-1.083,6.672-3.311c4.96-4.251,7.424-6.295,9.226-6.295
        c1.339,0,2.712,1.213,5.102,3.762c4.121,4.396,7.461,6.355,10.833,6.355c2.713,0,5.311-1.296,7.942-3.962
        c3.104-3.145,5.701-5.239,8.285-5.239c2.116,0,4.441,1.421,7.317,4.473c2.638,2.8,5.674,4.219,9.022,4.219
        c4.835,0,8.991-2.959,11.27-5.728l0.086-0.104c1.809-2.2,3.237-3.938,5.312-3.938c2.208,0,5.271,1.942,9.359,5.936
        c0.54,0.743,3.552,4.674,6.86,4.674c1.37,0,2.559-0.65,3.531-1.932l0.203-0.268L116.279,55.814z M114.281,121.405
        c-0.526,0.599-1.096,0.891-1.734,0.891c-2.053,0-4.51-2.82-5.283-3.907l-0.116-0.136c-4.638-4.541-7.975-6.566-10.82-6.566
        c-3.021,0-4.884,2.267-6.857,4.667l-0.086,0.104c-1.896,2.307-5.582,4.999-9.725,4.999c-2.775,0-5.322-1.208-7.567-3.59
        c-3.325-3.528-6.03-5.102-8.772-5.102c-3.278,0-6.251,2.332-9.708,5.835c-2.236,2.265-4.368,3.366-6.518,3.366
        c-2.772,0-5.664-1.765-9.374-5.723c-2.488-2.654-4.29-4.395-6.561-4.395c-2.515,0-5.045,2.077-10.527,6.777
        c-2.727,2.337-4.426,2.828-5.37,2.828c-2.662,0-3.017-4.225-3.021-4.225l0.745-62.163c0.332-3.321,4.767-19.625,13.647-28.995
        c3.893-4.106,10.387-8.632,18.602-11.504c-0.458,0.503-0.744,1.165-0.744,1.898c0,1.565,1.269,2.833,2.833,2.833
        c1.564,0,2.833-1.269,2.833-2.833c0-1.355-0.954-2.485-2.226-2.764c4.419-1.285,9.269-2.074,14.437-2.074
        c7.636,0,15.336,1.684,22.887,5.004c26.766,11.771,29.011,39.047,29.027,39.251V121.405z"></path>
    </svg>
上面的这段SVG代码,在浏览器上渲染出来的效果如下:
就上面这个SVG图形来说,<svg>元素中包含了多个子元素,比如<path>、<circle>等,虽然<svg>中的子元素(或后代元素)会随着图形的不同,元素类型也会有所不同,但是它们也有着一些共性,比如<svg>元素自身会使用width、height构建一个视窗,使用viewBox属性构建一个ViewBox,以及一些其他的属性,比如fill,class等。换句话,如果我们使用React组件来构建的话,我们可通过props来声明这些属性,然后在使用的时候,将对应的值传进去。比如下面这个示例:
// src/components/SvgComponent
import React from 'react'

interface ISvgComponentProps {
    width: string;
    height: string;
    viewBox: string;
    fill?: string;
    className?:string;
    title: string;
    content: any
}

const SvgComponent = (props: ISvgComponentProps) => {
    const {width, height, viewBox, fill, className, title, content, ...reset } = props
    return <svg
        xmlns="http://www.w3.org/2000/svg"
        width={width}
        height={height}
        viewBox={viewBox}
        fill={fill}
        className={className}
        {...reset}
    >
        <title>{title}</title>
        {content}
    </svg>
}

export default SvgComponent
这个时候,就可以根据自己的需要求,给<SvgComponet />组件引入相应的值:
// App.tsx
import React from 'react';

import './App.css';

import SvgComponent from './components/SvgComponent'

function App() {
    const svgContent = <>
        <path fill="#FFF6F4" d="M116.223,125.064c1.032-1.183,1.323-2.73,1.391-3.747V54.76c0,0-4.625-34.875-36.125-44.375
        s-66,6.625-72.125,44l-0.781,63.219c0.062,4.197,1.105,6.177,1.808,7.006c1.94,1.811,5.408,3.465,10.099-0.6
        c7.5-6.5,8.375-10,12.75-6.875s5.875,9.75,13.625,9.25s12.75-9,13.75-9.625s4.375-1.875,7,1.25s5.375,8.25,12.875,7.875
        s12.625-8.375,12.625-8.375s2.25-3.875,7.25,0.375s7.625,9.75,14.375,8.125C114.739,126.01,115.412,125.902,116.223,125.064z"></path>
    </>

    const svgContent2 = <>
        <path fill="#f36" d="M116.223,125.064c1.032-1.183,1.323-2.73,1.391-3.747V54.76c0,0-4.625-34.875-36.125-44.375
        s-66,6.625-72.125,44l-0.781,63.219c0.062,4.197,1.105,6.177,1.808,7.006c1.94,1.811,5.408,3.465,10.099-0.6
        c7.5-6.5,8.375-10,12.75-6.875s5.875,9.75,13.625,9.25s12.75-9,13.75-9.625s4.375-1.875,7,1.25s5.375,8.25,12.875,7.875
        s12.625-8.375,12.625-8.375s2.25-3.875,7.25,0.375s7.625,9.75,14.375,8.125C114.739,126.01,115.412,125.902,116.223,125.064z"></path>
        <circle fill="#aaf" stroke="#90f" stroke-miterlimit="10" cx="18.614" cy="99.426" r="3.292"></circle>
        <circle fill="#fae" stroke="#ff9" stroke-miterlimit="10" cx="95.364" cy="28.676" r="3.291"></circle>
        <circle fill="#fae" stroke="#ff9" stroke-miterlimit="10" cx="101.489" cy="33.051" r="2.666"></circle>
        <circle fill="#aaf" stroke="#90f" stroke-miterlimit="10" cx="18.738" cy="87.717" r="2.833"></circle>
    </>
    return (
        <div className="App">
            <header className="App-header">
                <SvgComponent
                width="127"
                height="132"
                viewBox="0 0 127 132"
                title="ghost"
                content={svgContent}
                className="svg"
                />
                <SvgComponent
                width="127"
                height="132"
                viewBox="0 0 127 132"
                title="ghost"
                content={svgContent2}
                className="svg"
                />
            </header>
        </div>
    );
}

export default App;
这个时候,你看到的效果如下图所示:

如果添加一些CSS,我们可让这个SVG中的部分元素动起来:
const svgContent = <>
    <path fill="#f36" d="M116.223,125.064c1.032-1.183,1.323-2.73,1.391-3.747V54.76c0,0-4.625-34.875-36.125-44.375
    s-66,6.625-72.125,44l-0.781,63.219c0.062,4.197,1.105,6.177,1.808,7.006c1.94,1.811,5.408,3.465,10.099-0.6
    c7.5-6.5,8.375-10,12.75-6.875s5.875,9.75,13.625,9.25s12.75-9,13.75-9.625s4.375-1.875,7,1.25s5.375,8.25,12.875,7.875
    s12.625-8.375,12.625-8.375s2.25-3.875,7.25,0.375s7.625,9.75,14.375,8.125C114.739,126.01,115.412,125.902,116.223,125.064z"></path>
    <circle className="circle" fill="#013E51" cx="86.238" cy="57.885" r="6.667"></circle>
    <circle className="circle" fill="#013E51" cx="40.072" cy="57.885" r="6.667"></circle>
    <path className="mouth" fill="#013E51" d="M71.916,62.782c0.05-1.108-0.809-2.046-1.917-2.095c-0.673-0.03-1.28,0.279-1.667,0.771
    c-0.758,0.766-2.483,2.235-4.696,2.358c-1.696,0.094-3.438-0.625-5.191-2.137c-0.003-0.003-0.007-0.006-0.011-0.009l0.002,0.005
    c-0.332-0.294-0.757-0.488-1.235-0.509c-1.108-0.049-2.046,0.809-2.095,1.917c-0.032,0.724,0.327,1.37,0.887,1.749
    c-0.001,0-0.002-0.001-0.003-0.001c2.221,1.871,4.536,2.88,6.912,2.986c0.333,0.014,0.67,0.012,1.007-0.01
    c3.163-0.191,5.572-1.942,6.888-3.166l0.452-0.453c0.021-0.019,0.04-0.041,0.06-0.061l0.034-0.034
    c-0.007,0.007-0.015,0.014-0.021,0.02C71.666,63.771,71.892,63.307,71.916,62.782z"></path>
</>
在<circle>和<path>添加了className,并且使用CSS Animation来制作动效:
@keyframes eyes {
    to {
        transform: scale(1.3);
        transform-origin: center;
        fill: #3f51b5;
    }
}

@keyframes mouth {
    to {
        transform: scale(1.2) skew(20deg);
        transform-origin: center;
        fill: #09faef;
    }
}

.circle {
    animation: eyes 3s linear infinite alternate;
}

.mouth {
    animation: mouth 3s linear infinite alternate;
}
这个时候SVG的眼睛和嘴就动起来了:

在React中如果想让SVG绘制的图形动起来,除了上述我们提到的一些技术方案之外,我们还可以借助一些优秀的动画库,比如说 react-spring、Framer Motion等。
简单地来看这两个库如何快速帮助我们构建SVG动效。
使用react-spring来构建SVG动效
注意:我们不会在这里详细介绍
react-spring的使用,只会以一个简单的示例,向大家演示借助react-spring库如何快速构建一个SVG动效。除此之外,react-spring不仅局限用于SVG,它还可以被运用于其他的DOM元素上。
使用react-spring和使用其他的库一样的,需要先在React项目中安装react-spring:
» npm i --save-dev react-spring
在src/components目录下创建一个组件,比如SvgReactSpring:
// /src/components/SvgReactSpring/index.js

import React, { useRef, useEffect } from 'react'

const SvgReactSpring = () => {
    const pathRef = useRef();

    useEffect(() => {
        console.log(pathRef.current.getTotalLength())
    }, [])

    return (
        <div>
            <svg width="300" height="300" viewBox="0 0 300 300">
                <circle
                    strokeWidth="10"
                    cx="150"
                    cy="150"
                    r="100"
                    stroke="#09f"
                    fill="none"
                    ref={pathRef}
                />
            </svg>
        </div>
    )
}

export default SvgReactSpring
在App.tsx中引入<SvgReactSpring>组件之后:
import React from 'react';
import './App.css';

import SvgReactSpring from './components/SvgReactSpring'

function App() {
    return (
        <div className="App">
            <header className="App-header">
                <SvgReactSpring />
            </header>
        </div>
    );
}

export default App;
可以在浏览器看到一个<circle>绘制的圆形:
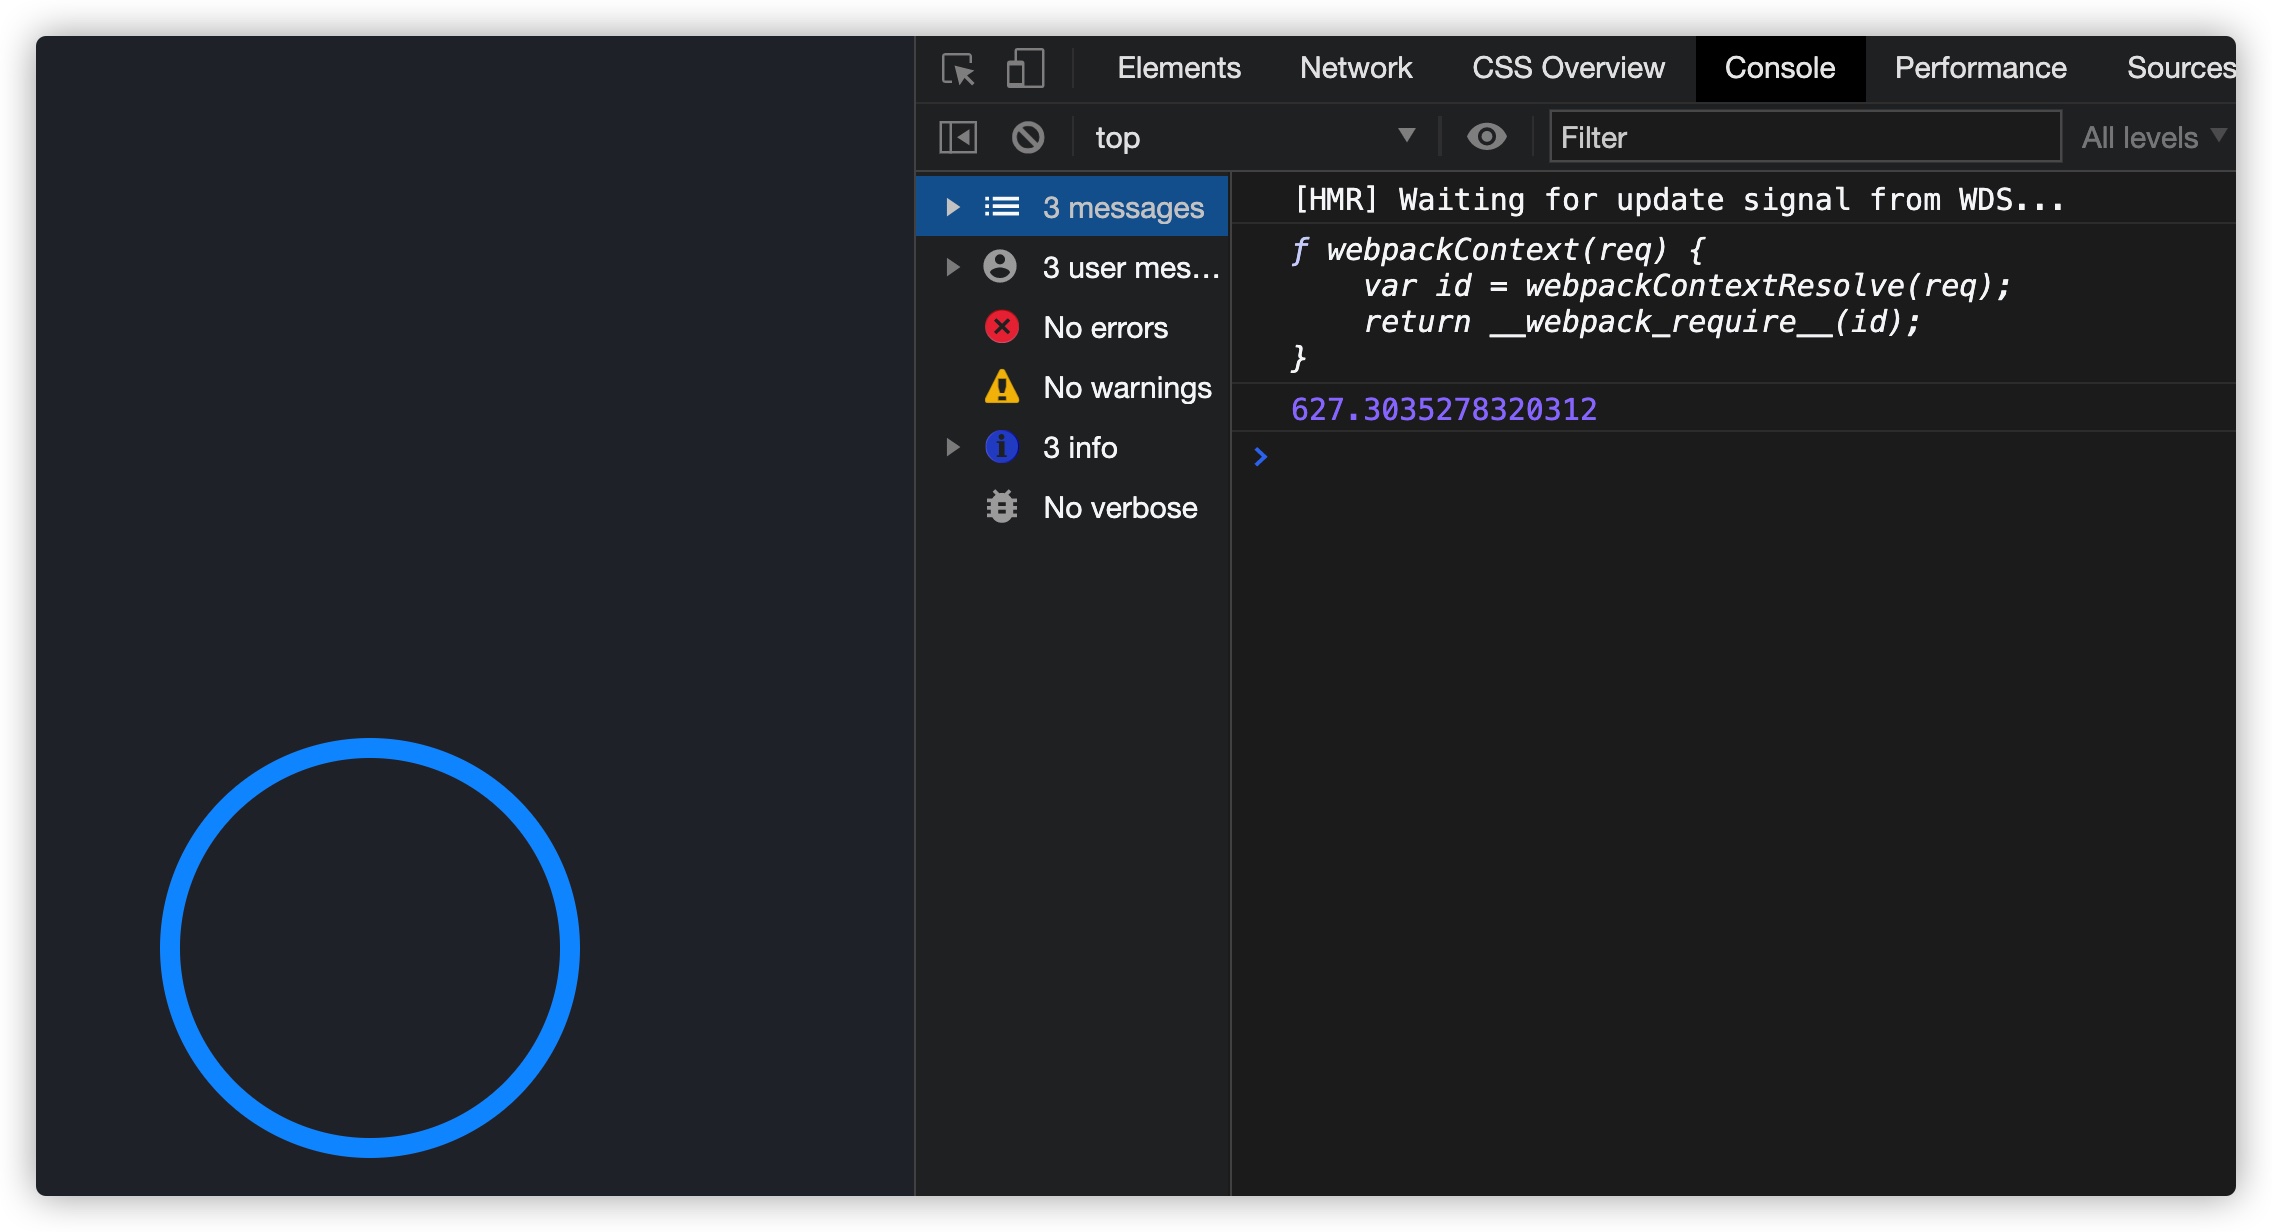
就该示例而言,如果要让这个SVG动起来,就需要知道SVG路径的长度。正如上面的示例所示,使用了React的useRef钩子函数获得引用路径,该钩子函数用于引用DOM或React元素。getTotalLength()给出了总长度。另外,React的useEffecct钩子用于在组件挂载后立即获得SVG路径的长度。
然后在useState中使用获得的SVG路径长度:
// src/components/SvgReactSpring/index.js
import React, { useRef, useEffect, useState } from 'react'
import {Spring} from 'react-spring/renderprops'

const SvgReactSpring = () => {
    const pathRef = useRef();
    const [offset, setOffset] = useState(null)

    useEffect(() => {
        console.log(pathRef.current.getTotalLength())
        setOffset(pathRef.current.getTotalLength())
    }, [offset])

    return (
        <div>
            { offset ? (
                <Spring from={{x:offset}} to={{x:0}}>
                    {(props) => (
                        <svg width="300" height="300" viewBox="0 0 300 300">
                            <circle
                                strokeDasharray={offset}
                                strokeDashoffset={props.x}
                                strokeWidth="10"
                                cx="150"
                                cy="150"
                                r="100"
                                stroke="#09f"
                                fill="none"
                                ref={pathRef}
                            />
                        </svg>
                    )}
                </Spring>
            ) : (
                <svg width="300" height="300" viewBox="0 0 300 300">
                    <circle
                        strokeWidth="10"
                        cx="150"
                        cy="150"
                        r="100"
                        stroke="#09f"
                        fill="none"
                        ref={pathRef}
                    />
                </svg>
            )}
        </div>
    )
}

export default SvgReactSpring
这个时候你看到的效果如下:

为了创建从SVG路径长度0到完整长度的圆的动画,我们需要将它的长度存储在offset变量中。
最初,当组件加载时,offset的值为null。要获得长度,我们就需要SVG。因为我们不需要显示它,所以stroke被设置为none。一旦设置了offset,我们就要显示SVG,并且SVG有动画效果。
引用Spring的renderprop(react-spring/renderprops)之后会将数据从一个状态移动到另一个状态。strokeDasharray定义要在SVG中显示的破折号长度。因为我们想要完整的圆,它的值应该是圆的周长(长度),即offset。strokeDashoffset设置移动破折号位置的偏移值。现在我们将它从offset值向0变化,这样看起来圆就在动。
注意,这里的
strokeDasharray和strokeDashoffset相当于SVG元素中的stroke-dasharray和stroke-dash-offset属性,这两个值的变化,可以让我们构建一些SVG线形动画效果。
在使用react-spring制作动画的时候,我们还可以配置其他的一些参数,比如friction、tension、precision等。
修改后的<SvgReactSpring />组件代码如下:
// src/components/SvgReactSpring/index.js
import React, { useRef, useEffect, useState } from 'react'
import {Spring} from 'react-spring/renderprops'

const SvgReactSpring = () => {
    const pathRef = useRef();
    const [offset, setOffset] = useState(null)

    useEffect(() => {
        console.log(pathRef.current.getTotalLength())
        setOffset(pathRef.current.getTotalLength())
    }, [offset])

    return (
        <div>
            { offset ? (
                <Spring from={{x:offset}} to={{x:0}} config={{tension: 4, friction: 0.5, precision: 0.1}}>
                    {(props) => (
                        <svg width="300" height="300" viewBox="0 0 300 300">
                            <circle
                                strokeDasharray={offset}
                                strokeDashoffset={props.x}
                                strokeWidth="10"
                                cx="150"
                                cy="150"
                                r="100"
                                stroke="#09f"
                                fill="none"
                                ref={pathRef}
                            />
                        </svg>
                    )}
                </Spring>
            ) : (
                <svg width="300" height="300" viewBox="0 0 300 300">
                    <circle
                        strokeWidth="10"
                        cx="150"
                        cy="150"
                        r="100"
                        stroke="#09f"
                        fill="none"
                        ref={pathRef}
                    />
                </svg>
            )}
        </div>
    )
}

export default SvgReactSpring
这个时候,整个SVG的动画效果变成下图这样:

如果你对react-spring制作动画效果感兴趣的话,还可以阅读:
- React Spring 官方文档
- Creating Animations Using React Spring
- How To Create Animated React Apps With React Spring
- Intro to Animations in React Using React Spring
- React UI Animation: Getting started with React Spring
- Build Elegant Web Animations with React Spring
- Making Sense of react-spring
- How to make a confetti cannon with React Spring
- React Spring vs Animated
- Why React needed yet another animation library. Introducing: react-spring
- How to create micro-interactions with react-spring: Part 1、Part 2 and Part 3
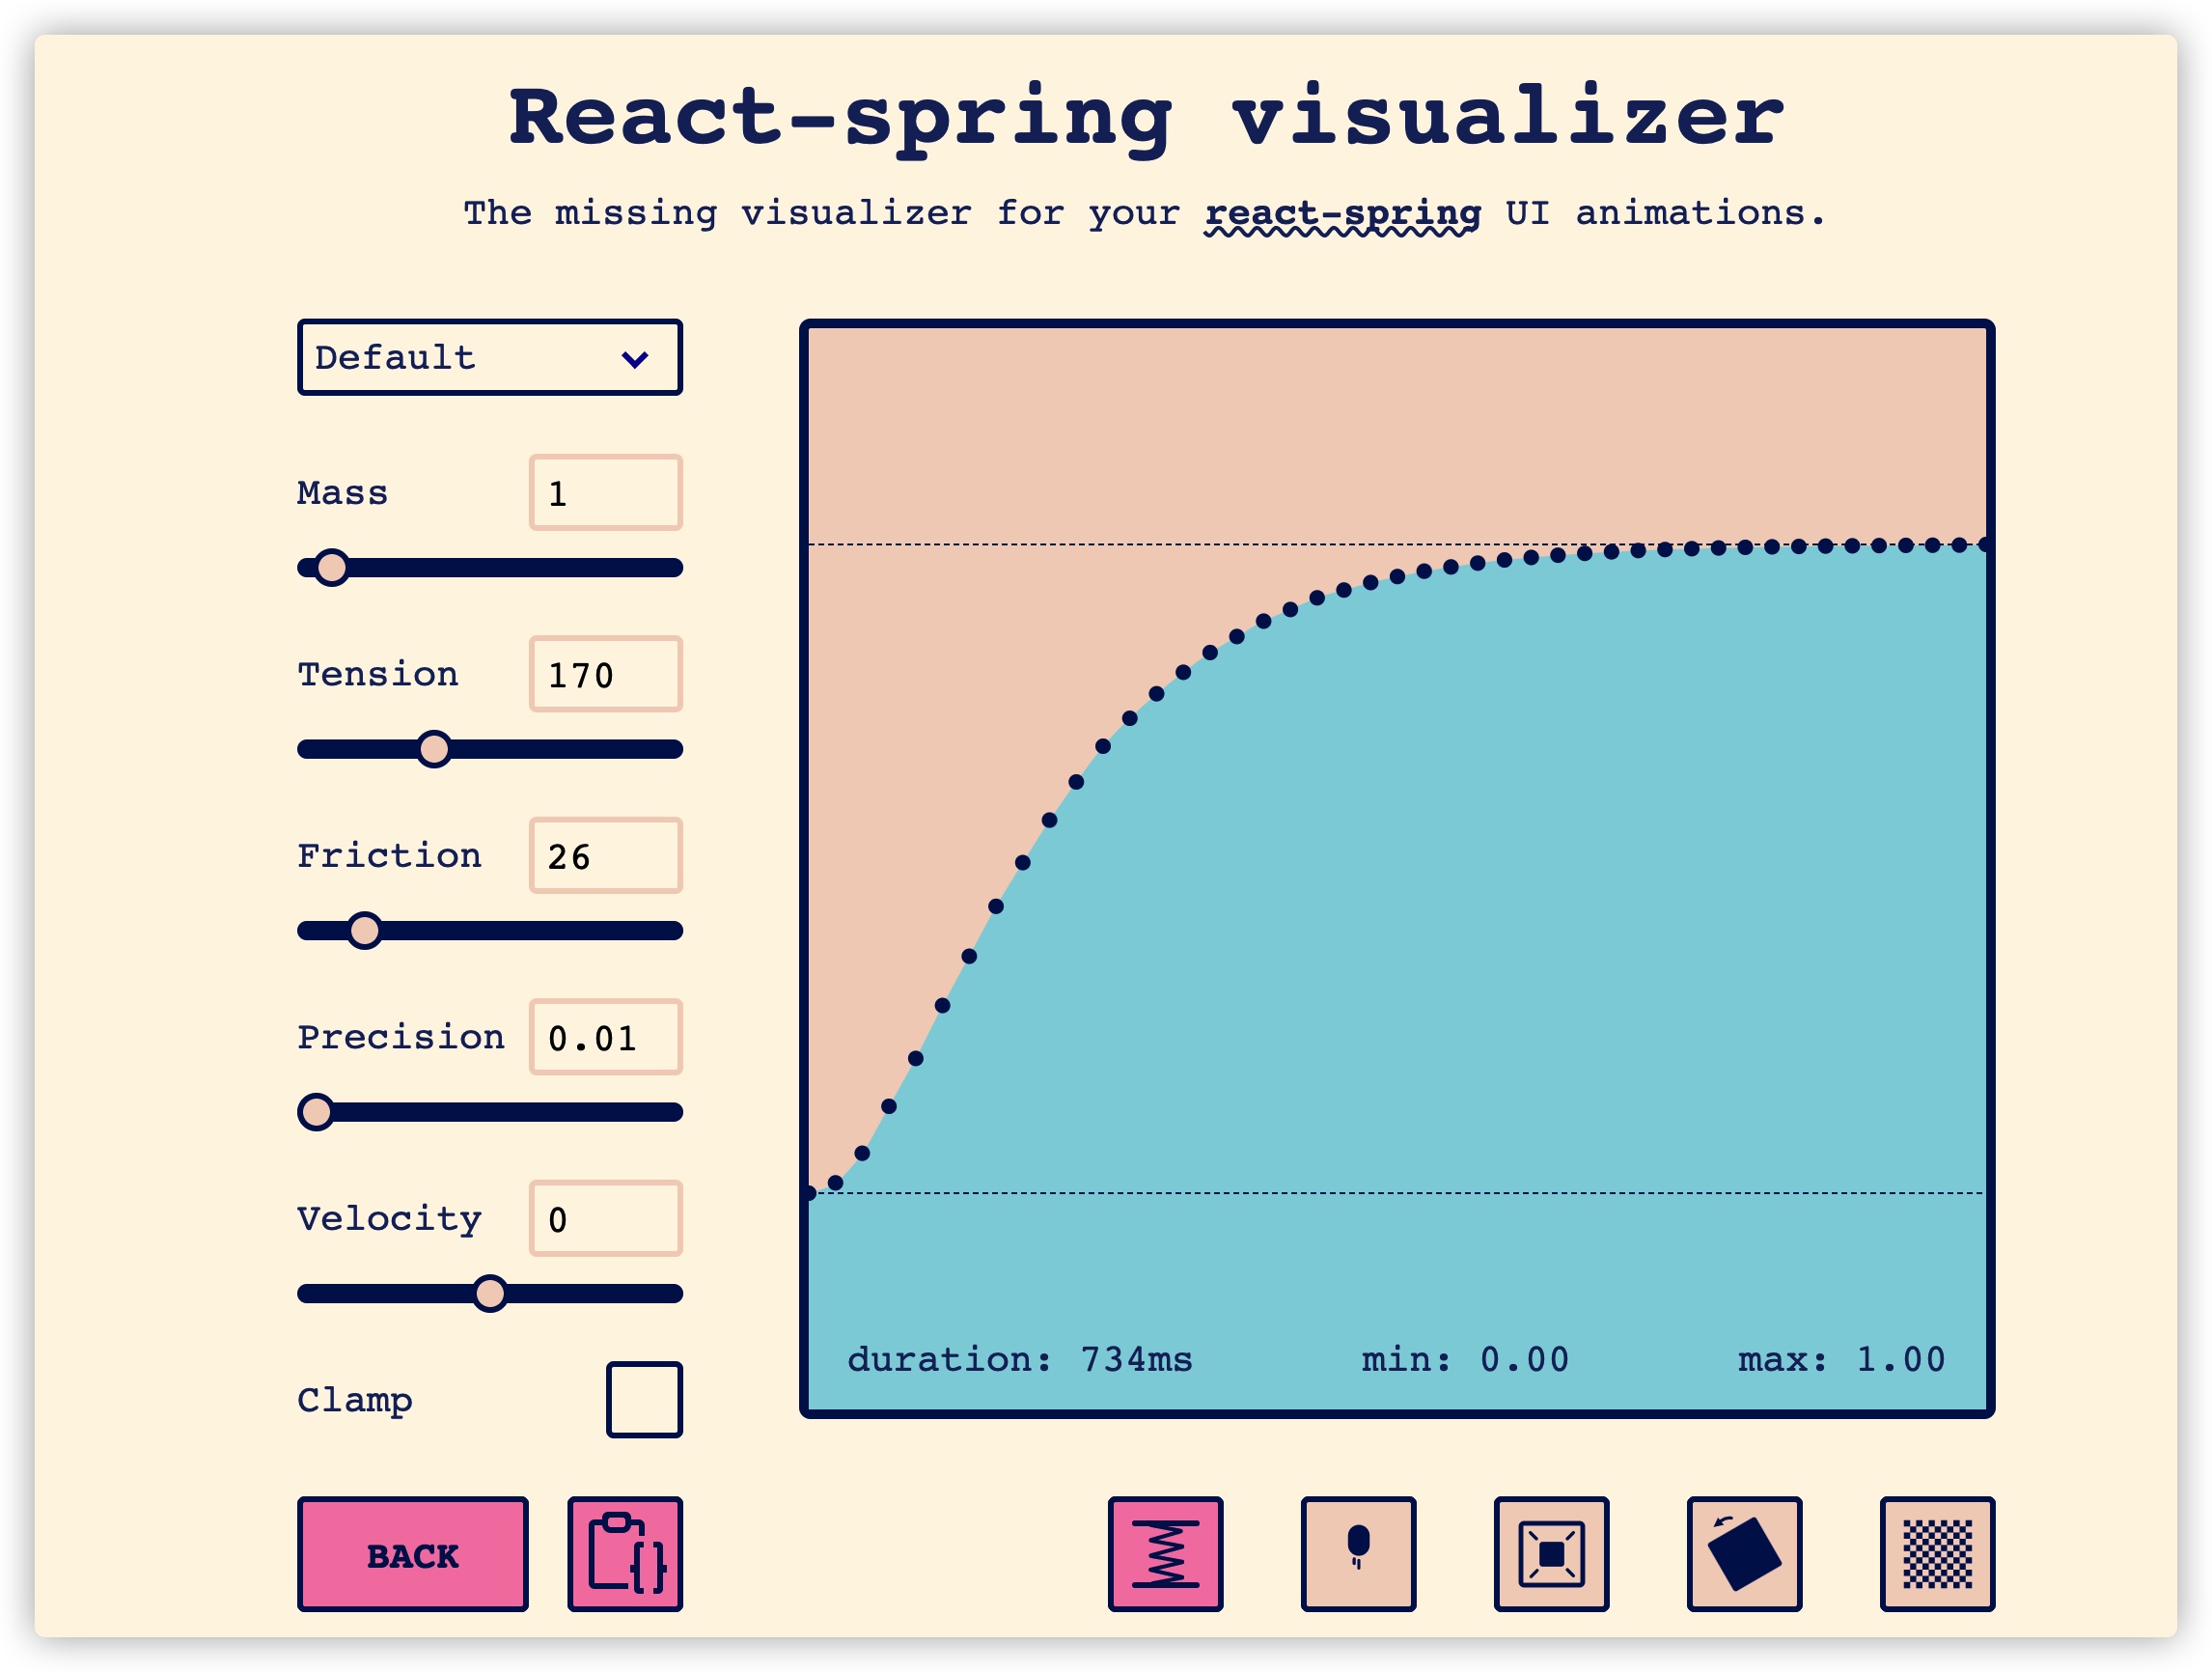
@joostkiens专门提供了一款服务React Spring的可视工具,在该工具上可以构建出React Spring动画效果:
使用framer-motion来构建SVG动效
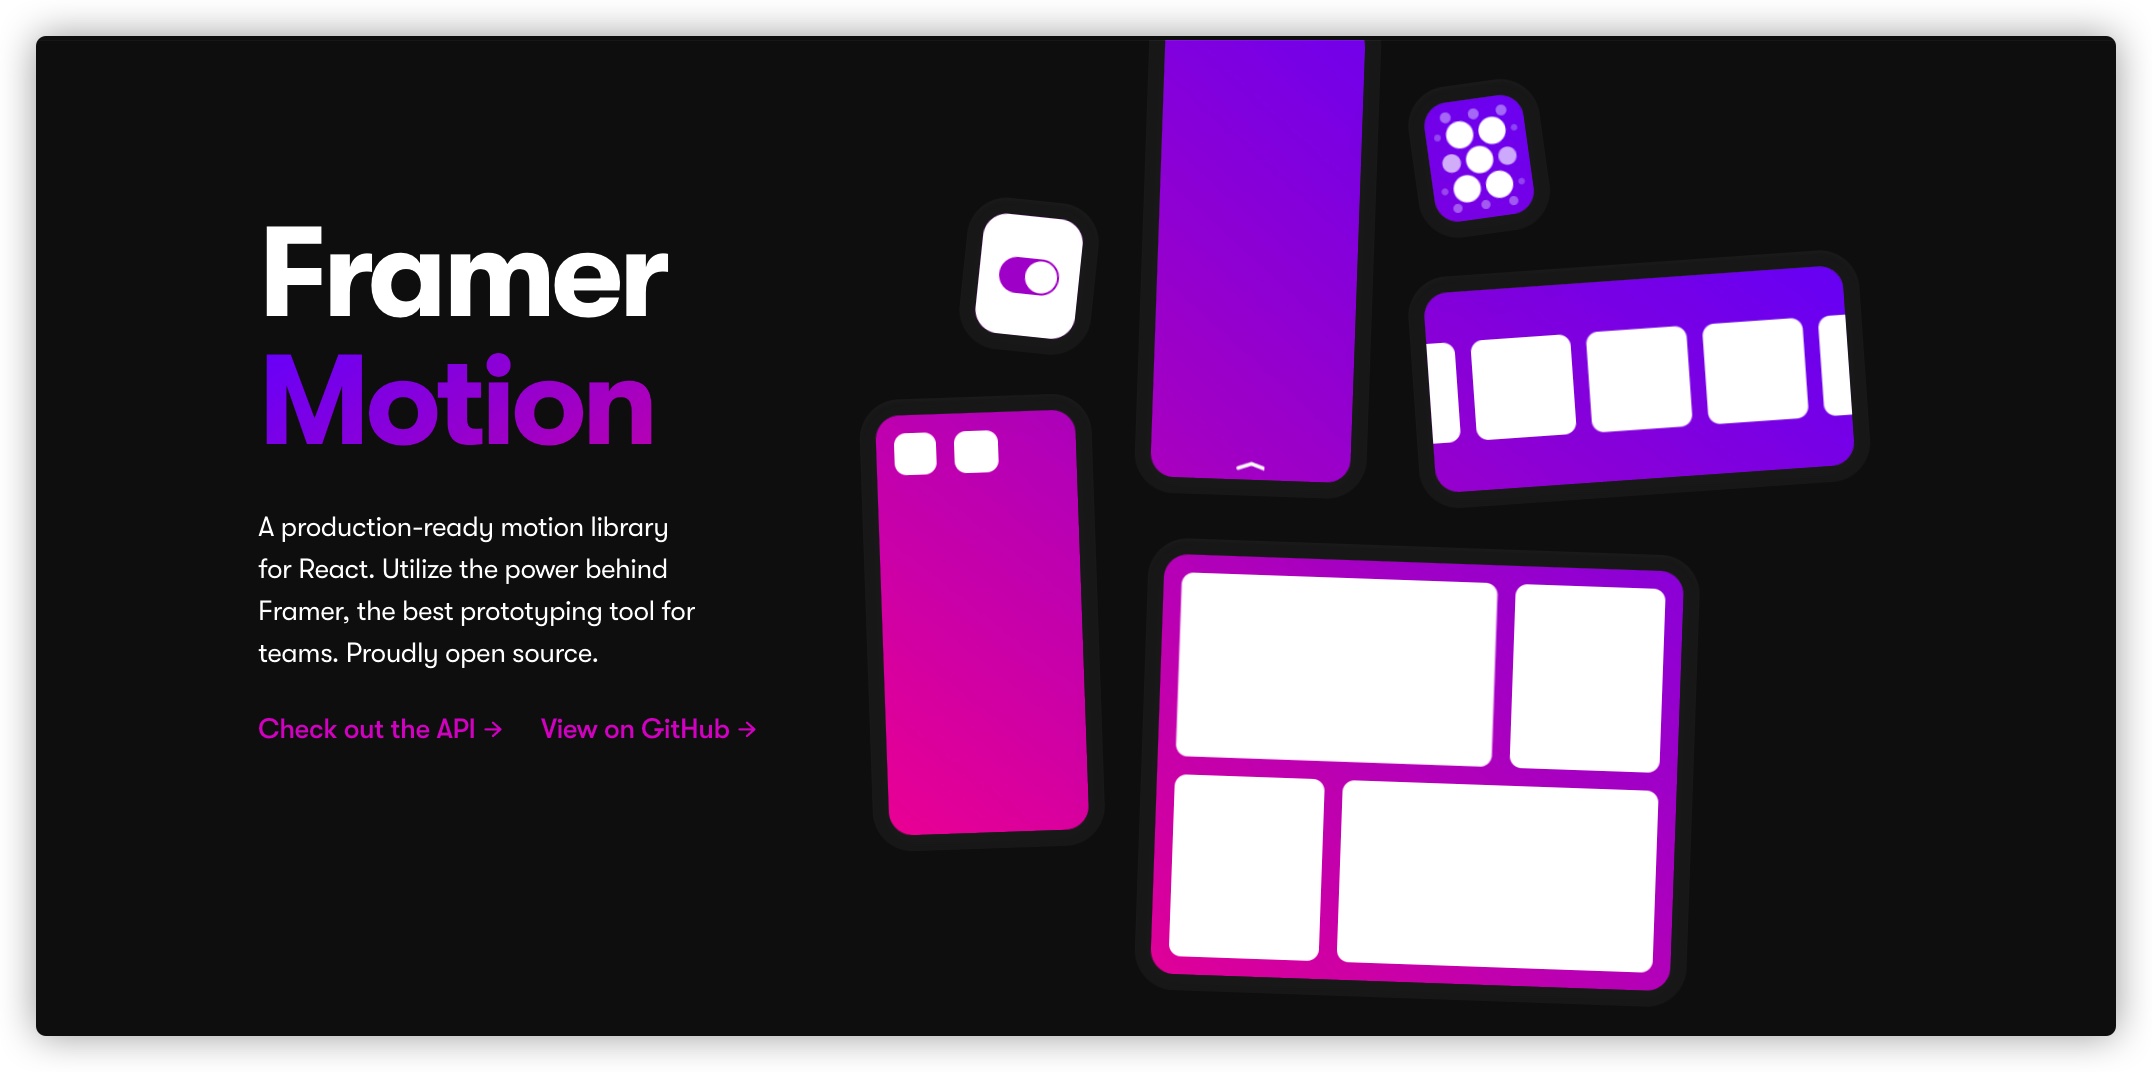
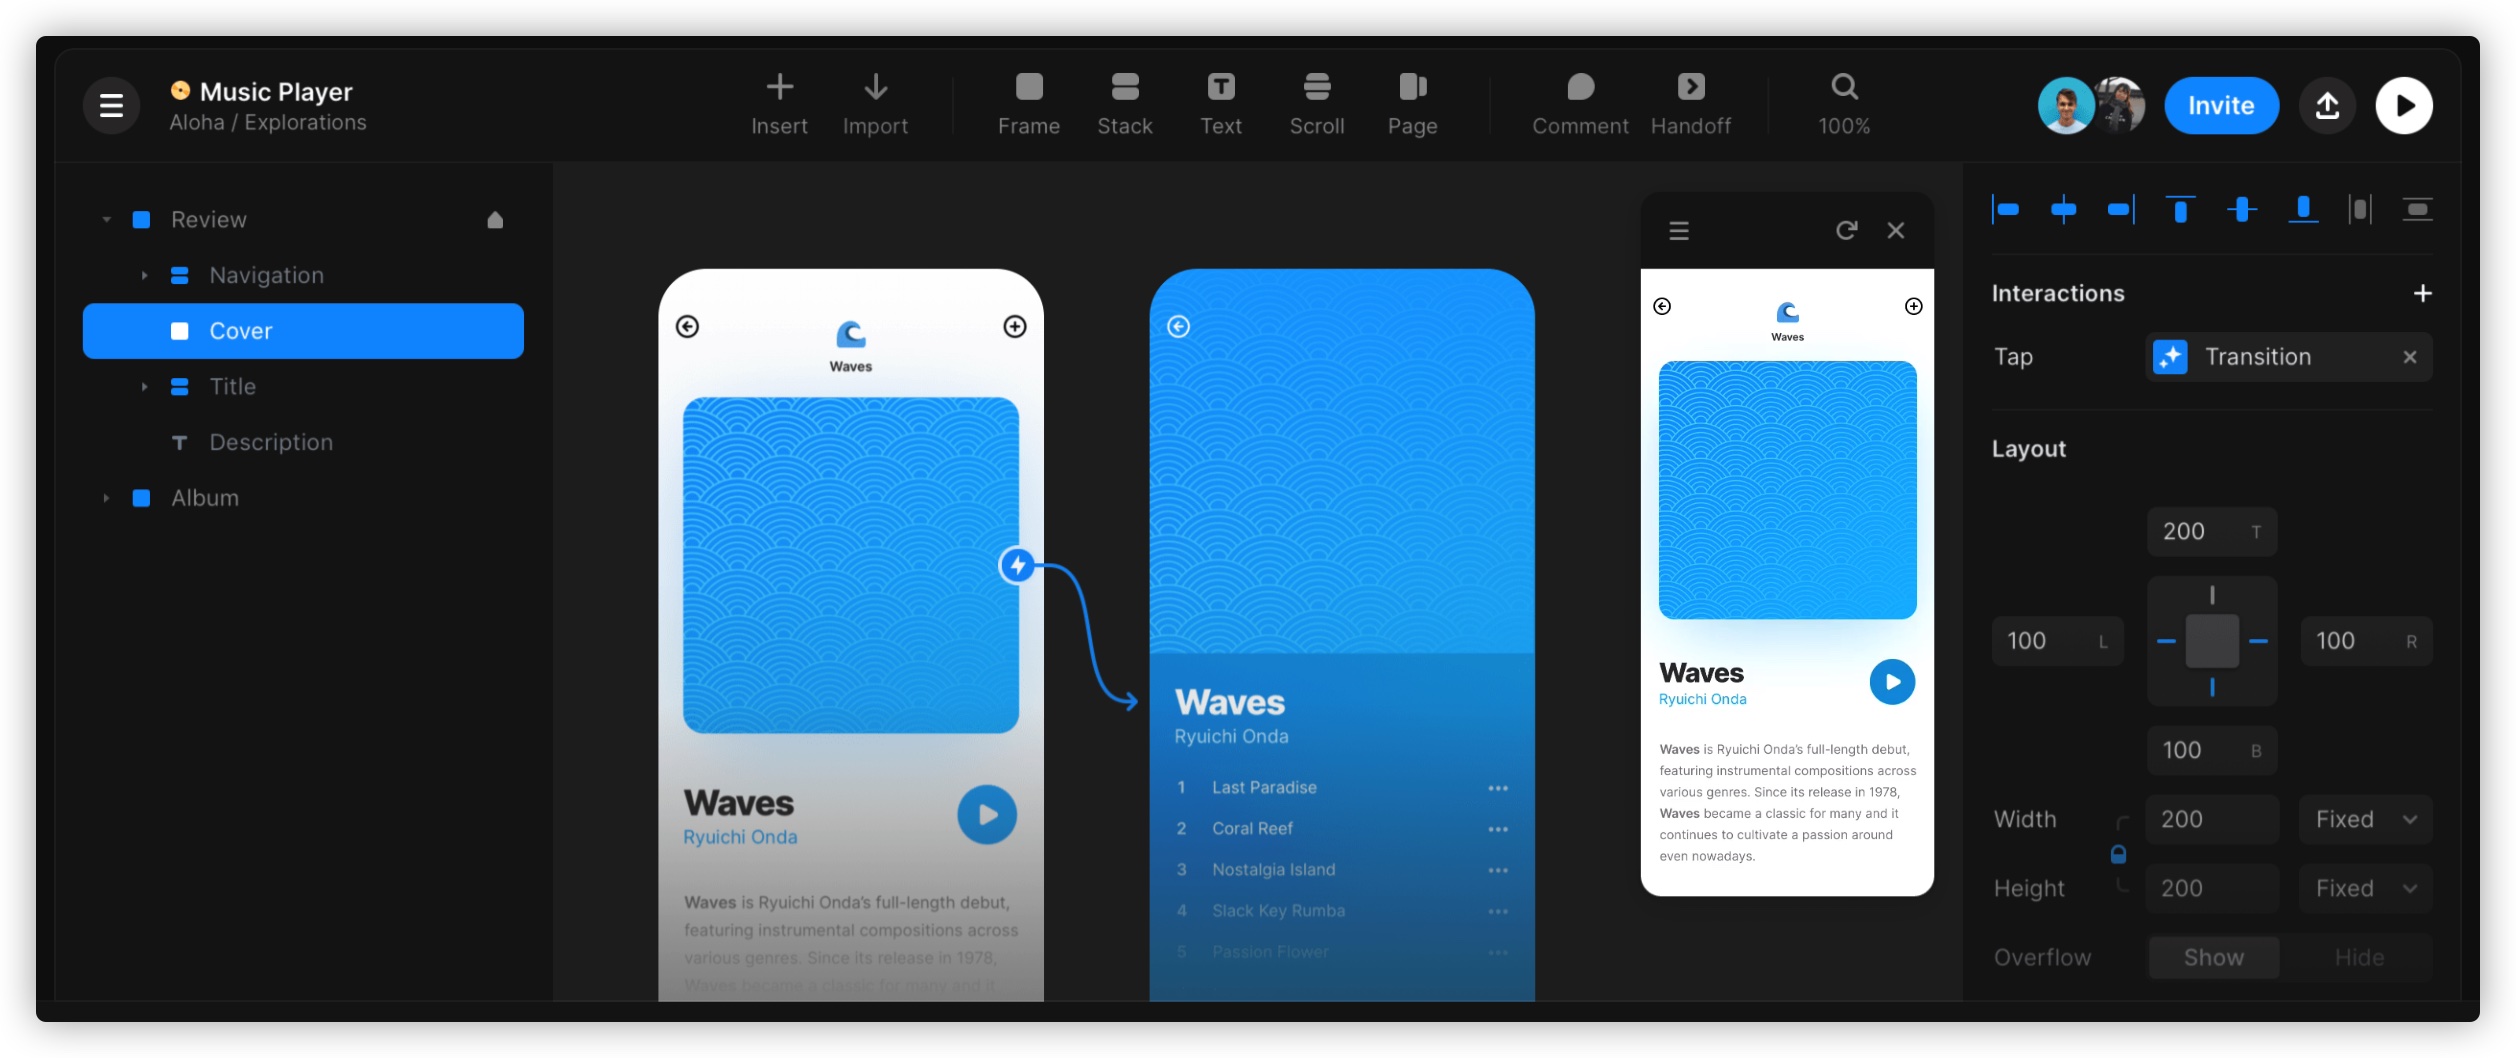
framer-motion是一个非常优秀的,可用来帮助我们快速开发Web动效的一个库。其主要运用于React开发体系下。另外,该团队还有一款非常优秀的原型工具,即Framer:
不过我们更关注的是如何使用framer-motion来构建动效。
特别声明:
framer-motion和react-spring非常的类似,我们在这里也不会对framer-motion做详细的介绍,如果你对其更详细的内容感兴趣的话,可以阅读其官方文档。另外,framer-motion也不仅局限于给SVG元素添加动效,但这里只是希望通过一个简单的Demo向大家阐述framer-motion可以快速帮助我们实现SVG动画效果。
我们来看Framer Motion官方提供的一个关于SVG路径的示例效果:

在React中要使用framer-motion则需要先在项目中安装它:
» npm i --save-dev framer-motion
安装好framer-motion之后就可以在项目中构建一个<SvgFramerMotion />组件,并且在该组件中引入framer-motion:
import React from 'react'
import {motion} from 'framer-motion'

const SvgFramerMotion = () => {
    return <motion.svg
        animate={{ scale: 2 }}
        transition={{ duration: 0.5 }}
        width="200"
        height="200"
        viewBox="0 0 200 200"
    >
        <circle r="80" cx="100" cy="100" fill="#f36" />
    </motion.svg>
}

export default SvgFramerMotion
上面示例使用<motion.svg>构建了一个最简单的SVG图形,并且有一个简单的动画效果:

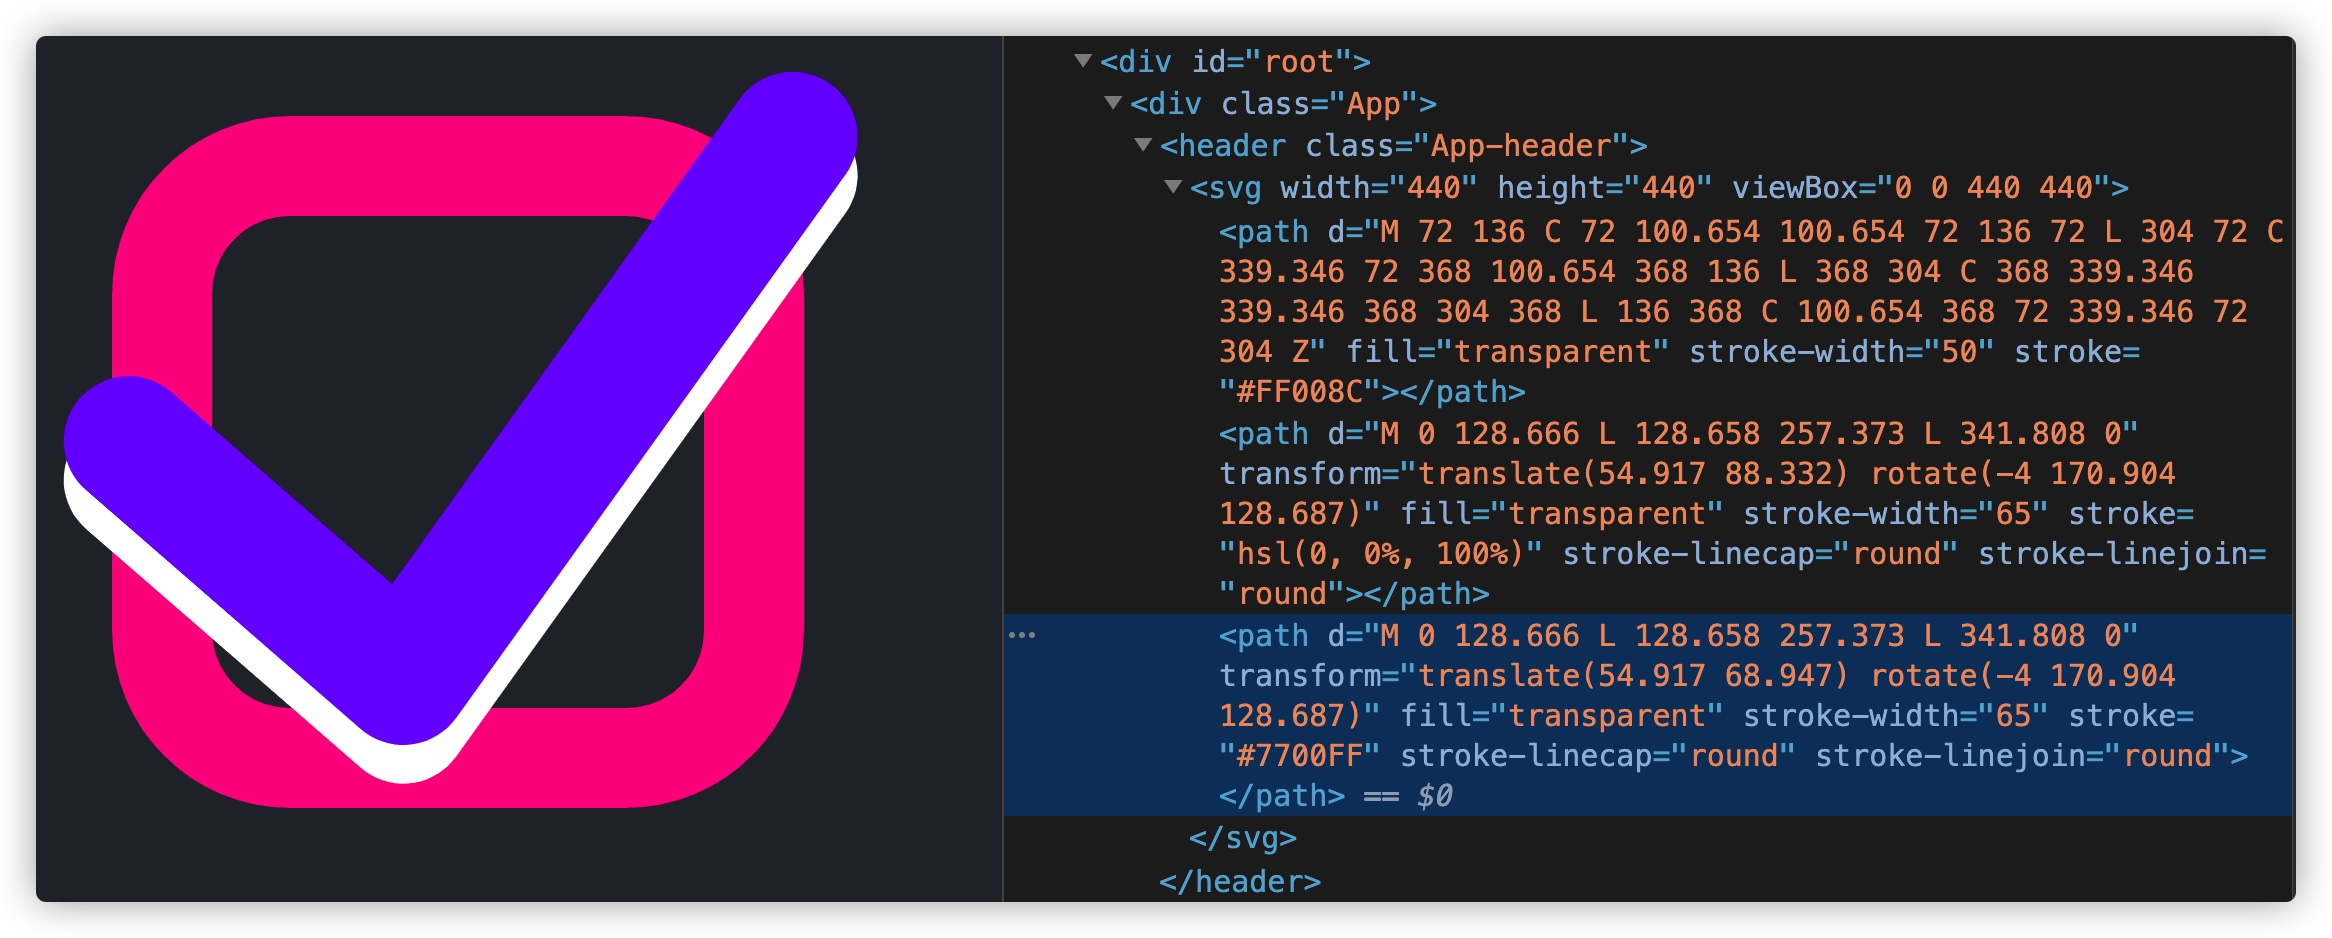
回到需要实现的效果上来。这个效果有点类似于checkbox选中和未选中的效果。但仅从SVG角度来看,它主要由三个<path>构成:
<svg width="440" height="440" viewBox="0 0 440 440">
    <path
            d="M 72 136 C 72 100.654 100.654 72 136 72 L 304 72 C 339.346 72 368 100.654 368 136 L 368 304 C 368 339.346 339.346 368 304 368 L 136 368 C 100.654 368 72 339.346 72 304 Z"
            fill="transparent"
            stroke-width="50"
            stroke="#FF008C" />
    <path
            d="M 0 128.666 L 128.658 257.373 L 341.808 0"
            transform="translate(54.917 88.332) rotate(-4 170.904 128.687)"
            fill="transparent"
            stroke-width="65"
            stroke="hsl(0, 0%, 100%)"
            stroke-linecap="round"
            stroke-linejoin="round"
            />
    <path
            d="M 0 128.666 L 128.658 257.373 L 341.808 0"
            transform="translate(54.917 68.947) rotate(-4 170.904 128.687)"
            fill="transparent"
            stroke-width="65"
            stroke="#7700FF"
            stroke-linecap="round"
            stroke-linejoin="round"
            />
</svg>
对应的效果:
换到React组件中,我们可以使用<motion.svg>和<motion.path>来替代SVG中的<svg>和<path>元素:
// src/components/SvgFramerMotion/index.js
import React from 'react'
import {motion} from 'framer-motion'

const SvgFramerMotion = () => {
    return <motion.svg
        width="440"
        height="440"
        viewBox="0 0 440 440">
            <motion.path
                d="M 72 136 C 72 100.654 100.654 72 136 72 L 304 72 C 339.346 72 368 100.654 368 136 L 368 304 C 368 339.346 339.346 368 304 368 L 136 368 C 100.654 368 72 339.346 72 304 Z"
                fill="transparent"
                strokeWidth="50"
                stroke="#FF008C" />
            <motion.path
                d="M 0 128.666 L 128.658 257.373 L 341.808 0"
                transform="translate(54.917 88.332) rotate(-4 170.904 128.687)"
                fill="transparent"
                strokeWidth="65"
                stroke="hsl(0, 0%, 100%)"
                strokeLinecap="round"
                strokeLinejoin="round"
        />
            <motion.path
                d="M 0 128.666 L 128.658 257.373 L 341.808 0"
                transform="translate(54.917 68.947) rotate(-4 170.904 128.687)"
                fill="transparent"
                strokeWidth="65"
                stroke="#7700FF"
                strokeLinecap="round"
                strokeLinejoin="round"
        />
    </motion.svg>
}

export default SvgFramerMotion
这个时候,SVG图形渲染到Web页面上:
我们需要让这个SVG动起来,还需要在上面的基础上添加一些其他的代码,比如click事件,SVG元素变化等:
// src/components/SvgFramerMotion/index.js
import React, { useState } from 'react'
import {motion, useMotionValue, useTransform} from 'framer-motion'

const tickVariants = {
    pressed: (isChecked) => ({
        pathLength: isChecked ? 0.85 : 0.2
    }),
    checked: {pathLength: 1},
    unchecked: {pathLength: 0}
}

const boxVariants = {
    hover: {
        scale: 1.05,
        strokeWidth: 60
    },
    pressed: {
        scale: 0.95,
        strokeWidth: 35
    },
    checked: {
        stroke: '#ff008c'
    },
    unchecked: {
        stroke: '#ddd',
        strokeWidth: 50
    }
}

const SvgFramerMotion = () => {
    const [isChecked, setIsChecked] = useState(false)
    const pathLength = useMotionValue(0)
    const opacity = useTransform(pathLength, [0.05, 0.15], [0, 1])
    return <motion.svg
        initial={false}
        animate={isChecked ? "checked" : "unchecked"}
        whileHover="hover"
        whileTap="pressed"
        onClick={() => setIsChecked(!isChecked)}
        width="440"
        height="440"
        viewBox="0 0 440 440">
            <motion.path
                d="M 72 136 C 72 100.654 100.654 72 136 72 L 304 72 C 339.346 72 368 100.654 368 136 L 368 304 C 368 339.346 339.346 368 304 368 L 136 368 C 100.654 368 72 339.346 72 304 Z"
                fill="transparent"
                strokeWidth="50"
                stroke="#FF008C"
                variants={boxVariants} />
            <motion.path
                d="M 0 128.666 L 128.658 257.373 L 341.808 0"
                transform="translate(54.917 88.332) rotate(-4 170.904 128.687)"
                fill="transparent"
                strokeWidth="65"
                stroke="hsl(0, 0%, 100%)"
                strokeLinecap="round"
                strokeLinejoin="round"
                variants={tickVariants}
                style={{pathLength, opacity}}
                custom={isChecked}
        />
            <motion.path
                d="M 0 128.666 L 128.658 257.373 L 341.808 0"
                transform="translate(54.917 68.947) rotate(-4 170.904 128.687)"
                fill="transparent"
                strokeWidth="65"
                stroke="#7700FF"
                strokeLinecap="round"
                strokeLinejoin="round"
                variants={tickVariants}
                style={{pathLength, opacity}}
                custom={isChecked}
        />
    </motion.svg>
}

export default SvgFramerMotion
这时候看到的效果就是我们想要的效果:

有关于Framer Motion更多的示例还可以阅读官网提供的,或者在Codesandbox上查看:
如果你想深入了解Framer Motion制作Web动效相关的技术,除了阅读官方文档之外,还可以阅读:
- Framer Motion
- Framer Motion Tutorials: Make More Advanced Animations
- Animations in React - Getting started with Framer Motion
- Animated tabs with React Router, and Framer Motion
- INTERACTIVE TRANSFORM ANIMATION WITH FRAMER MOTION
小结
文章从SVG自身开始,和大家一起探讨了如何在SVG世界中构建带有个性化的SVG,以及在SVG中实现动效的几种方案。在此基础上我们进入到React和SVG两者的世界中。不同的是在React中如何通过构建React组件,让SVG在React中实现一些个性化(自定义)的SVG图形,以及给这些自定义SVG图形添加一些动画效果。最后和大家演示了如何基于react-spring和framer-motion两个制作动效的库,让SVG动效的实现变得更容易。
最后,希望这篇文章对大家有所帮助,如果你在React中构建个性化SVG以及给SVG添加动效有更好的建议或相关经验,欢迎在下面的评论中与我们一起共享。


