使用React Hooks和WAAPI创建动效
早期在Web页面或Web应用中实现 Web动画 通常是使用JavaScript来完成。使用JavaScript创建动画非常灵活,但不能轻易地让浏览器通过硬件加速来优化动画,也不能将其连接到 布局 和 渲染 管道中。值得庆幸的是,自2007年Webkit团队引入的 CSS Animation 和 CSS Transition 克服了早期JavaScript动画实现的挑战。但是,CSS Animation和Transition也有很多的限制,特别是在 动态创建动画、控制动画的回放和监视动画生命周期方面等。不过,Web Animation API的出现,让开发者(特别是Web动画方面的开发者)看到了曙光。因为,Web Animation API引入了一种新的解决方案,它提供了CSS Animation和Transition的优化能力,同时还提供了早期基于JavaScript制作动画的API的灵活性。Web Animation API通过 **计时模型(Timing Mode)和动画模型(Animation Model)**提供对Web动画开发和控制。
随着iOS 13.4、iPadOS 13.4和Safari 13.1在macOS Catalina 10.15.4中的发布,Web Animation API得到了所有主流浏览器的支持,也就是说,我们可以在Web动画的开发中大胆的使用该技术了。
只不过现在前端开发都依赖于主流的JavaScript框架进行开发,比如React、Vue等。如果你在React或Vue中开发Web动画的话,你会发现处理动画的方式也会有所不同。比如说,在Vue中有内置的<transition>和<transition-group>组件,允许使用CSS和JavaScript钩子处理动画;如果使用React,那么对于ReactCSSTransitionGroup一定不会感到陌生,而且在React中还有很多优秀的库用来实现Web动画,比如 React-Motion 和 React-Gsap-Enhancer。那么在这篇文章中,将和大家一起探讨一下在React中如何使用React的钩子函数和Web Animation API结合起来创建一个高性能的动效。
React Hooks
Hook是React 16.8 的新增特性。它可以让你在不编写
class的情况下使用state以及其他的React特性
因为我们后面的内容会涉及到React的Hooks相关的知识,如果你从未接触过的话,建议你花点时间阅读:
CSS Animation 和 Transition
Webkit团队早在2007年就提出了CSS Animation 和 Transition的原始提案,经过多年发展,这些规范已经成熟并成为W3C标准和Web平台不可或缺的一部分。
有了这些技术,在Web开发中集成动画变得很简单,开发人员不再需要编写JavaScript,同时允许浏览器在渲染动画时启动硬件加速(3D加速),并在布局和渲染管道中集成动画,从而提供更好的性能。
虽然CSS Animation和Transition都能实现Web动效,但他们有着明显的区别:

简单地说:
- CSS的
transition只有两个状态:开始状态 和 结束状态;但animation可能是多个状态,有帧的概念 - CSS的
transition需要借助别的方式来触发,比如CSS的状态选择器(如:hover)或 借助JavaScript来触发;animation可以自动触发
用一个真正的示例来展示两者的区别:
正如前面所言,可以使用animation和transition制作Web动画,不过使用animation制作Web动画的场景更多。也正因为如此,业内有一个使用animation制作Web动画的库,即@Daniel Eden的 Animate.css。
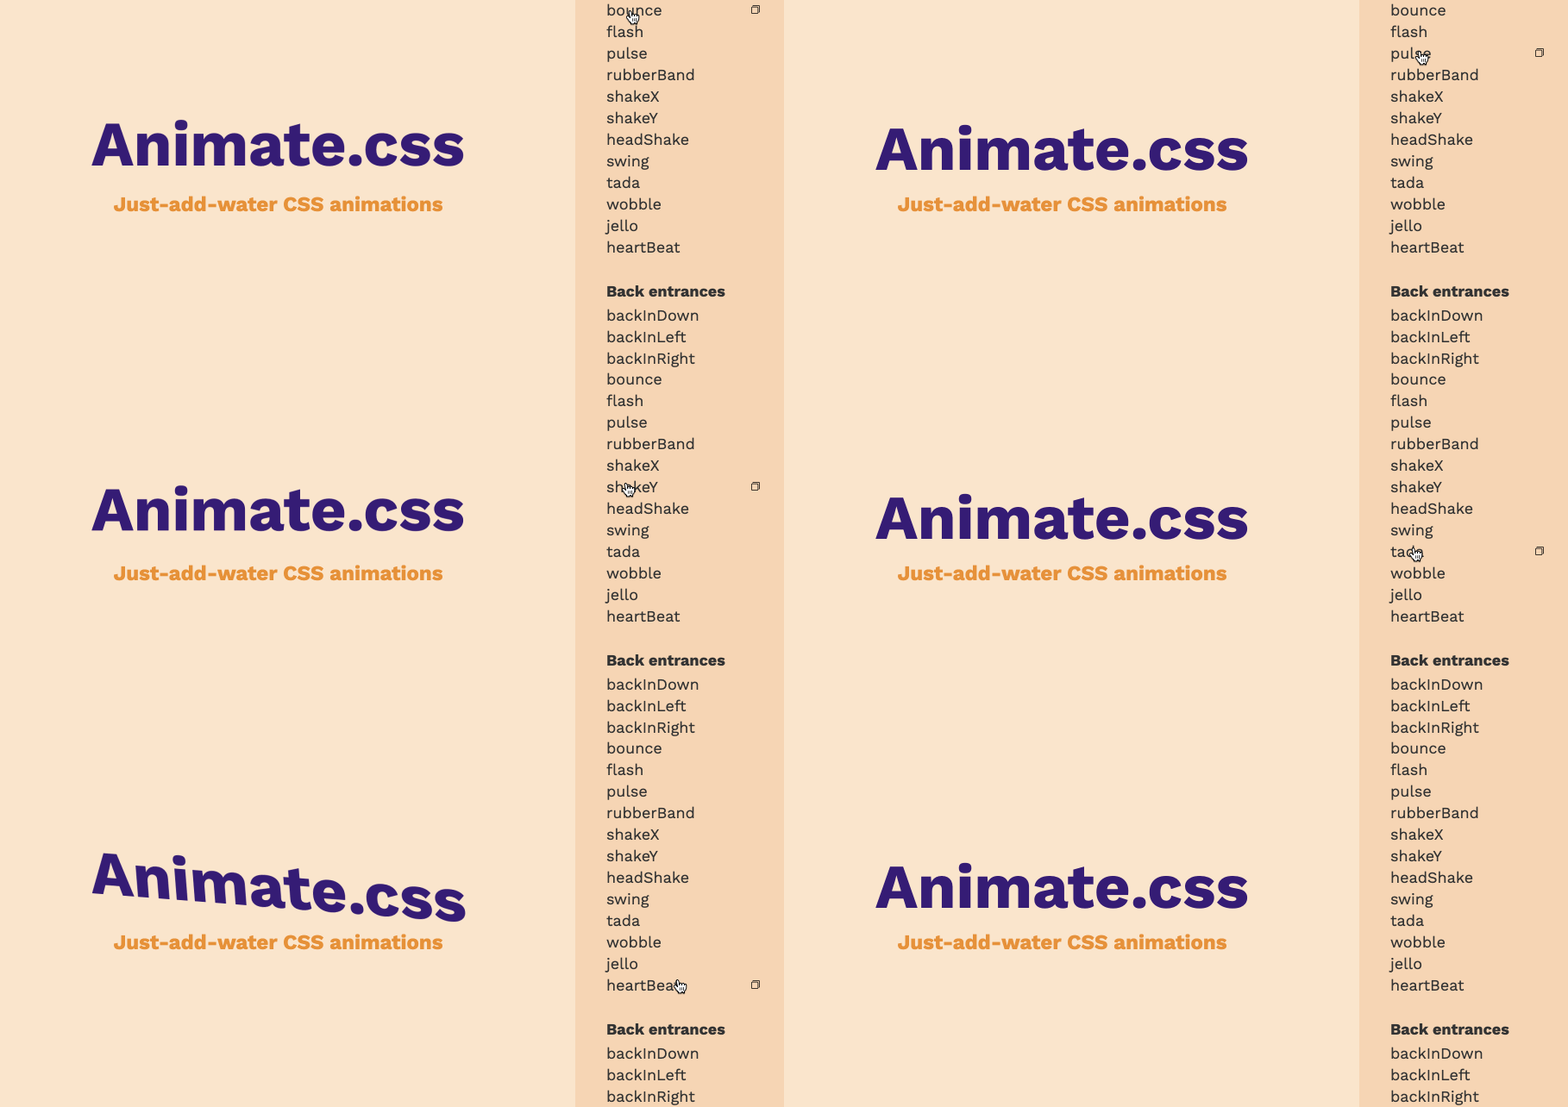
这个动画库内置了很多动画效果。
为什么要特别提到这个动画库呢?那是因为我们后面的内容将会用到这个库。
@Daniel Eden的 Animate.css 到目前为止,最新的版本是V4版本,而且使用的方式也相对于以前更为灵活,具体的使用指南可以查阅官方文档。
Web Animation API
作为一名Web开发人员,我很喜欢CSS Animation和Transition的简单性和卓越性能,而且我也一直在探讨这方面的技术。在一直以来的学习和探讨当中,CSS Animation 和 Transition的这些优势使得Web动画成为Web开发人员的强大工具;但在日常的学习和开发过程中,我也发现了这些技术也存在一定的缺陷:动态创建、回放控制和监控动画的生命周期!
不过值得庆幸的是,Web Animation API(简称 WAAPI)的出现可以解决上述提到的这些缺陷。
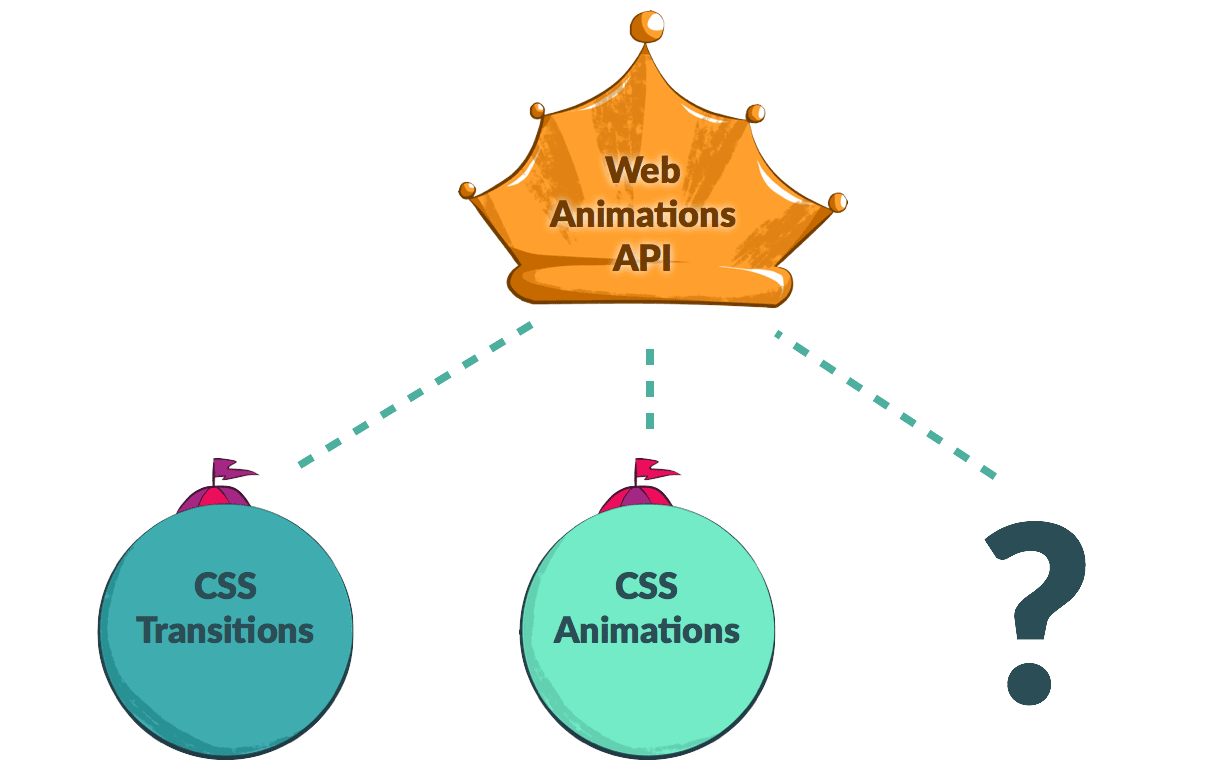
我们先来看看WAAPI的基础操作。
使用CSS的animation创建动画,首先会先使用@keyframes创建一个动画,然后在需要使用这个动画的元素(对象)上通过animation属性来调用,比如上面的示例:
@keyframes boxScale {
    to {
        transform: scale(1.5, 1.5);
    }
}

.box {
    transform-origin: center;
    animation: boxScale 2s linear infinite alternate;
}
.box元素是先放大,再回到初始大小,再放大,再回到初始大小,一直重复这样的过程:

对于这样的一个效果,如果我们使用WAAPI来实现的话,将会像下面这样:
const aniElement = document.querySelector(".waapi");

const keyframes = [
    { transform: "scale(1, 1)" },
    { transform: "scale(1.5, 1.5)" }
];

const options = {
    duration: 2000,
    iterations: Infinity,
    easing: "linear",
    direction: "alternate"
};

aniElement.animate(keyframes, options);
效果如下:
从效果上来看,他们是相同的。但熟悉CSS Animation的开发者都知道,CSS允许你很容易地将状态变化(比如上示中的圆变大变大)动画化,但如果给定动画的开始值和结束值事先不知道,那么就会非常棘手。针对于这种情况,Web开发者会用CSS Transition来处理这些情况:
// 设置transition属性的初始值
aniElement.style.transitionProperty = 'transform'
aniElement.style.transitionDuration = '2s'
aniElement.style.transform = 'scale(1, 1)'

// 现在,设置transition属性的结束值
aniElement.style.transform = 'scale(1.5, 1.5)'
我们可能通过事件的操作,即将最终值放到对应的事件中:
play.addEventListener("click", () => {
    aniElement.style.transform = "scale(1.5, 1.5)";
});

reset.addEventListener("click", () => {
    aniElement.style.transform = "scale(1, 1)";
});
效果如下:
虽然说,这样能让元素动起来。但浏览器不会在它认为最合适的时候让元素动起来。比如说,如果页面的另一部分也需要创建一个类似的动画,那么我们将要不断的重复这样的代码,这将增加了代码量而且也有可能降低Web性能。当然,你也可有会考虑使用CSS Animation来替代(即,首先@keyframes创建一个动画),并将其插入到<style>或.css中,从而无法封装单个元素的真正目标样式更改,并导致昂贵的样式无效。
不过,我们改用Web Animation API,就能轻易让浏览器引擎高效地运行动画,同时还能更好的控制动画。正如上面的示例所示,我们可以使用Element.animate()调用一个方法来重写上面的代码:
element.animate({
    transform: [
        'scale(1, 1)',
        'scale(1.5, 1.5)'
    ]
}, 2000)
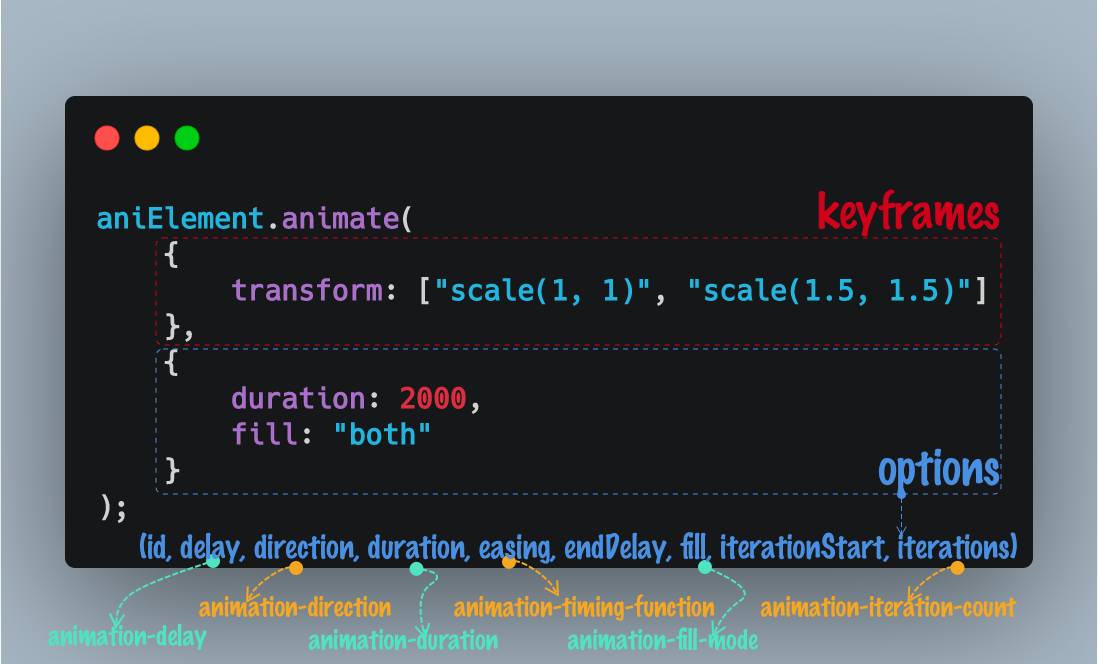
这是一个很简单的示例,但可以说Element.animate()方法是名副其实的瑞士军刀,它具有更高级的特性。Element.animate()方法接受两个参数,第一个参数指定是类似于@keyframes动画值,第二个参数指定的指定动画的特性的相关参数(类似于animation-timing-function、animation-duration、animation-fill-mode等)。这样一来,我们可以添加更多的参数,让上面的动画变得更强大:
const aniElement = document.querySelector(".box");
const play = document.getElementById("play");
const reset = document.getElementById("reset");

play.addEventListener("click", () => {
    aniElement.animate(
        {
            transform: ["scale(1, 1)", "scale(1.5, 1.5)"]
        },
        {
            duration: 2000,
            fill: "both"
        }
    );
});

reset.addEventListener("click", () => {
    aniElement.animate(
        {
            transform: ["scale(1.5, 1.5)", "scale(1, 1)"]
        },
        {
            duration: 2000,
            fill: "both"
        }
    );
});
效果如下:
用一张简单的图来描述Element.animation()方法的两个参数和CSS Animation属性对应关系:
有关于
Element.animate()方法更详细的介绍可以查阅MDN文档。
现在我们知道如何使用Web Animation API创建动画,而且能创建出和CSS Animation相同的动画效果。但Web Animation API真正派上用场的是操纵动画的播放。Web Animation API提供了一些控制动画播放的有用方法,比如 play()、pause()、**reverse()**和 **playbackRate**等。
比如下面这个示例,我们可以通过pause()让动画停止,使用reverse()让动画反着播放:
相对而言,控制动画要简单地多。
Web Animation API还有另一个优势那就是可以很好的控制Web动画的生命周期。虽然JavaScript中有对transition和animation操作的一些事件,可以提供关于源自CSS的动画何时开始和结束的信息,但很难正确的使用它们。考虑在将元素从DOM中删除之间淡出它。通常情况下,CSS动画会这样写:
@keyframes fadeOut {
    to { opacity: 0 }
}

element.style.animationName = "fadeOut";
element.addEventListener("animationend", event => {
    element.remove();
});
这样做看上去没有问题,但进一步检查就会发现问题。当一个animationend事件被分派到元素上时,这段代码将删除元素,但是由于动画事件冒泡,事件可能来自于DOM层次结构中一个子元素中完成的动画,动画甚至可以以同样的方式命名。这种措施可以让代码更安全,但使用Web Animation API,编写这样的代码不仅容易而且更安全,因为你直接引用一个Animation对象而不是通过动画事件范围元素的层次结构。在此之上,Web Animation API使用promise来监控动画的ready和finished状态:
let animation = element.animate({ opacity: 0 }, 1000);
animation.finished.then(() => {
    element.remove();
});
还有另外一种场景,我们可能希望在删除共享容器之前监视多个元素的大量CSS动画的完成情况,那么使用Web Animation API和promise会让事情变得同样的简单:
let animations = container.getAnimations();
Promise.all(animations.map(animation => animation.finished).then(() => {
    container.remove();
});
上面我们看到的仅是Web Animation API的其中一部分,它更详细的内容可以阅读:
CSS + Web Animation API
正如上面示例所示,Web Animation API最初将类似于CSS Animation的机制引入到JavaScript中,但Web Animation API还额外的添加了一些其他的特性,比如修改回放速率(playbackRate)和跳转到动画时间轴的不同位置。随着Web Animations一级规范向浏览器推出的最后一部分,获得额外特性已不仅仅是JavaScript的特权。
在Web Animation API中有一个较新的特性:能够获得对特性元素甚至整个document引用的所有动画。获取对动画的引用对于以后更新动画或设置事件监听器非常重要。
比如下面这个Demo,使用纯CSS实现的粒子动画(每个粒子都有动效):
在这个Demo页面中,如果我们使用document.getAnimations()将会返回文档(document)中包含的所有动画的数组:
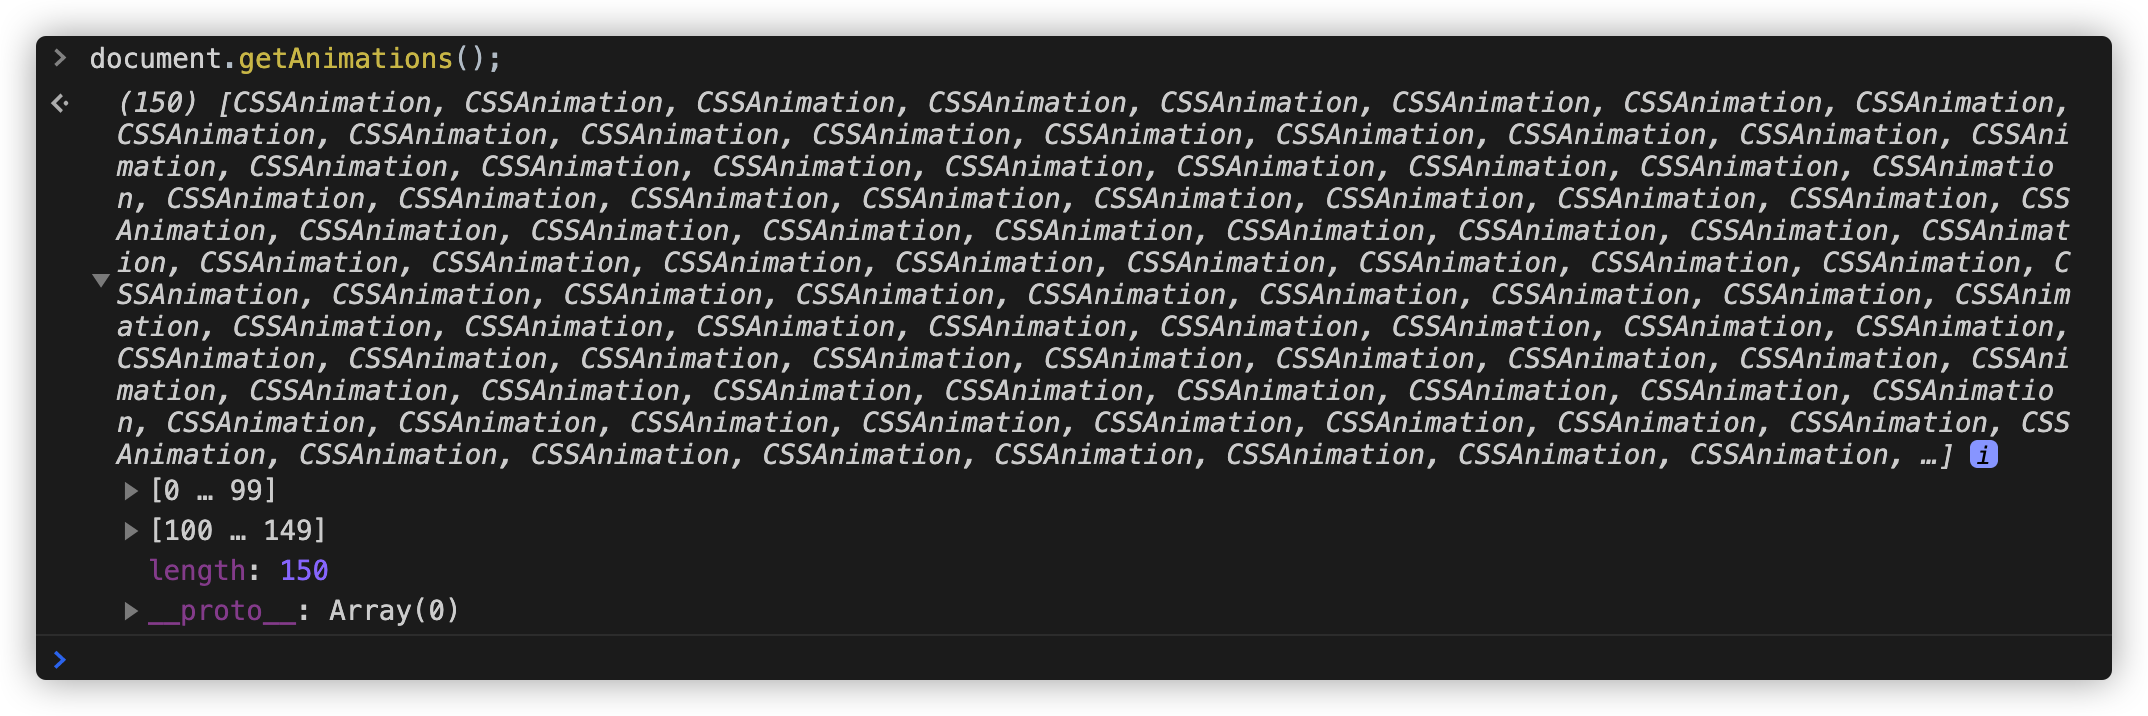
我们还可以使用Element.getAnimations()方式来获取指定元素所有动画的数组:
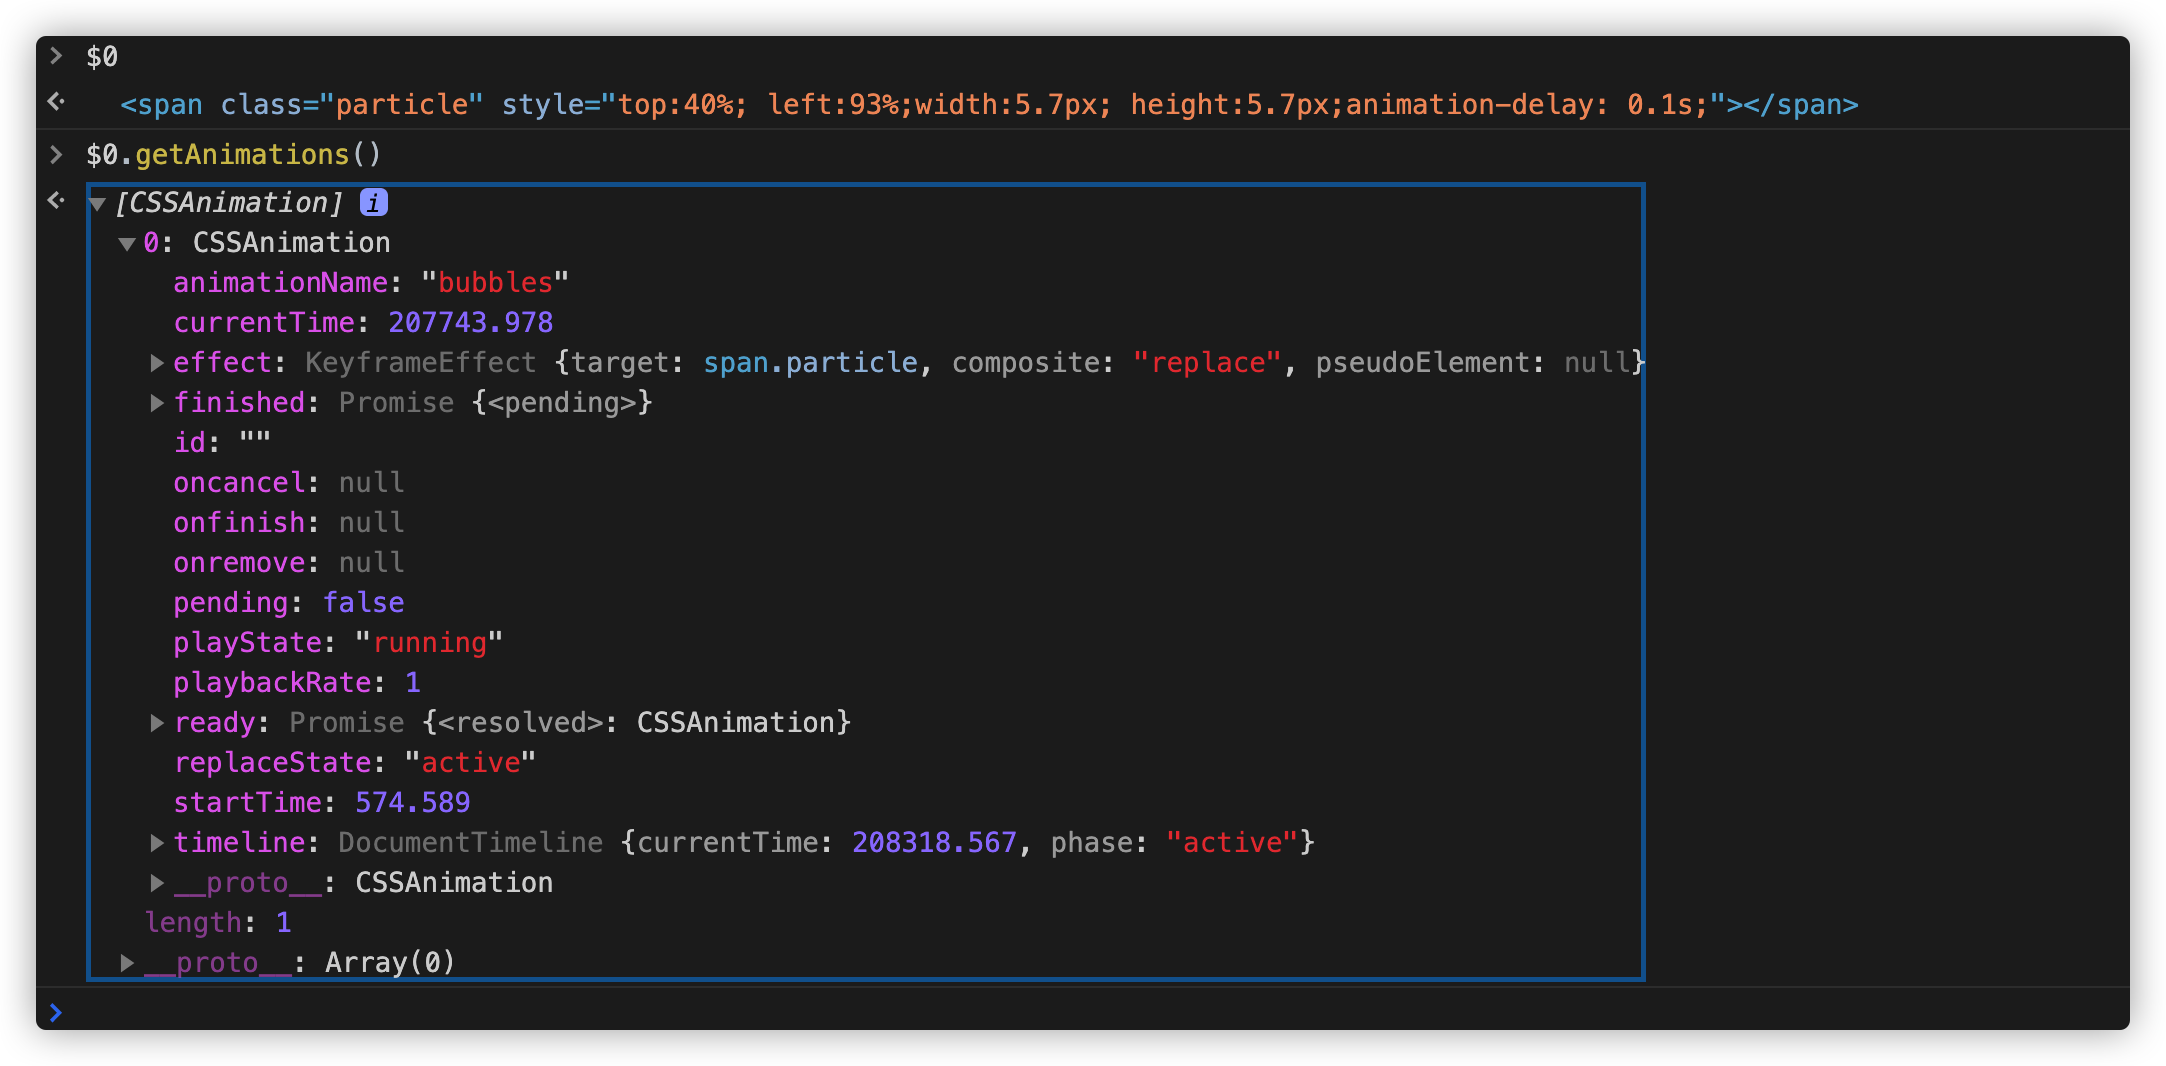
另外不可以像下面这样,返回特定元素及其后代的所有动画的数组:
document.getElementById('header').getAnimations({
    subtree: true
})
最棒的是,这个新的Web Animation API方法不仅皇家马德里回用Web Animation API创建的动画,还返回CSS Animation 和 CSS Transition。然后,任何API方法都可以调用CSS Animations 和 Transitions,就好像它是由Web Animation API创建的动画一样。
刚才提到过了,Web Animation API中的getAnimations()数组中得到的动画都是由Web Animation API,CSS Animations 和 CSS Transitions创建的。那么我们怎么知道一个动画是在哪里创建的,是哪种动画类型(创建方式)?就刚刚也说过,不管哪种动画类型,Web Animation API都可以操作它们(即每种类型都有常规的Web Animation API方法),只不过CSS Animations 和 Transitions创建的动画将有一个特定的属性。
CSS Animation 将有一个名为animationName的属性,它将公开动画名称(与CSS的animation-name和@keyframes定义的名称相同);CSS Transitions也会有类似的transitionProperty来获取它负责过渡的属性。也就是说,像下面这样,我们可以很容易的知道Web动画是用哪种类型来定义的:
// 获取文档中的所有动画
const animations = document.getAnimations();

// 迭代每个动画的类型
animations.forEach(animation => {
    if (animation.animationName) {
        // CSS Animations
    } else if (animation.transitionProperty) {
        // CSS Transitions
    } else {
        // Web Animations API
    }
});
剩下的都来自于Web Animation API(不过,规范中提到的SVG Animation也会出现在这里)。如果需要知道哪个是Web Animation API创建的动画,还可以查看关键帧或计时选项,或者在创建动画时指定的id。
使用Web Animation API扩展CSS Animation
由于所有这些动画都共享一个公共接口,并且背后有相同的底层引擎(这是Web Animation API规范的主要目的之一),我们现在可以使用Web Animation API和CSS Animations进行交互。
就该示例而言,如果浏览器不支持getAnimations()这个API,将会出现一个按钮,允许用户启动或暂停CSS Animations。但是,由于能够从支持的浏览器的API中抓取这些动画,因此可以通过滑块进行交互,从而允许用户改变CSS Animation的回放速率。这是因为Web Animation API有updatePlaybackRate(),它允许我们对动画进行加速或减速。另外还可以通过currentTime的读或写属性跳转到(或读取)动画时间轴中的特定点,并且可以读取或更新特定的关键帧或定时选项(比如,duration,delay和iterations)。
还有一些更直接的方法可以取消或完成动画。使用CSS Animations,你可以随时更新样式。在JavaScript中animationName='none'取消动画,但现在可以调用cancel()来取消动画。CSS Animations和Transitions对于animationend、transitionstart和其他的都有相应的JavaScript事件监听器,所以Web Animation API并没有带来什么新的东西。也就是说,Web Animation API提供了可比较的回调(callbacks)和Promise。
React Hooks和Web动画
前面花了一定的篇幅和大家聊了什么是React Hooks、CSS Animation、CSS Transition和Web Animation API。接着我们花点时间来了解一下React Hooks和Web动画相关的知识。接下来,将会通过使用React Hooks构建一个基于React的函数组件来创建一个可重用的组件来简化过渡动画。
首先,使用React构建一个基本的应用,就是用React构建Modal框。
const Modal = (props) => {
    const { show, closeModal, modalTitle, a11yId, children } = props;

    return (
        <>
            <div
                className={show ? "modal show" : "modal"}
                tabindex="-1"
                role="dialog"
                aria-labelledby={a11yId}
                aria-hidden={!show}
            >
                <div className="modal__dialog">
                    <div className="modal__content">
                        <div className="modal__header">
                            <h5 className="modal__title" id={a11yId}>
                                {modalTitle}
                            </h5>
                            <button
                                type="button"
                                className="close"
                                aria-label="close"
                                tabindex="-1"
                                onClick={closeModal}
                            >
                                <svg
                                className="icon"
                                height="200"
                                width="200"
                                viewBox="0 0 1024 1024"
                                xmlns="http://www.w3.org/2000/svg"
                                aria-hidden="true"
                                focusable="false"
                                >
                                    <defs />
                                    <path fill="currentColor" d="M925.468404 822.294069 622.19831 512.00614l303.311027-310.331931c34.682917-27.842115 38.299281-75.80243 8.121981-107.216907-30.135344-31.369452-82.733283-34.259268-117.408013-6.463202L512.000512 399.25724 207.776695 87.993077c-34.675754-27.796066-87.272669-24.90625-117.408013 6.463202-30.178323 31.414477-26.560936 79.375815 8.121981 107.216907l303.311027 310.331931L98.531596 822.294069c-34.724873 27.820626-38.341237 75.846432-8.117888 107.195418 30.135344 31.43699 82.72919 34.326806 117.408013 6.485715l304.178791-311.219137 304.177767 311.219137c34.678824 27.841092 87.271646 24.951275 117.408013-6.485715C963.808618 898.140501 960.146205 850.113671 925.468404 822.294069z" />
                                </svg>
                            </button>
                        </div>
                        {children}
                    </div>
                </div>
            </div>
            {show && (
                <div
                className={show ? "modal__backdrop show" : "modal__backdrop"}
                onClick={closeModal}
                ></div>
            )}
        </>
    );
};

const App = () => {
    const [show, setShow] = React.useState(false);

    const openModal = () => setShow(true);
    const closeModal = () => setShow(false);

    return (
        <div className="app">
            {!show && (
                <button onClick={openModal} className="btn__primary">
                Open Modal
                </button>
            )}
            <Modal
                closeModal={closeModal}
                show={show}
                modalTitle="Modal title"
                a11yId="exampleModalLabel"
            >
                <div className="modal__body">
                    <p>
                        I will not close if you click outside me. Don't even try to press
                        escape key.
                    </p>
                </div>
                <div className="modal__footer">
                    <button type="button" className="btn__secondary" onClick={closeModal}>
                        Close
                    </button>
                    <button type="button" className="btn__primary">
                        Enter
                    </button>
                </div>
            </Modal>
        </div>
    );
};

function render() {
    ReactDOM.render(<App />, document.getElementById("root"));
}

render();
这是模拟一个Bootstrap的Modal框,效果如下:
你会发现,上面这个Demo并没有任何动画效果:
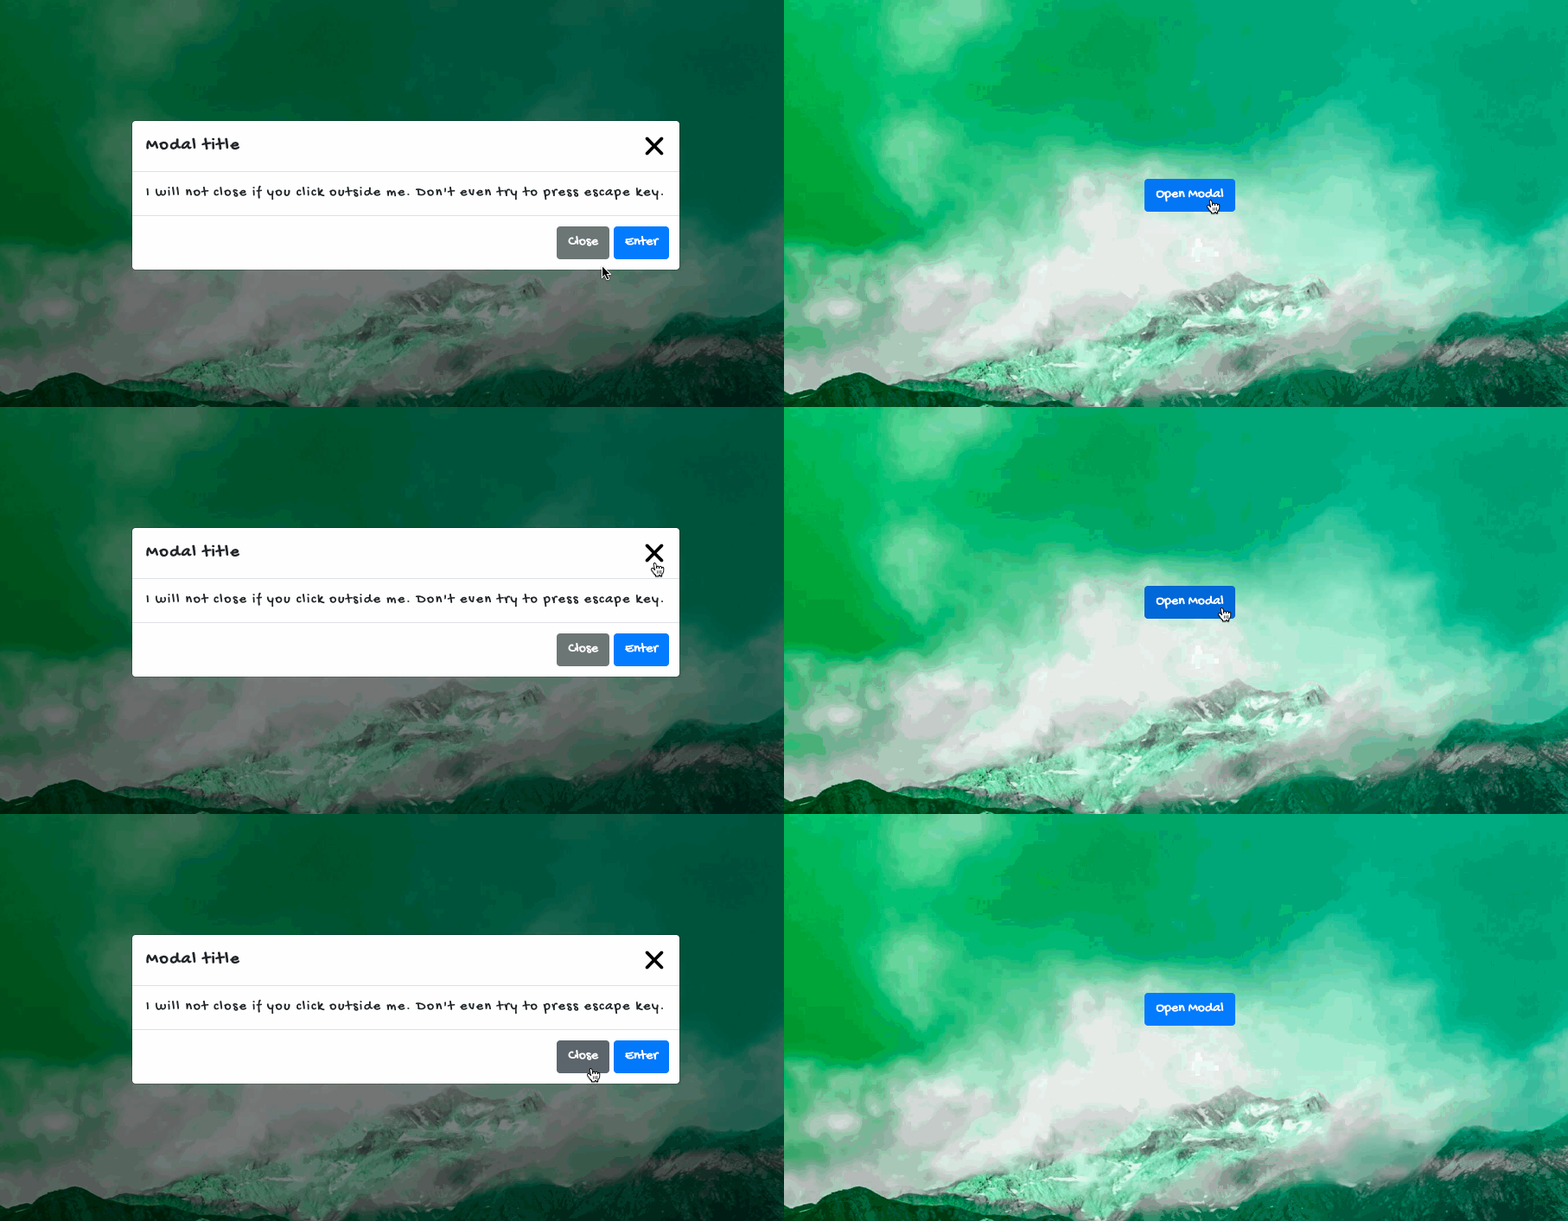
我尝试着在上面的Demo基础上,添加Animation.css的动画效果,比如加一个bounceInDown(弹窗进入时)和bounceOutUp(弹窗移出时):
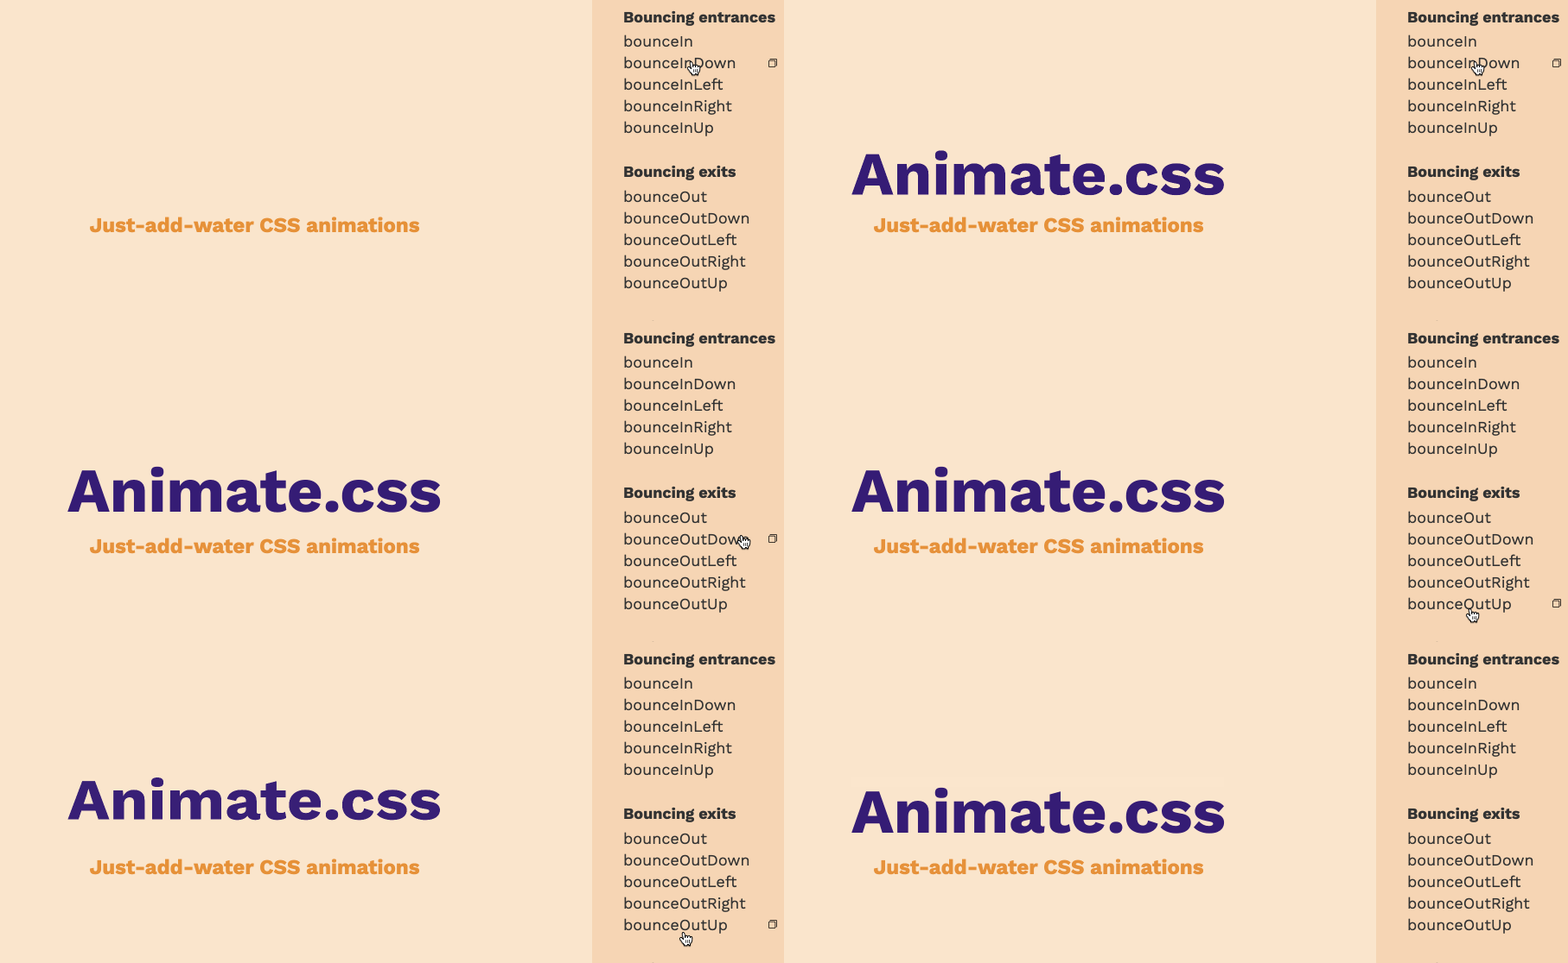
有关于Animation.css的使用,可以阅读官方文档。
在Codepen使用最简单的方法就是使用引用一个CDN地址:
https://cdnjs.cloudflare.com/ajax/libs/animate.css/4.0.0/animate.min.css
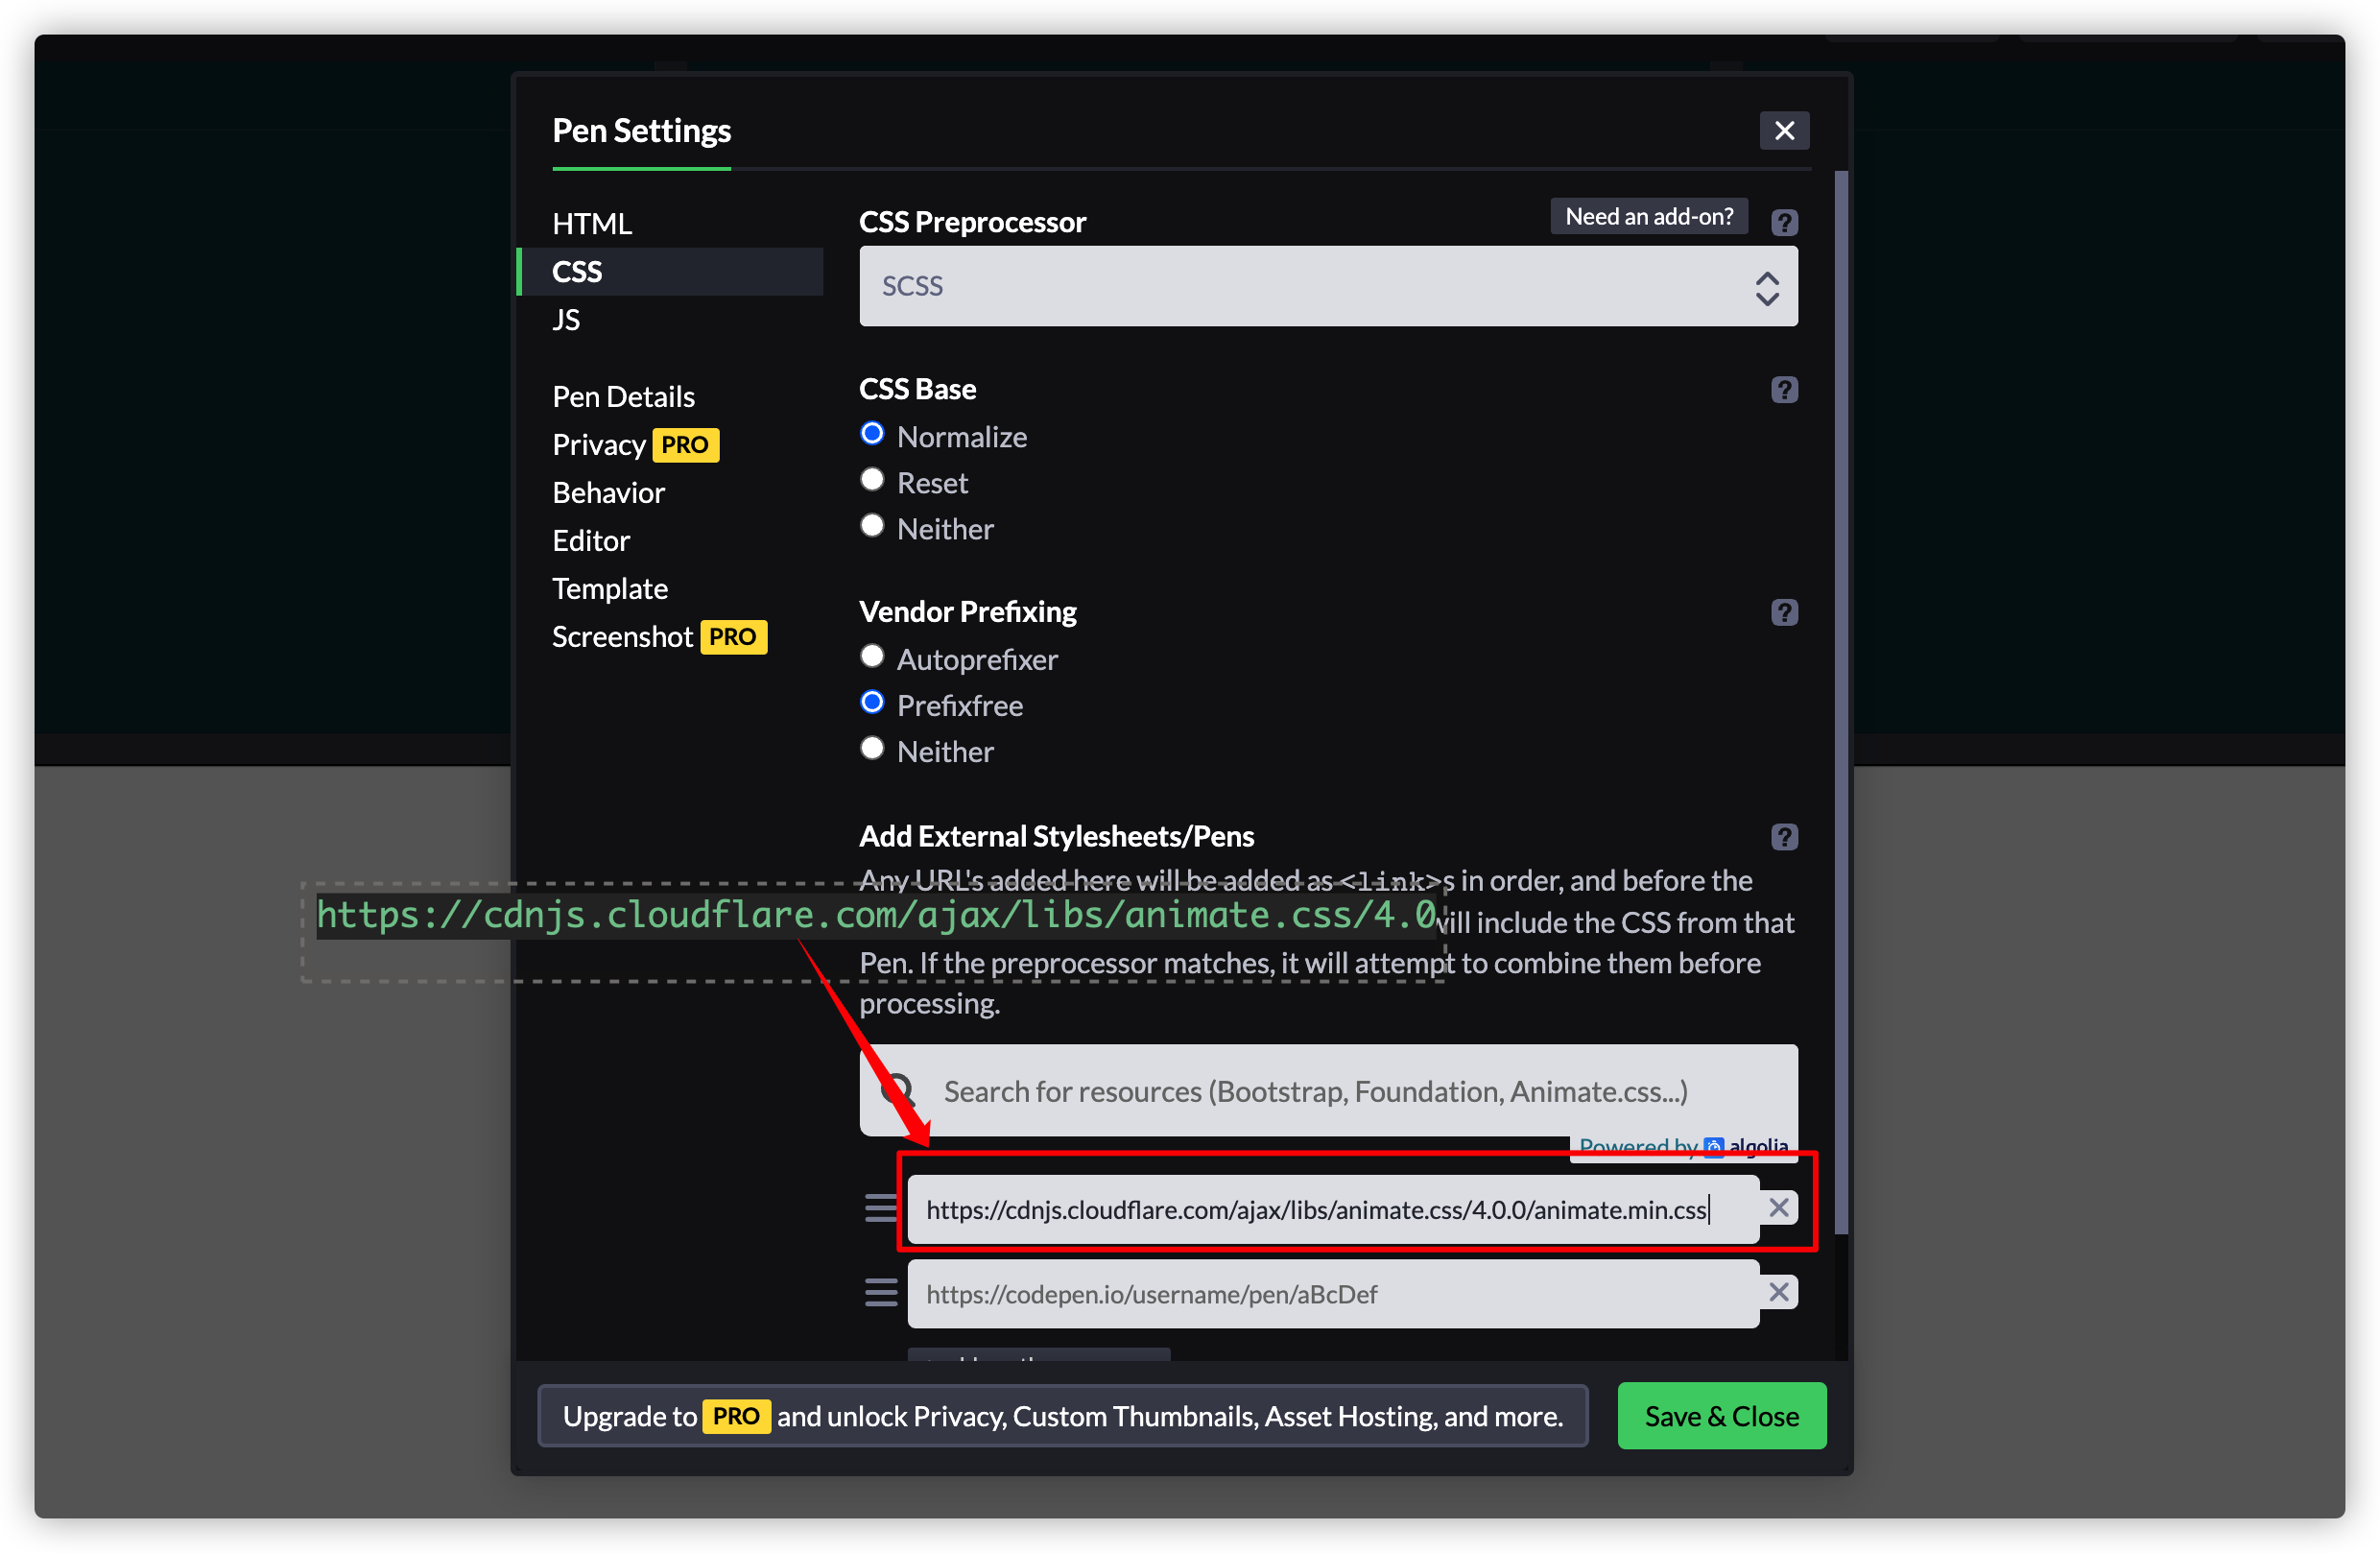
根据Animation.css的使用文档,对Modal组件稍作修改:
const Modal = (props) => {
    const { show, closeModal, modalTitle, a11yId, children } = props;

    return (
        <>
            <div
                className={
                show
                    ? "modal show animate__bounceInDown animate__animated"
                    : "modal animate__bounceOutUp animate__animated"
                }
                tabindex="-1"
                role="dialog"
                aria-labelledby={a11yId}
                aria-hidden={!show}
            >
                <div className="modal__dialog">
                    <div className="modal__content">
                        {/* ... */}
                    </div>
                </div>
            </div>
        </>
    );
};
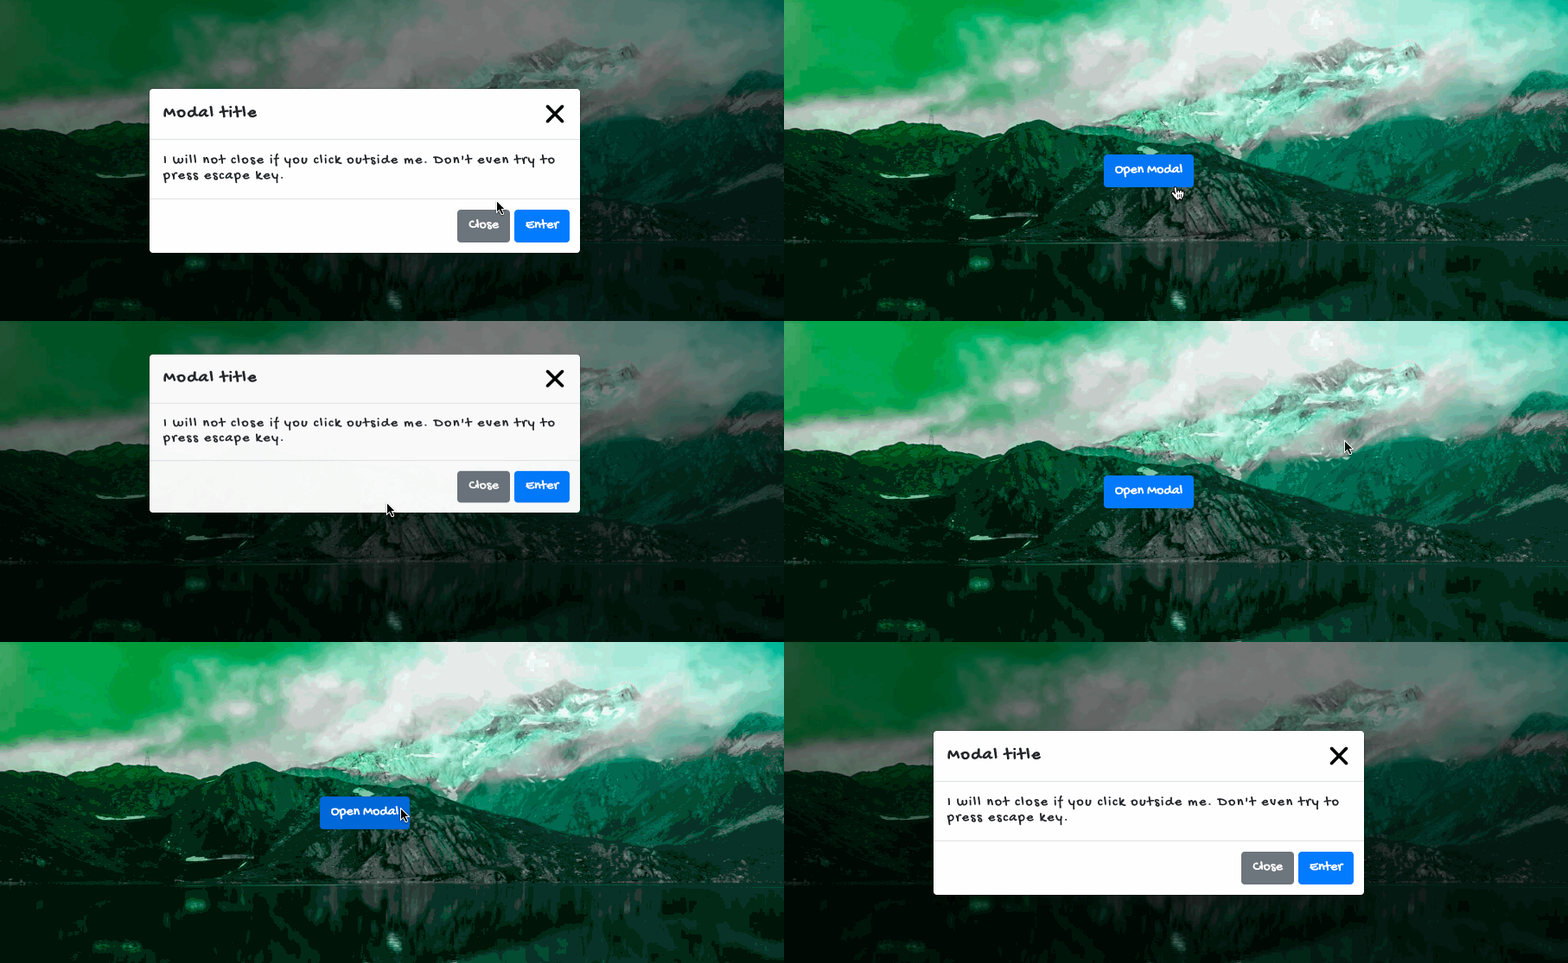
主要在className上做了相应的调整,当Modal显示时添加类名animate__bounceInDown 和 animate__animated,当Modal移除(隐藏)时添加类名animate__bounceOutUp 和 animate__animated。这个时候你看到的效果如下:
在这个示例中,你打开和关闭Modal框时,不难发现,Modal框显示时有animate__bounceInDown动效,而Modal移除时(隐藏)时并没有animate__bounceOutUp动效:
为此我们来继续优化。接下来将会使用到@Welly的use-web-animations。不同的是,useWebAnimations使用Web Animation API,并且是React Hooks版本的Web Animation API。简单地说,Web Animation API和React Hooks的结合可以在现代Web开发中创建高性能,灵活和可操作的Web动画。
useWebAnimations基本使用
useWebAnimations提供的钩子函数(API设计)不仅继承了Web Animation API的DX,还为我们提供了有用的特性和事件语法糖。这里有一些例子来告诉我们怎么使用useWebAnimations。
使用useWebAnimations可以通过关键帧(keyframes)格式和时间(timing)属性来创建动画。
接下来的示例将使用
create-react-app来构建React项目。
使用create-react-app构建好React项目之后,执行下面命令安装useWebAnimations:
npm install --save @wellyshen/use-web-animations
这样就可以使用useWebAnimations了。
// App.js
import React from 'react';
import logo from './logo.svg';
import './App.css';
import useWebAnimations from "@wellyshen/use-web-animations";

const App = () => {
    const { ref } = useWebAnimations({
        keyframes: {
            transform: ['rotate(0deg)', 'rotate(360deg)']
        },
        timing: {
            duration: 20000,
            iterations: Infinity,
            easing: 'linear'
        }
    })

    return (
        <div className="App">
            <header className="App-header">
                <img src={logo} className="App-logo" alt="logo" ref={ref} />
            </header>
        </div>
    )
}

export default App;
这个时候,Logo会旋转起来:
从效果上看,它和在CSS Animations相似:
@keyframes rotate {
    from {
        transform: rotate(0deg);
    }

    to {
        transform: rotate(360deg);
    }
}

.App-logo {
    animation: rotate 20000ms linear infinite
}
不过,useWebAnimations()还有一些事件语法糖,比如:
// App.js

const App = () => {
    const { ref } = useWebAnimations({
        keyframes: {
            transform: ['rotate(0deg)', 'rotate(360deg)']
        },
        timing: {
            duration: 20000,
            iterations: Infinity,
            easing: 'linear'
        },
        onReady: ({ playState, animate, animation }) => {
            console.log('当动画准备播放时触发')
        },
        onUpdate: ({ playState, animate, animation }) => {
            console.log('当动画进入运行状态或改变状态时触发')
        },
        onFinish: ({ playState, animate, animation }) => {
            console.log('当动画进入完成状态时触发')
        }
    })

    return (
        <div className="App">
            <header className="App-header">
                <img src={logo} className="App-logo" alt="logo" ref={ref} />
            </header>
        </div>
    )
}
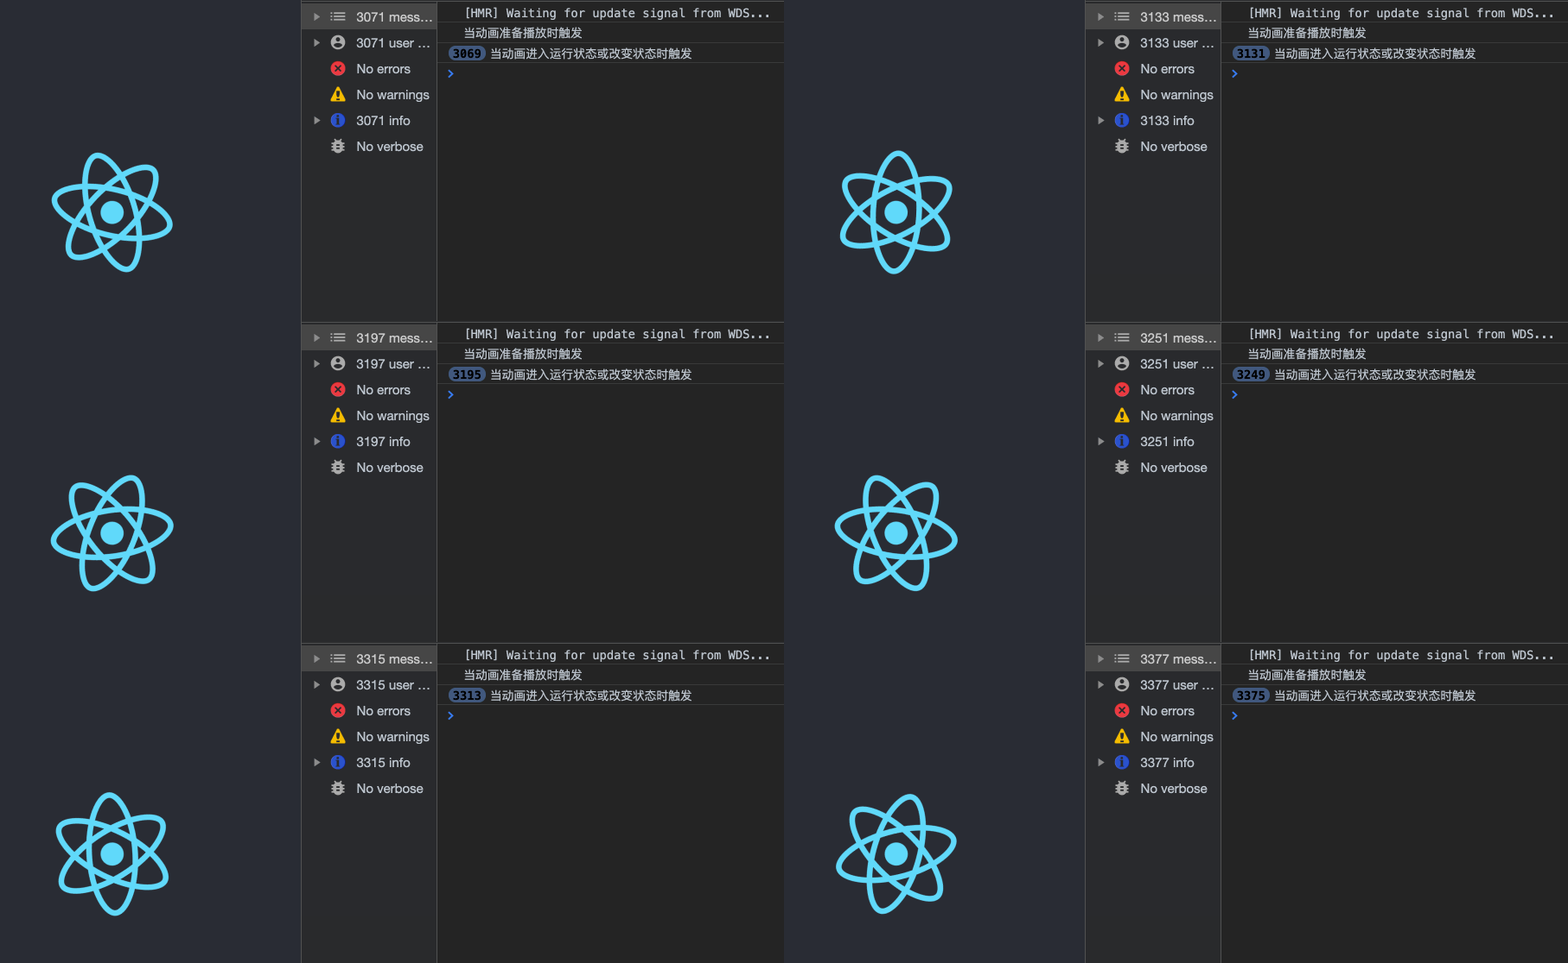
你可以看到console.log()输出的信息:
对于不支持onReady和onFinish事件的浏览器,我们可以使用onUpdate来监视动画的状态:
let prevPending = true;

const App = () => {
    const { ref } = useWebAnimations({
        // ...
        onUpdate: ({ playState, animation: { pending } }) => {
            if (prevPending && !pending) {
                console.log("动画已经准备播放");
            }
            prevPending = pending;

            if (playState === "finished") {
                console.log("动画播放结束");
            }
        },
    });

    // ...
}
播放控制
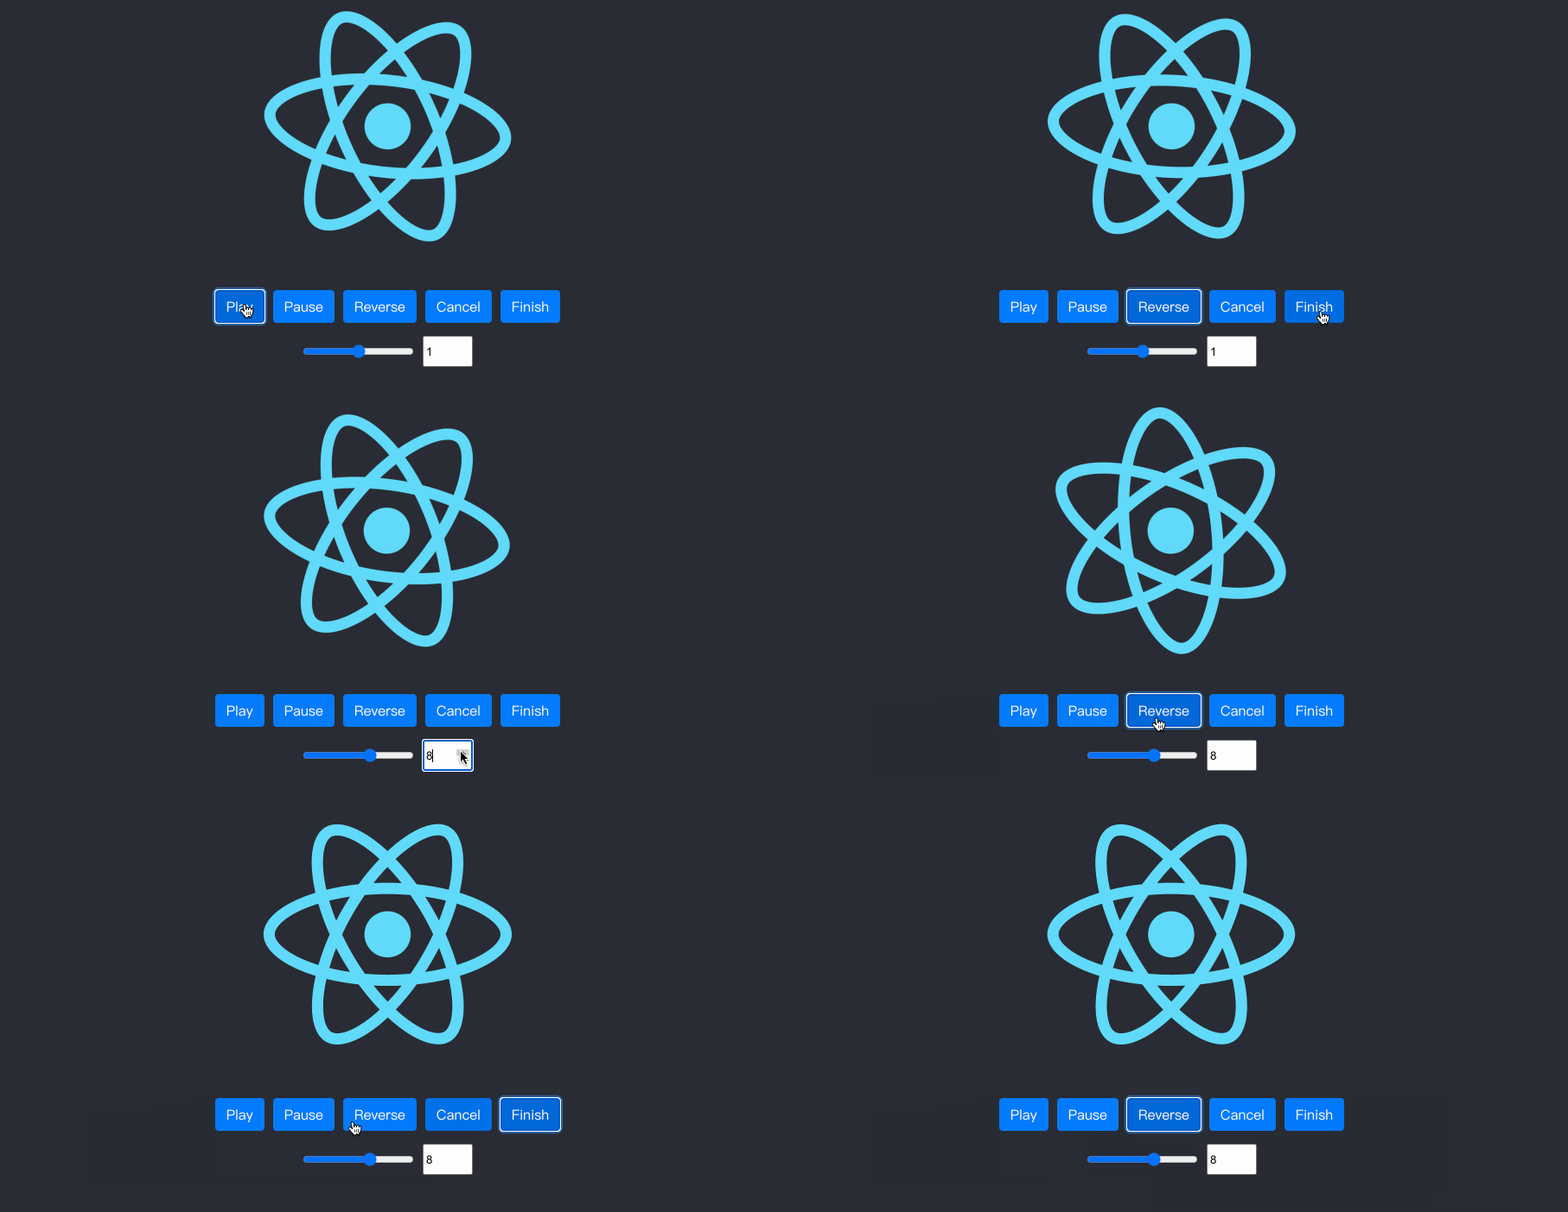
前面多次提到过,CSS Animations的最大缺点是缺乏回放控制。而Web Animation API提供了相关的API:play()、pause()、reverse()、cancel()、**seek()**等方法控制动画。在useWebAnimations()钩子函数中可以通过getAnimation()返回的值来访问它,也就是说,可以通过getAnimation()返回的值来控制动画。比如下面这个示例:
// App.js
const App = () => {
    const { ref, getAnimation } = useWebAnimations({
        keyframes: {
            transform: ['rotate(0deg)', 'rotate(360deg)']
        },
        timing: {
            duration: 20000,
            fill: 'forwards',
            easing: 'linear'
        },
        playbackRate: .5, // 改变动画播放速率,默认为1
        autoPlay: false,  // 是否自动播放动画,默认为true
        onReady: ({ playState, animate, animation }) => {
            console.log('---playState-->', playState)
        },
        onUpdate: ({ playState, animate, animation }) => {
            console.log('---playState--->', playState)
        },
        onFinish: ({ playState, animate, animation }) => {
            console.log('---playState--->', playState)
        }
    })

    const play = () => {
        getAnimation().play()
    }

    const pause = () => {
        getAnimation().pause()
    }

    const reverse = () => {
        getAnimation().reverse()
    }

    const cancel = () => {
        getAnimation().cancel()
    }

    const finish = () => {
        getAnimation().finish()
    }

    const seek = (e) => {
        const animation = getAnimation()
        const time = (animation.effect.getTiming().duration / 100) * e.target.value
        animation.currentTime = time
    }

    const updatePlaybackRate = (e) => {
        getAnimation().updatePlaybackRate(e.target.value)
    }

    return (
        <div className="App">
            <header className="App-header">
                <img src={logo} className="App-logo" alt="logo" ref={ref} />
            </header>
            <div className="actions">
                <button onClick={play} className="btn__primary">Play</button>
                <button onClick={pause} className="btn__primary">Pause</button>
                <button onClick={reverse} className="btn__primary">Reverse</button>
                <button onClick={cancel} className="btn__primary">Cancel</button>
                <button onClick={finish} className="btn__primary">Finish</button>
            </div>
            <div className="inputs">
                <input type="range" onChange={seek} />
                <input type="number" defaultValue="1" onChange={updatePlaybackRate} />
            </div>
        </div>
    )
}

export default App;
效果如下:
获取动画信息
在使用Web Animation API时,我们可以通过Animation的属性来获取动画的信息。但是,在useWebAnimations()钩子函数中也可以通过getAnimation()返回值获取动画的相关信息。
继续在上面的示例的基础添加两个事件speedUp(给动画加速)和jumpToHalf(跳转到动画的一半):
const speedUp = () => {
    const animation = getAnimation()
    animation.updatePlaybackRate(animation.playbackRate * .25)
    getAnimation().play()
    console.log(getAnimation())
}

const jumpToHalf = () => {
    const animation = getAnimation()
    animation.currentTime = animation.effect.getTiming().duration / 2
}
在React中,animation实例不是React状态的一部分,这意味着我们需要在需要的时候通过getAnimation()访问它。如果你想要监视动画的信息,可以通过onUpdate事件。该事件由requestAnimationFrame内部实现,当动画进入运行(running)状态或改变状态时触发事件回调。
// App.js
import React, { useState } from 'react';
import useWebAnimations from "@wellyshen/use-web-animations";

const App = () => {
    const [showEl, setShowEl] = useState(false)

    const { ref, getAnimation } = useWebAnimations({
        keyframes: {
            transform: ['rotate(0deg)', 'rotate(360deg)']
        },
        timing: {
            duration: 20000,
            fill: 'forwards',
            easing: 'linear'
        },
        playbackRate: .5, // 改变动画播放速率,默认为1
        autoPlay: false,  // 是否自动播放动画,默认为true

        onReady: ({ playState, animate, animation }) => {
            console.log('---playState-->', playState)
        },

        onUpdate: ({ playState, animate, animation }) => {
            // 当动画进入运行状态或改变状态时触发
            if (animation.currentTime > animation.effect.getTiming().duration / 2) {
                setShowEl(true)
            }
        },

        onFinish: ({ playState, animate, animation }) => {
            // 当动画进入完成状态时触发
            setShowEl(false)
        }
    })

    // ...

    return (
        <div className="App">
            <header className="App-header">
                <img src={logo} className="App-logo" alt="logo" ref={ref} />
                {showEl && <div className="text">React Hooks and Web Animations API</div>}
            </header>
            {/* ... */}
        </div>
    )
}

export default App;
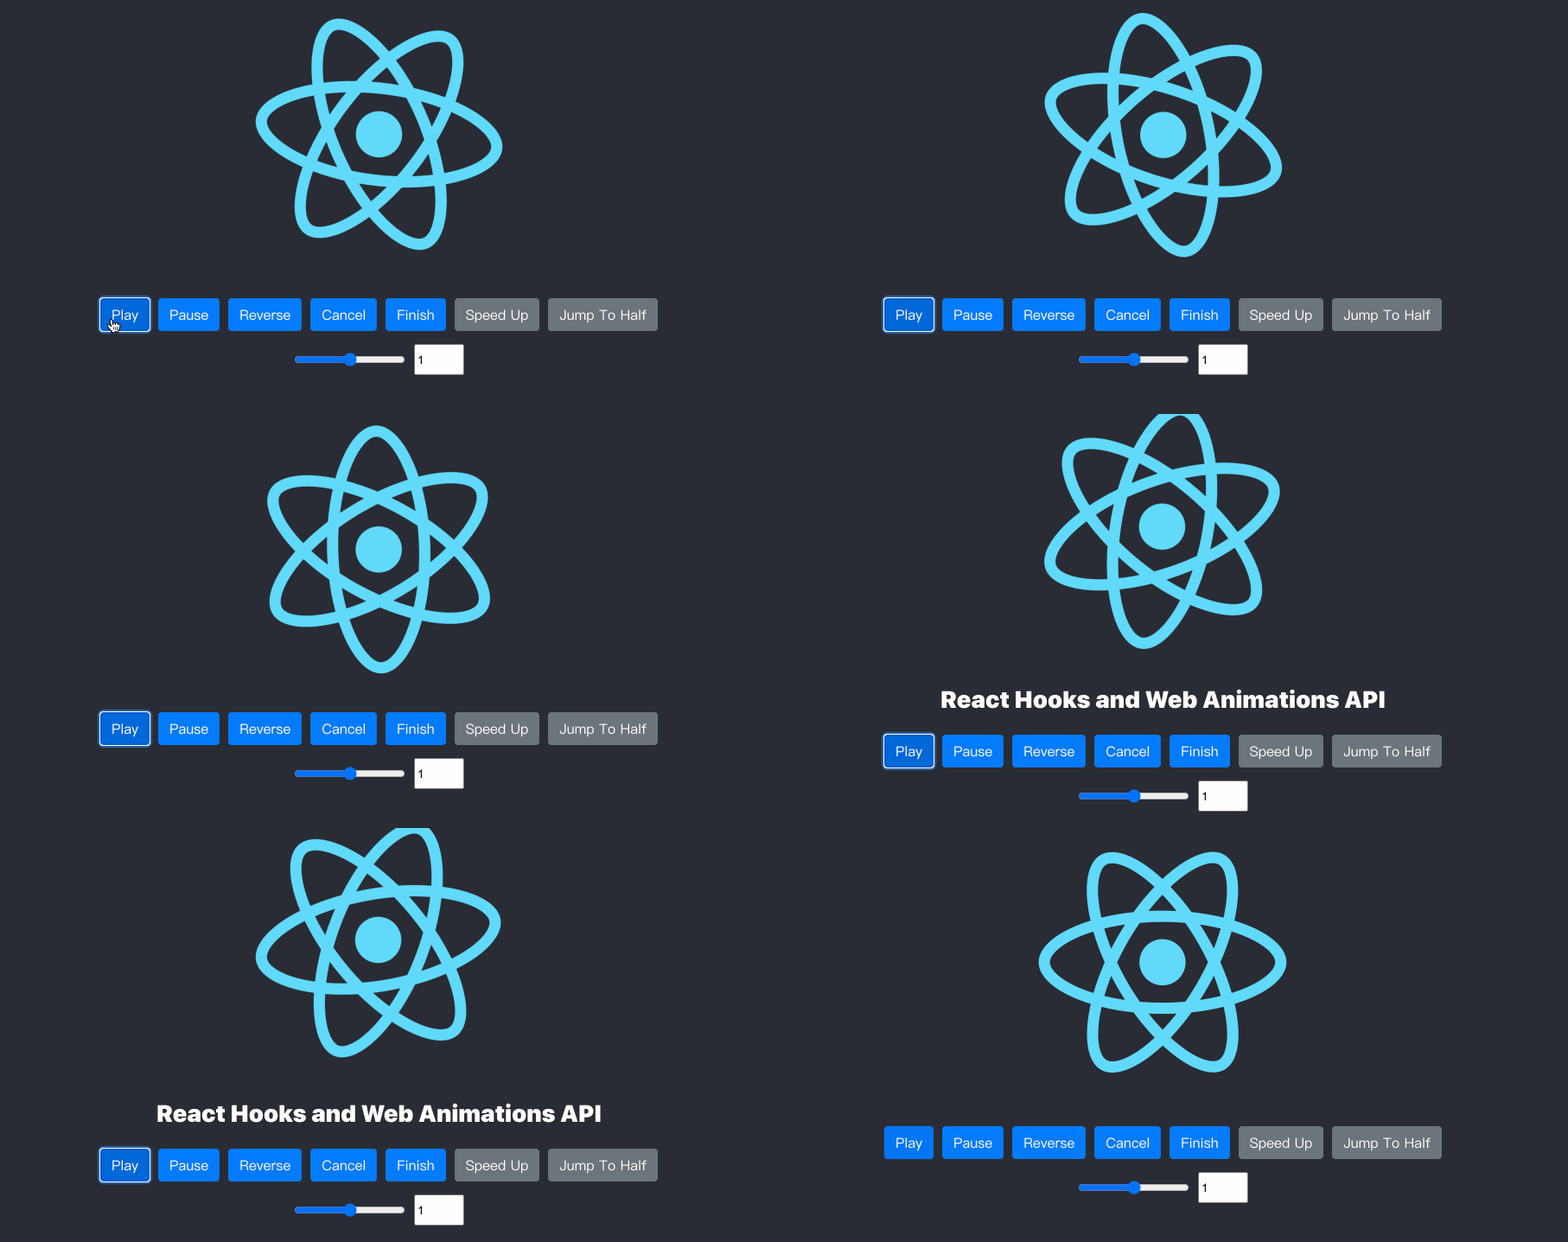
在动画进入运行状态或改变状态时,动画的当前时间animation.currentTime大于animation.effect.getTiming().duration / 2时,setShowEl()的值为true,对应的div.text元素就会显示,但当动画结束时setShowEl()的值为false,对应的div.text元素就会被移除。整个效果如下:
使用Animation实现动态交互
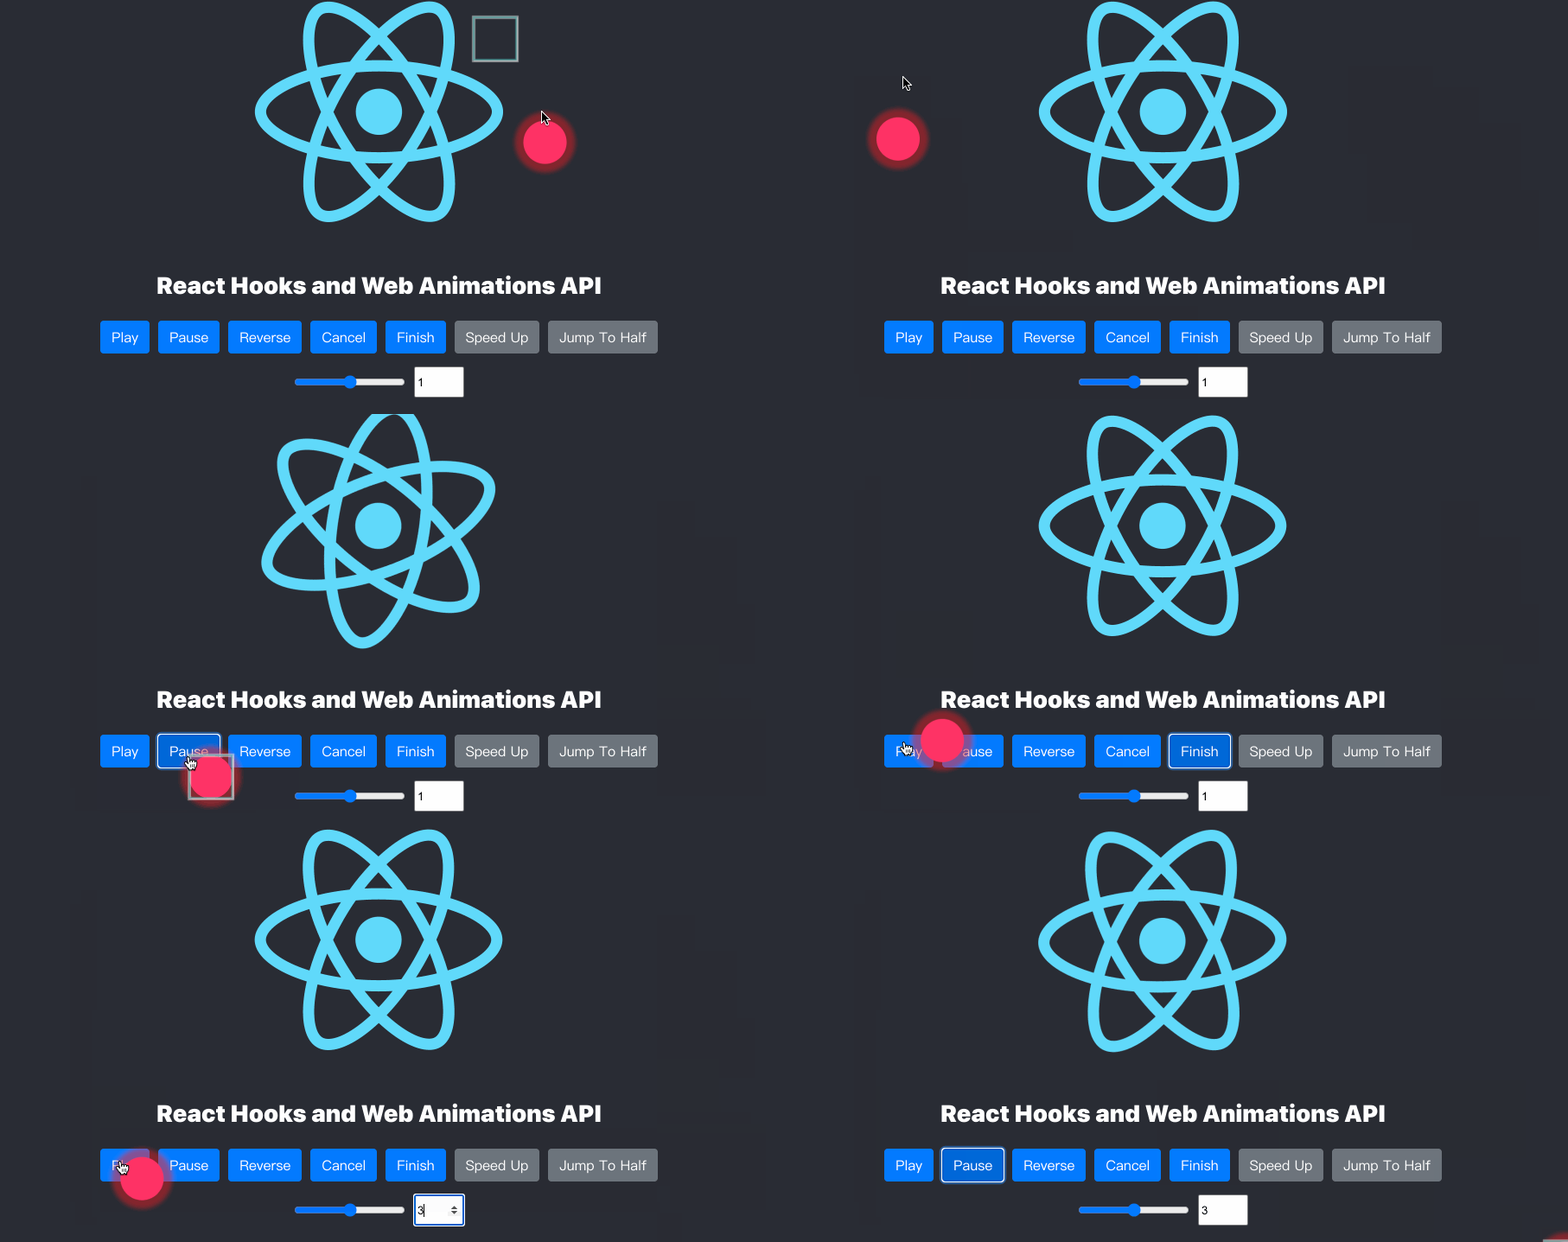
我们可以通过animate()返回值在任何想要的时间创建和播放动画。animate()是基于Element.animate()实现的。该方法对交互作用和复合模式很有用。来看一个简单的示例,在上面的基础上,将动画改成和鼠标交互的动效效果。React Logo会跟随用户的鼠标在屏幕上的位置进行移动:
// BoxMove.js

import React, { useEffect } from 'react'
import useWebAnimations from '@wellyshen/use-web-animations'

import './boxMove.css';

const BoxMovie = () => {
    const {ref, animate } = useWebAnimations()

    useEffect(() => {
        document.addEventListener('mousemove', (e) => {
            animate({
                keyframes: {
                    transform: `translate(${e.clientX}px, ${e.clientY}px)`
                },
                timing: {
                    duration: 500,
                    fill: 'forwards'
                }
            })
        })
    }, [animate])

    return <div className="box" ref={ref}></div>
}

export default BoxMovie
将新创建的BoxMovie组件放到App.js中:
// App.js
import BoxMovie from './BoxMove'

const App = () => {
    // ...

    return (
        <div className="App">
            {/* ... */}

            <BoxMovie />

            {/* ... */}
        </div>
    )
}

export default App;
这个时候,你在屏幕上移动鼠标时,有一个红圆圈跟着鼠标一起移动:
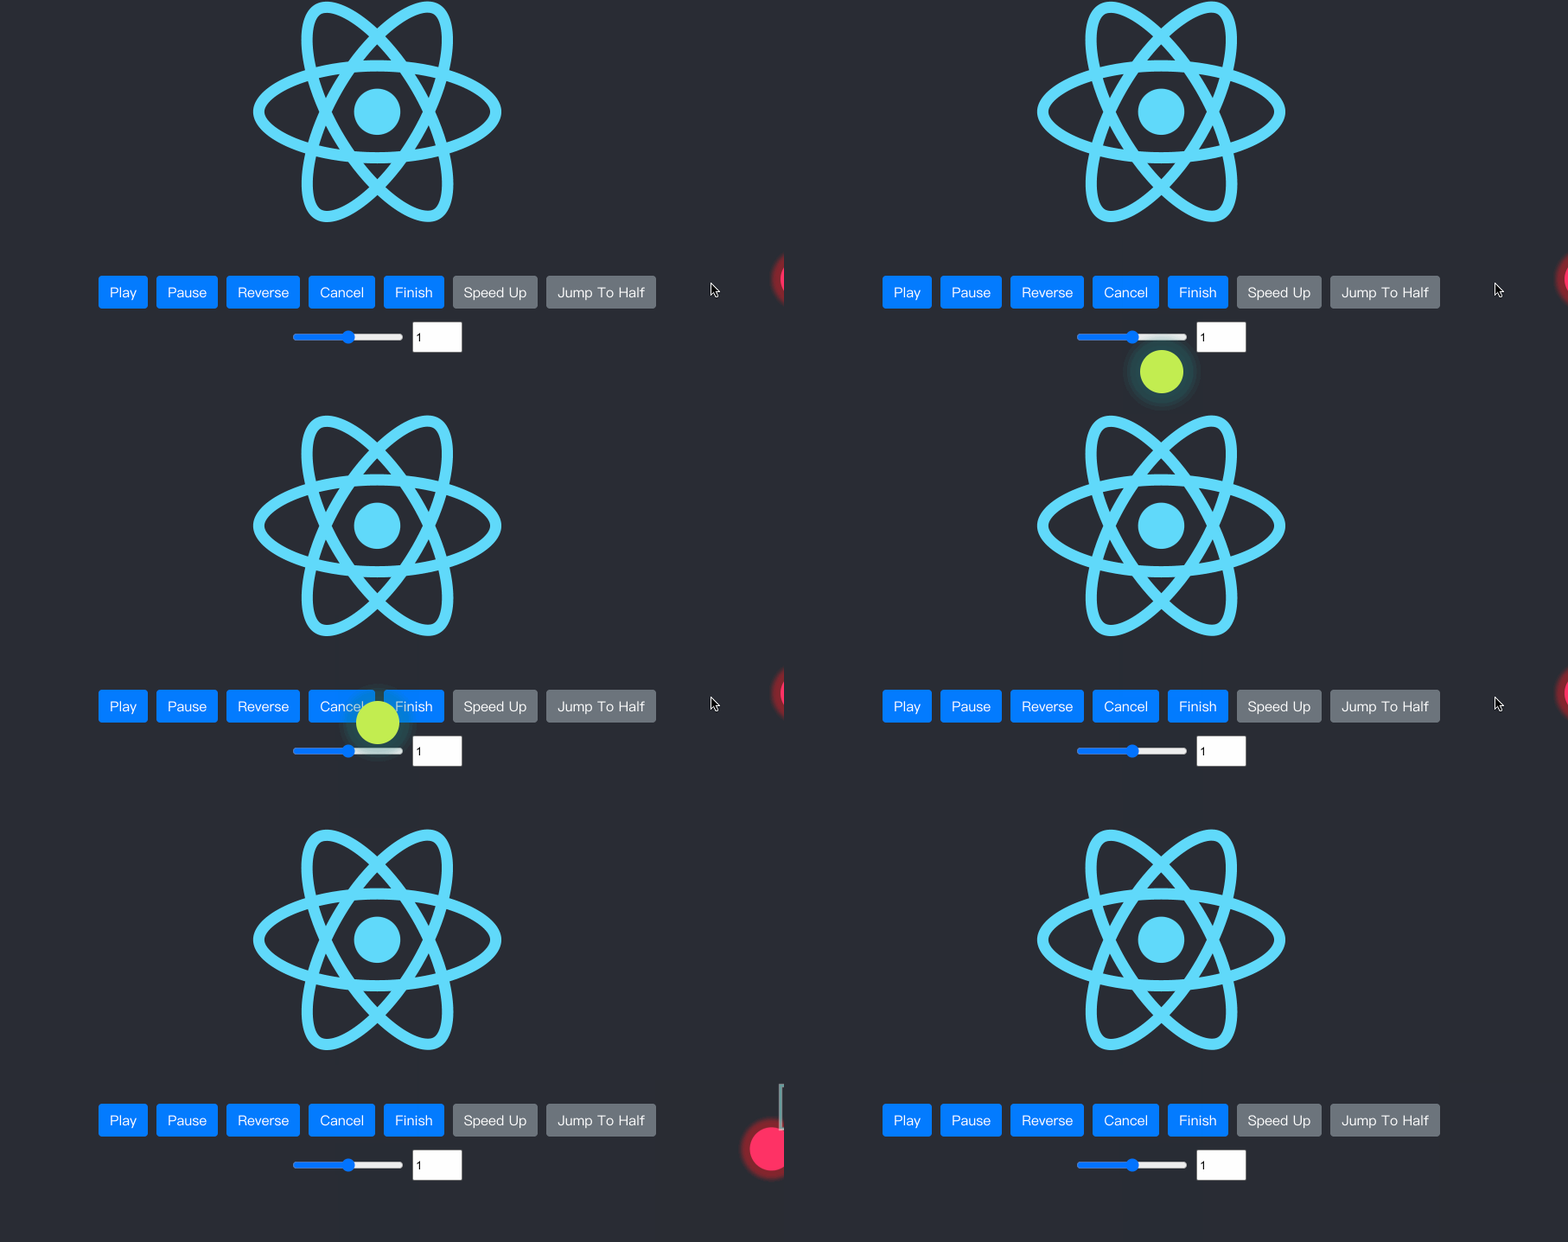
我们可以通过生命周期和复合模式创建反弹效果:
// Bounce.js
import React from 'react'
import useWebAnimations from '@wellyshen/use-web-animations'
import './bounce.css'

const Bounce = () => {
    const { ref, animate } = useWebAnimations({
        id: 'fall',
        keyframes: [
            {
                top: 0,
                easing: 'ease-in'
            },
            {
                top: '500px',
            }
        ],
        timing: {
            duration: 3000,
            fill: 'forwards',
        },


        onFinish: ({ animate, animation }) => {
            if (animation.id === 'bounce') {
                return;
            }

            animate({
                id: 'bounce',
                keyframes: [
                    {
                        top: '500px',
                        easing: 'ease-in'
                    },
                    {
                        top: '10px',
                        easing: 'ease-out'
                    }
                ],
                timing: {
                    duration: 3000,
                    composite: 'add',
                    iterations: Infinity
                }
            })
        }
    })

    return <div className="bounce" ref={ref}></div>
}

export default Bounce
效果如下:
使用内置的动画
如果不想思考动画效果,可以直接使用前面提到的Animation.css库中的动画效果。 除了CSS版本的,@Juan D. Nicholls提供了一个Web Animations API版本:
同样的useWebAnimations也集成了Animations.css库中的所有动画效果。我们来看看怎么通过useWebAnimations使用内置的动画效果。
// Hinge.js
import React from 'react'

import useWebAnimations, {hinge} from '@wellyshen/use-web-animations'

const Hinge = () => {
    const { ref } = useWebAnimations({...hinge})

    return <div className="hinge" ref={ref}>Hinge Animation</div>
}

export default Hinge
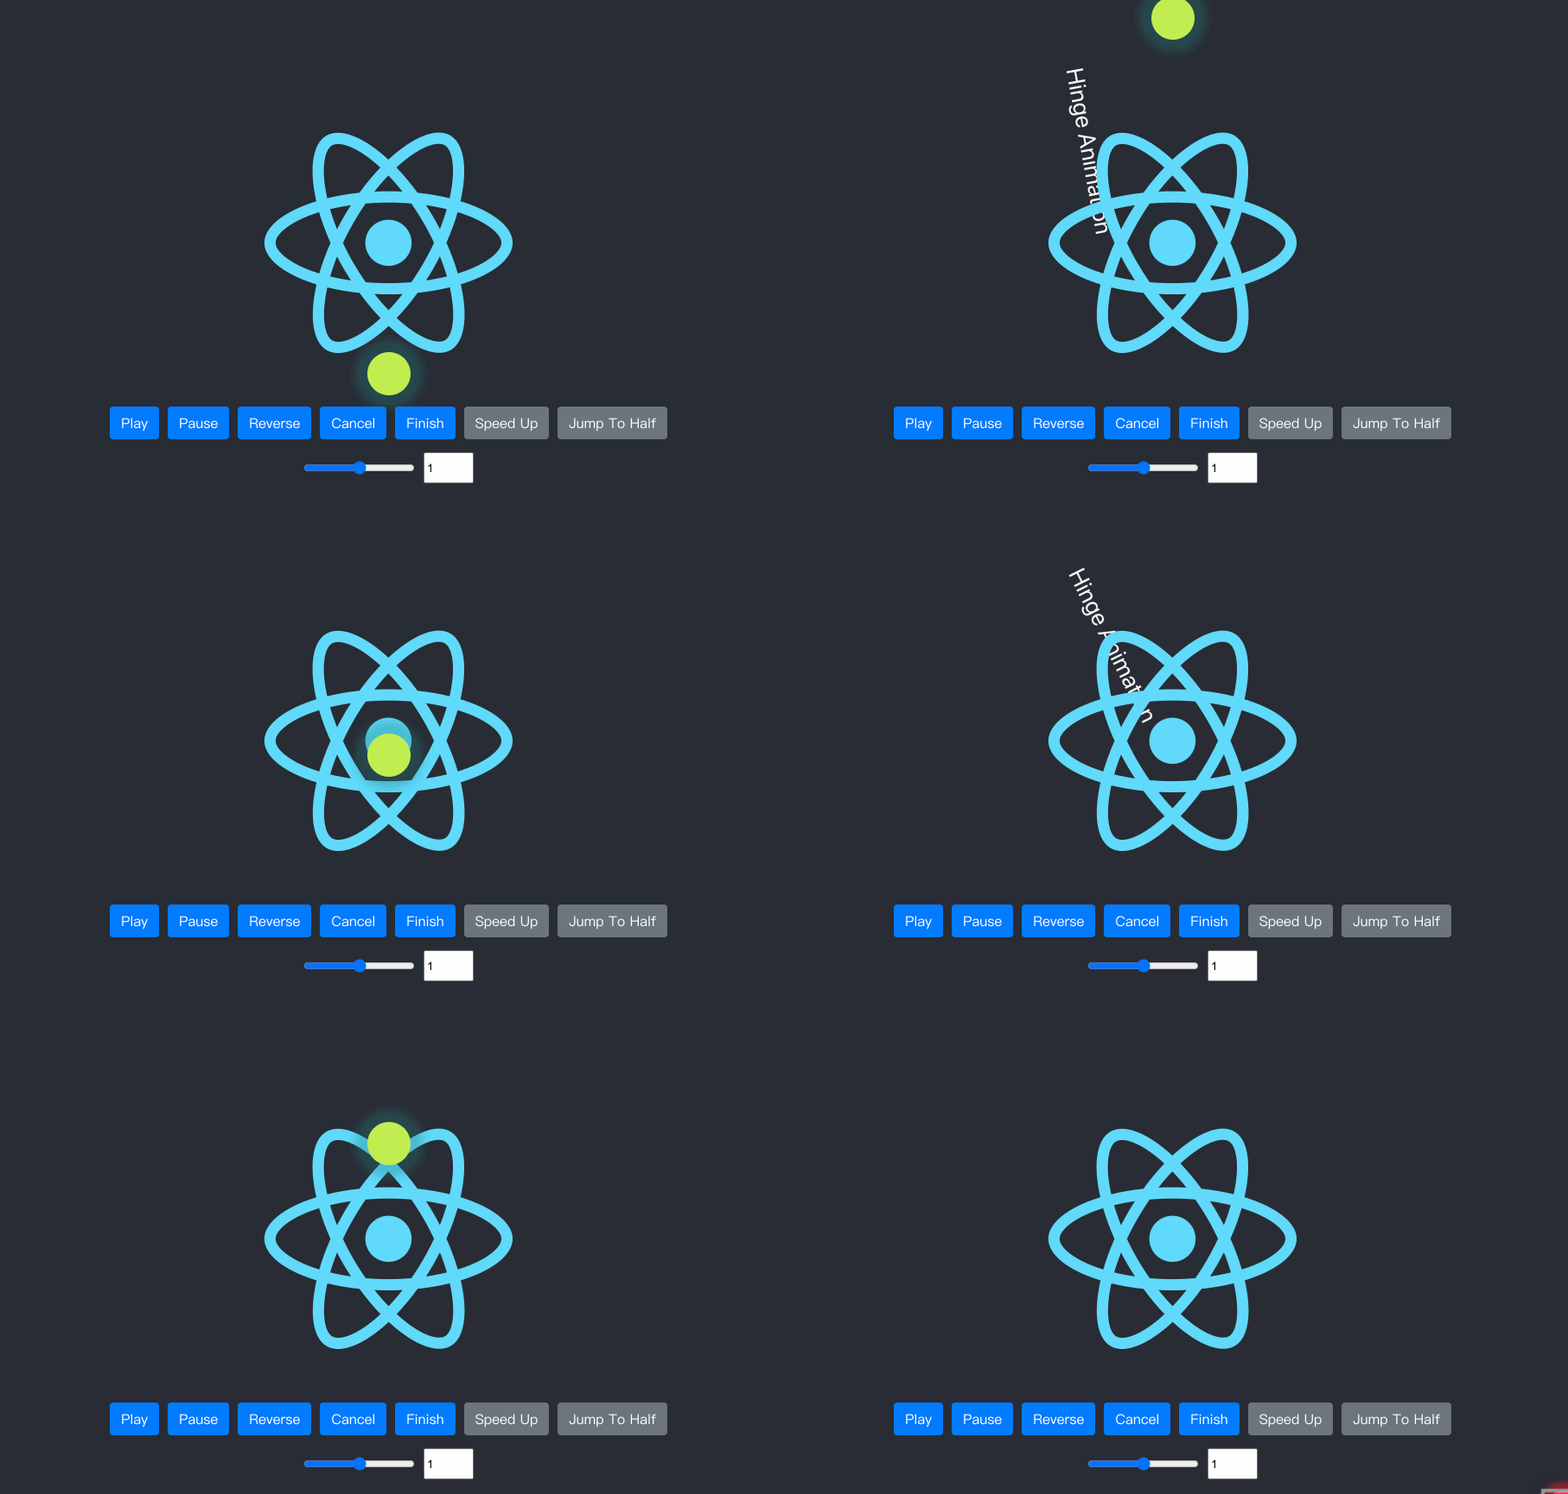
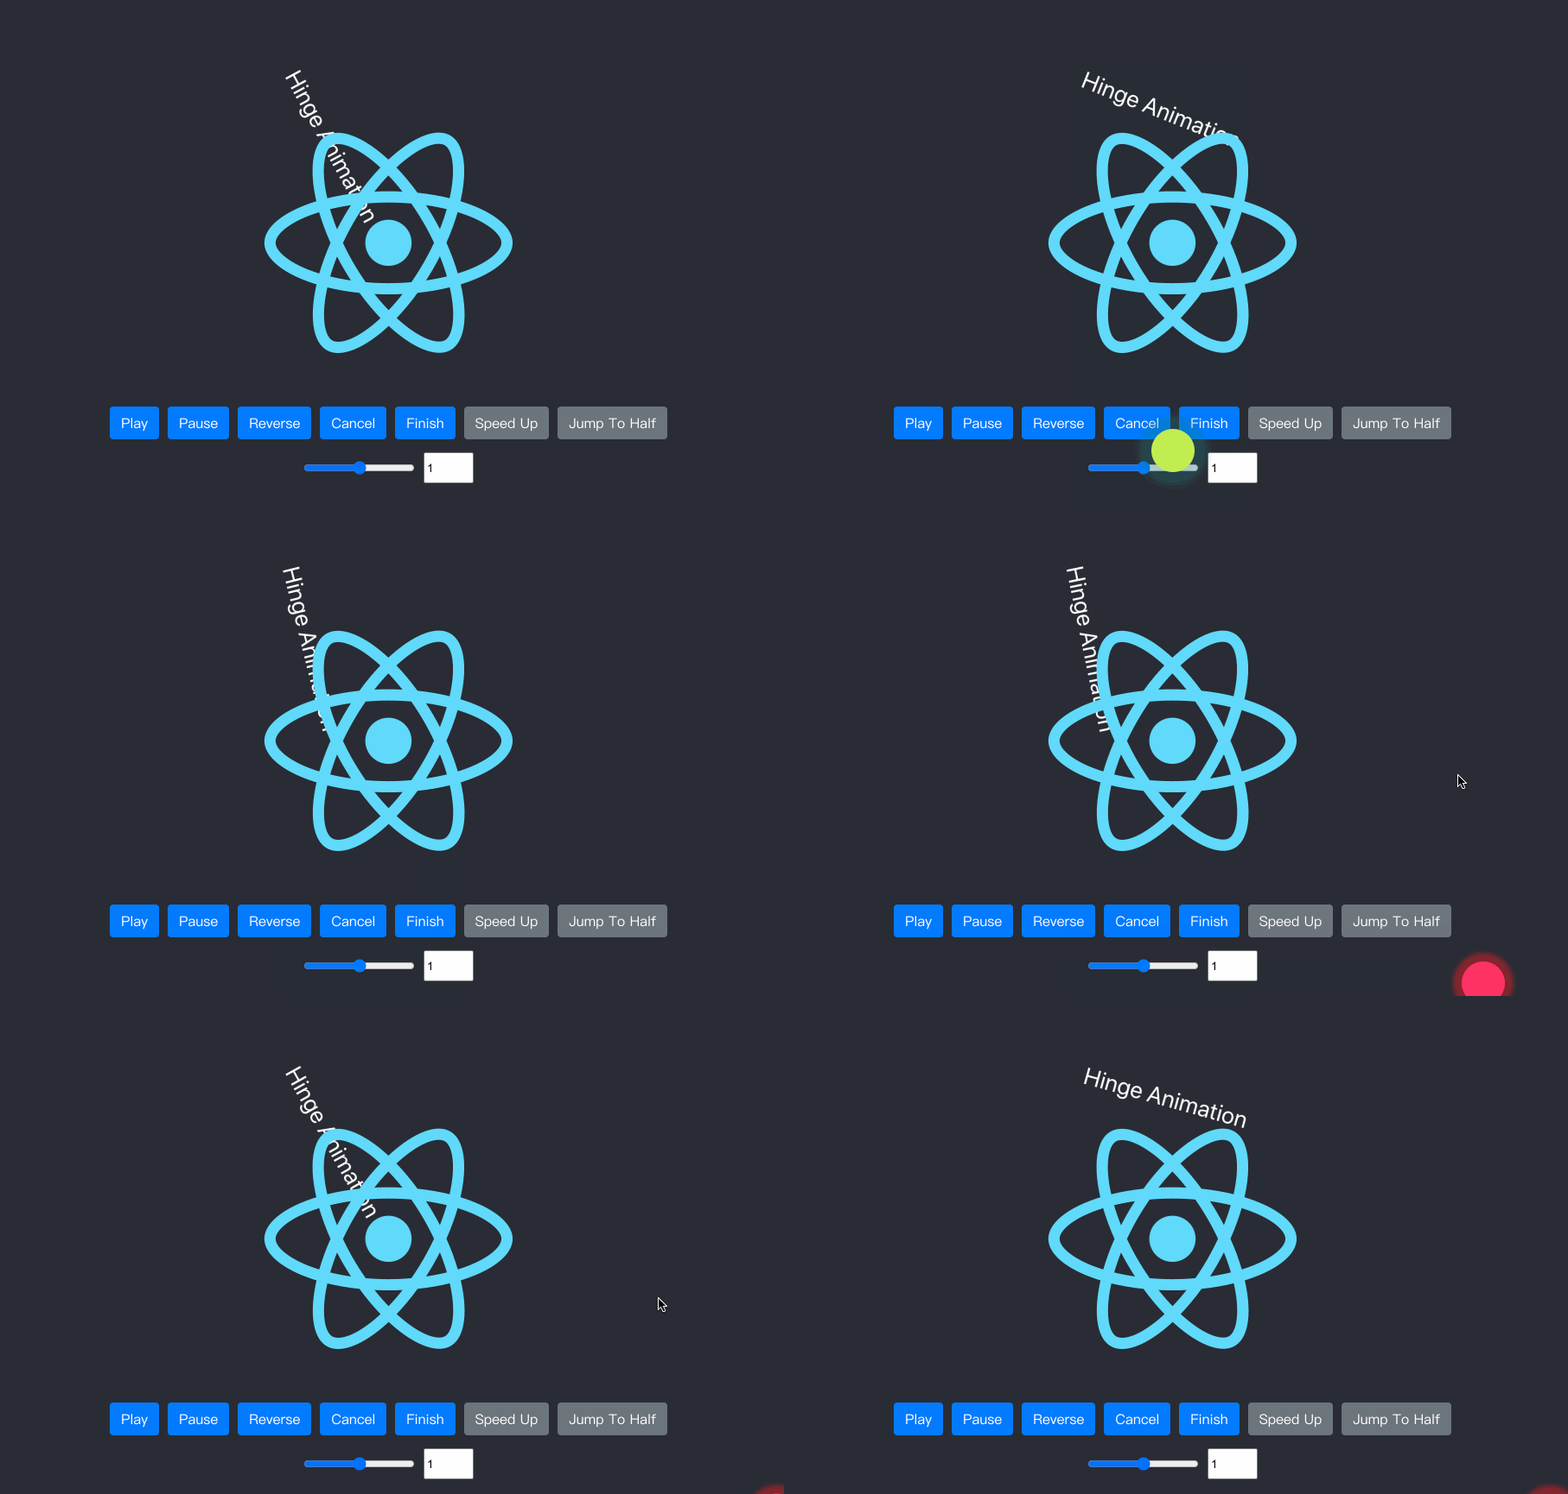
效果如下:
也可通过重写内置动画的属性来定制它:
const Hinge = () => {
    const {keyframes, timing} = hinge
    const { ref } = useWebAnimations({
        keyframes,
        timing: {
            ...timing,
            delay: 1000,
            duration: timing.duration * .75,
            iterations: Infinity
        }
    })

    return <div className="hinge" ref={ref}>Hinge Animation</div>
}
这个时候,hinge动画效果在不断的播放:
使用自己的ref
如果你已经有了一个ref或者你为了其他目的想共享一个ref。你可以传入ref而不是使用这个钩子提供的那个。
const ref = useRef();
const { playState } = useWebAnimations({ ref });
特别声明:有关于
useWebAnimations更详细的API,可以查阅其官网相关文档。
使用useWebAnimations给Modal组件添加动效
如果你阅读到这里,你对Web Animations API 和 CSS Animations有所了解,也了解到如何使用useWebAnimations来给元素添加动效。接下来,我们来看看如何使用useWebAnimations给Modal组件的进入添加相应的动画效果。
// Modal.js
import React from "react";
import useWebAnimations, {bounceInDown} from '@wellyshen/use-web-animations'
import "./modal.css";

const Modal = (props) => {
    const { show, closeModal, modalTitle, a11yId, children } = props;
    const {ref} = useWebAnimations({
        ...bounceInDown,
        autoPlay: show
    })

    return (
        <>
            <div
                className={"modal"}
                tabIndex="-1"
                role="dialog"
                aria-labelledby={a11yId}
                aria-hidden={!show}
                ref={ref}
            >
                <div className="modal__dialog">
                    <div className="modal__content">
                        <div className="modal__header">
                            <h5 className="modal__title" id={a11yId}>{modalTitle}</h5>
                            <button
                                type="button"
                                className="close"
                                aria-label="close"
                                tabIndex="-1"
                                onClick={closeModal}
                            >
                                <svg
                                className="icon"
                                height="200"
                                width="200"
                                viewBox="0 0 1024 1024"
                                xmlns="http://www.w3.org/2000/svg"
                                aria-hidden="true"
                                focusable="false"
                                >
                                    <defs />
                                    <path d="M925.468404 822.294069 622.19831 512.00614l303.311027-310.331931c34.682917-27.842115 38.299281-75.80243 8.121981-107.216907-30.135344-31.369452-82.733283-34.259268-117.408013-6.463202L512.000512 399.25724 207.776695 87.993077c-34.675754-27.796066-87.272669-24.90625-117.408013 6.463202-30.178323 31.414477-26.560936 79.375815 8.121981 107.216907l303.311027 310.331931L98.531596 822.294069c-34.724873 27.820626-38.341237 75.846432-8.117888 107.195418 30.135344 31.43699 82.72919 34.326806 117.408013 6.485715l304.178791-311.219137 304.177767 311.219137c34.678824 27.841092 87.271646 24.951275 117.408013-6.485715C963.808618 898.140501 960.146205 850.113671 925.468404 822.294069z" />
                                </svg>
                            </button>
                        </div>
                        {children}
                    </div>
                </div>
            </div>
            {show && (
                <div
                className={show ? "modal__backdrop show" : "modal__backdrop"}
                onClick={closeModal}
                ></div>
            )}
        </>
    );
};

export default Modal;
我们可以在App.js中引入Modal组件:
import React, { useState, useRef } from "react";
import Modal from "./Modal";

const App = () => {
    const [showEl, setShowEl] = useState(false);
    //...

    const openModal = () => {
        setShowEl(true);
    };

    const closeModal = () => {
        setShowEl(false);
    };

    return (
        <div className="App">
            <Modal
                closeModal={closeModal}
                show={showEl}
                modalTitle="Modal title"
                a11yId="exampleModalLabel"
            >
                <div className="modal__body">
                <p>
                    I will not close if you click outside me. Don't even try to press
                    escape key.
                </p>
                </div>
                <div className="modal__footer">
                <button type="button" className="btn__secondary" onClick={closeModal}>
                    Close
                </button>
                <button type="button" className="btn__primary">
                    Enter
                </button>
                </div>
            </Modal>
            <button onClick={openModal} className="btn__primary">
                Open Modal
            </button>
            {/* ... */}
        </div>
    );
};

export default App;
效果如下:

小结
文章通过一些小Demo,向大家展示了React中如何给元素添加动画效果。从CSS Animations、Transitions着手,然后过渡到Web Animations API。并且介绍了如何将CSS Animations 和 Web Animations API结合起来创建动效,并且灵活的Web Animations API还可以进一步的扩展CSS Animations。
在文章末尾,介绍了useWebAnimations()的React Hooks结合Web Animations API(在该钩子函数中内聚了Animations.css动效)给目标元素添加动效。
最后希望这篇文章对大家有所帮助,如果你在这方面有更好的经验或建议,欢迎在下面的评论中与我们共享。

