使用Framer Motion初体验
一直以来我都热衷于使用CSS来制作动效,特别是随着CSS Houdini的到来,能更轻易的帮助我们实现一些优秀的动画效果。但不管怎么样,她在制作动效,特别是创建引人注目的动画有时也非常的棘手。即使你对CSS制作动效非常的了解,但很难避免制作动效带来的高开发成本,也因此,开始探讨Lottie Web来快速帮助我们还原Web动画效果,提高效率,提升效果。不过是哪一种,都需要开发者对其有较深的了解,才能在开发动效的时候不会感到棘手。特别是在一些框架开发体系下(比如React)开发动效,更令大家感到困惑,不过幸运的是,Framer 为大家带来一个开源的React动画库,即 Framer Motion。
开发者基于Framer Motion可以制作出漂亮的动效,而且开发过程非常简单,甚至可以说是傻瓜式开发。这是因为Framer Motion为开发者提供了可用于开发动效的API。这些API都是声明式的,通过props来驱动的。在这篇文章中,我们将仔细看看如何使用Framer Motion帮助我们快速地创建令人敬畏的动效。如果你也对此感兴趣的话,请继续往下阅读。
Framer Motion能制作出什么样的动画效果?
你可能会问,Framer Motion能制作出什么样的动效?为此,我从Framer Motion 的官网上录制了一个使用Framer Motion制作出来的动画效果:

实现上图的动画效果用到的代码如下:
const [selectedId, setSelectedId] = useState(null)

<AnimateSharedLayout type="crossfade">
    {items.map(item => (
        <motion.div layoutId={item.id} onClick={() => setSelectedId(item.id)}>
        <motion.h5>{item.subtitle}</motion.h5>
        <motion.h2>{item.title}</motion.h2>
        </motion.div>
    ))}

    <AnimatePresence>
        {selectedId && (
        <motion.div layoutId={selectedIdentifier}>
            <motion.h5>{item.subtitle}</motion.h5>
            <motion.h2>{item.title}</motion.h2>
            <motion.button onClick={() => setSelectedId(null)} />
        </motion.div>
        )}
    </AnimatePresence>
</AnimateSharedLayout>
看上去是不是觉得很简单。事实上,当你了解了Framer Motion 相关的API,你也能很快的实现上图的动效,甚至是更复杂的动效。如果你从未接触过的话,可能不太能理解示例中的代码,但这并不要紧,随着你继续往后阅读,你会很快的知道它们代表什么意思?起什么使用?
Framer Motion是什么?

Framer Motion官网是这样描述的:
A production-ready motion library for React. Utilize the power behind Framer, the best prototyping tool for teams. Proudly open source.
事实上,Framer Motion是一个动画库,提供了一些简单地API帮助我们创建复杂的动效,这些简化的API帮助然我们抽象出动画背后的复杂性,让创建动画变得简单。本质上他分为两个不同的部分:
motion为前缀和HTML或SVG元素结合在一起创建的基础组件- 通过
prop与组件对接的API
比如上面示例中motion为前缀的motion.div、motion.h5都是Framer Motion的基础组件;onClick是一个prop(Framer Motion库提供了一些手势,比如点击)。motion创建的组件可以接受多个prop,其中最基本的是animate和transition,它们接受一个对象,用来定义组件的动画属性,比如:
<motion.div
    animate={{ x: 100 }}
    transition={{ duration: 2 }}
/>
当组件在DOM中挂载时,定义的属性将被动画化。
Framer Motion的使用
接下来,我们来看如何使用Framer Motion创建动效,不过我们不会创建复杂的动效,只会通过一些简单的示例来了解Framer Motion怎样帮助我们快速创建动效。
安装或导入Framer Motion库
前面提到过,Framer Motion是Framer团队提供的一个React版本动画库。如果你使用的是React框架构建的项目,则可以直接使用NPM来安装该库,比如:
npm i framer-motion
安装完成之后,可以像下面这样使用:
// src/App.js

import {motion} from 'framer-motion';

function App() {
    return (
        <div className="App">
            <header className="App-header">
                <motion.img
                    src={logo}
                    className="App-logo"
                    alt="logo"
                    animate={{
                        rotate: [0, 360]
                    }}
                    transition={{
                        repeat: Infinity
                    }}
                />
            </header>
        </div>
    );
}

export default App;
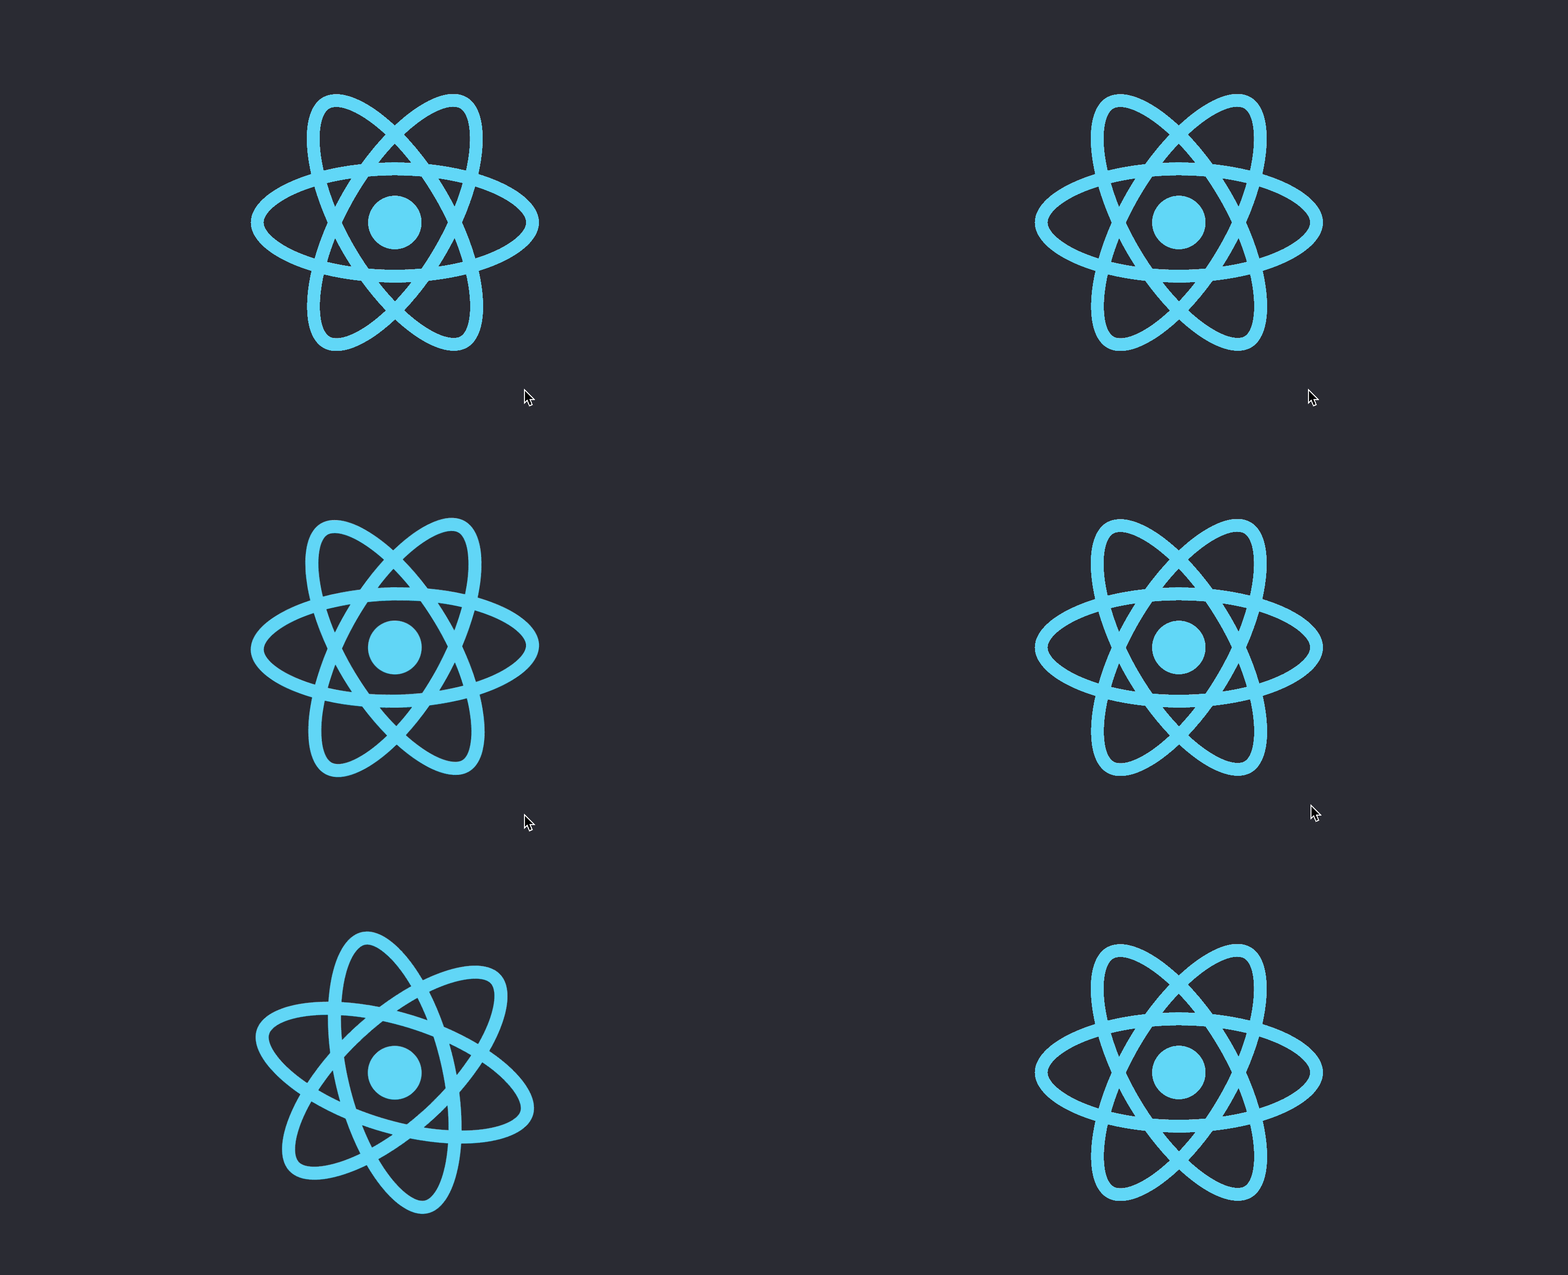
你将看到Logo图像一直在旋转:

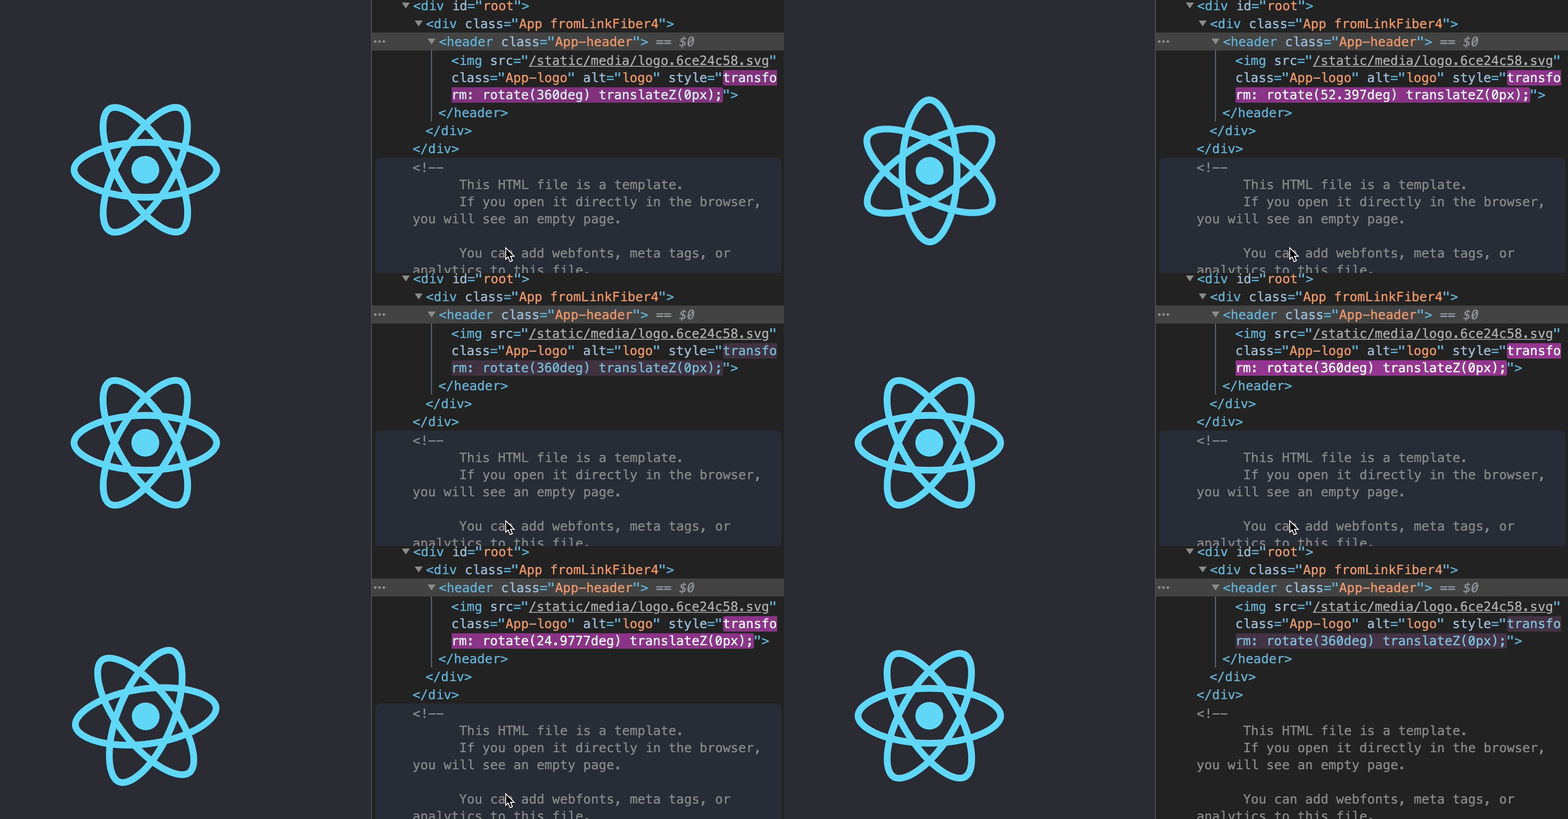
浏览器中使用开发者工具查看<img>元素,会发现style中的transform的值会从0到360deg中一直循环变动:

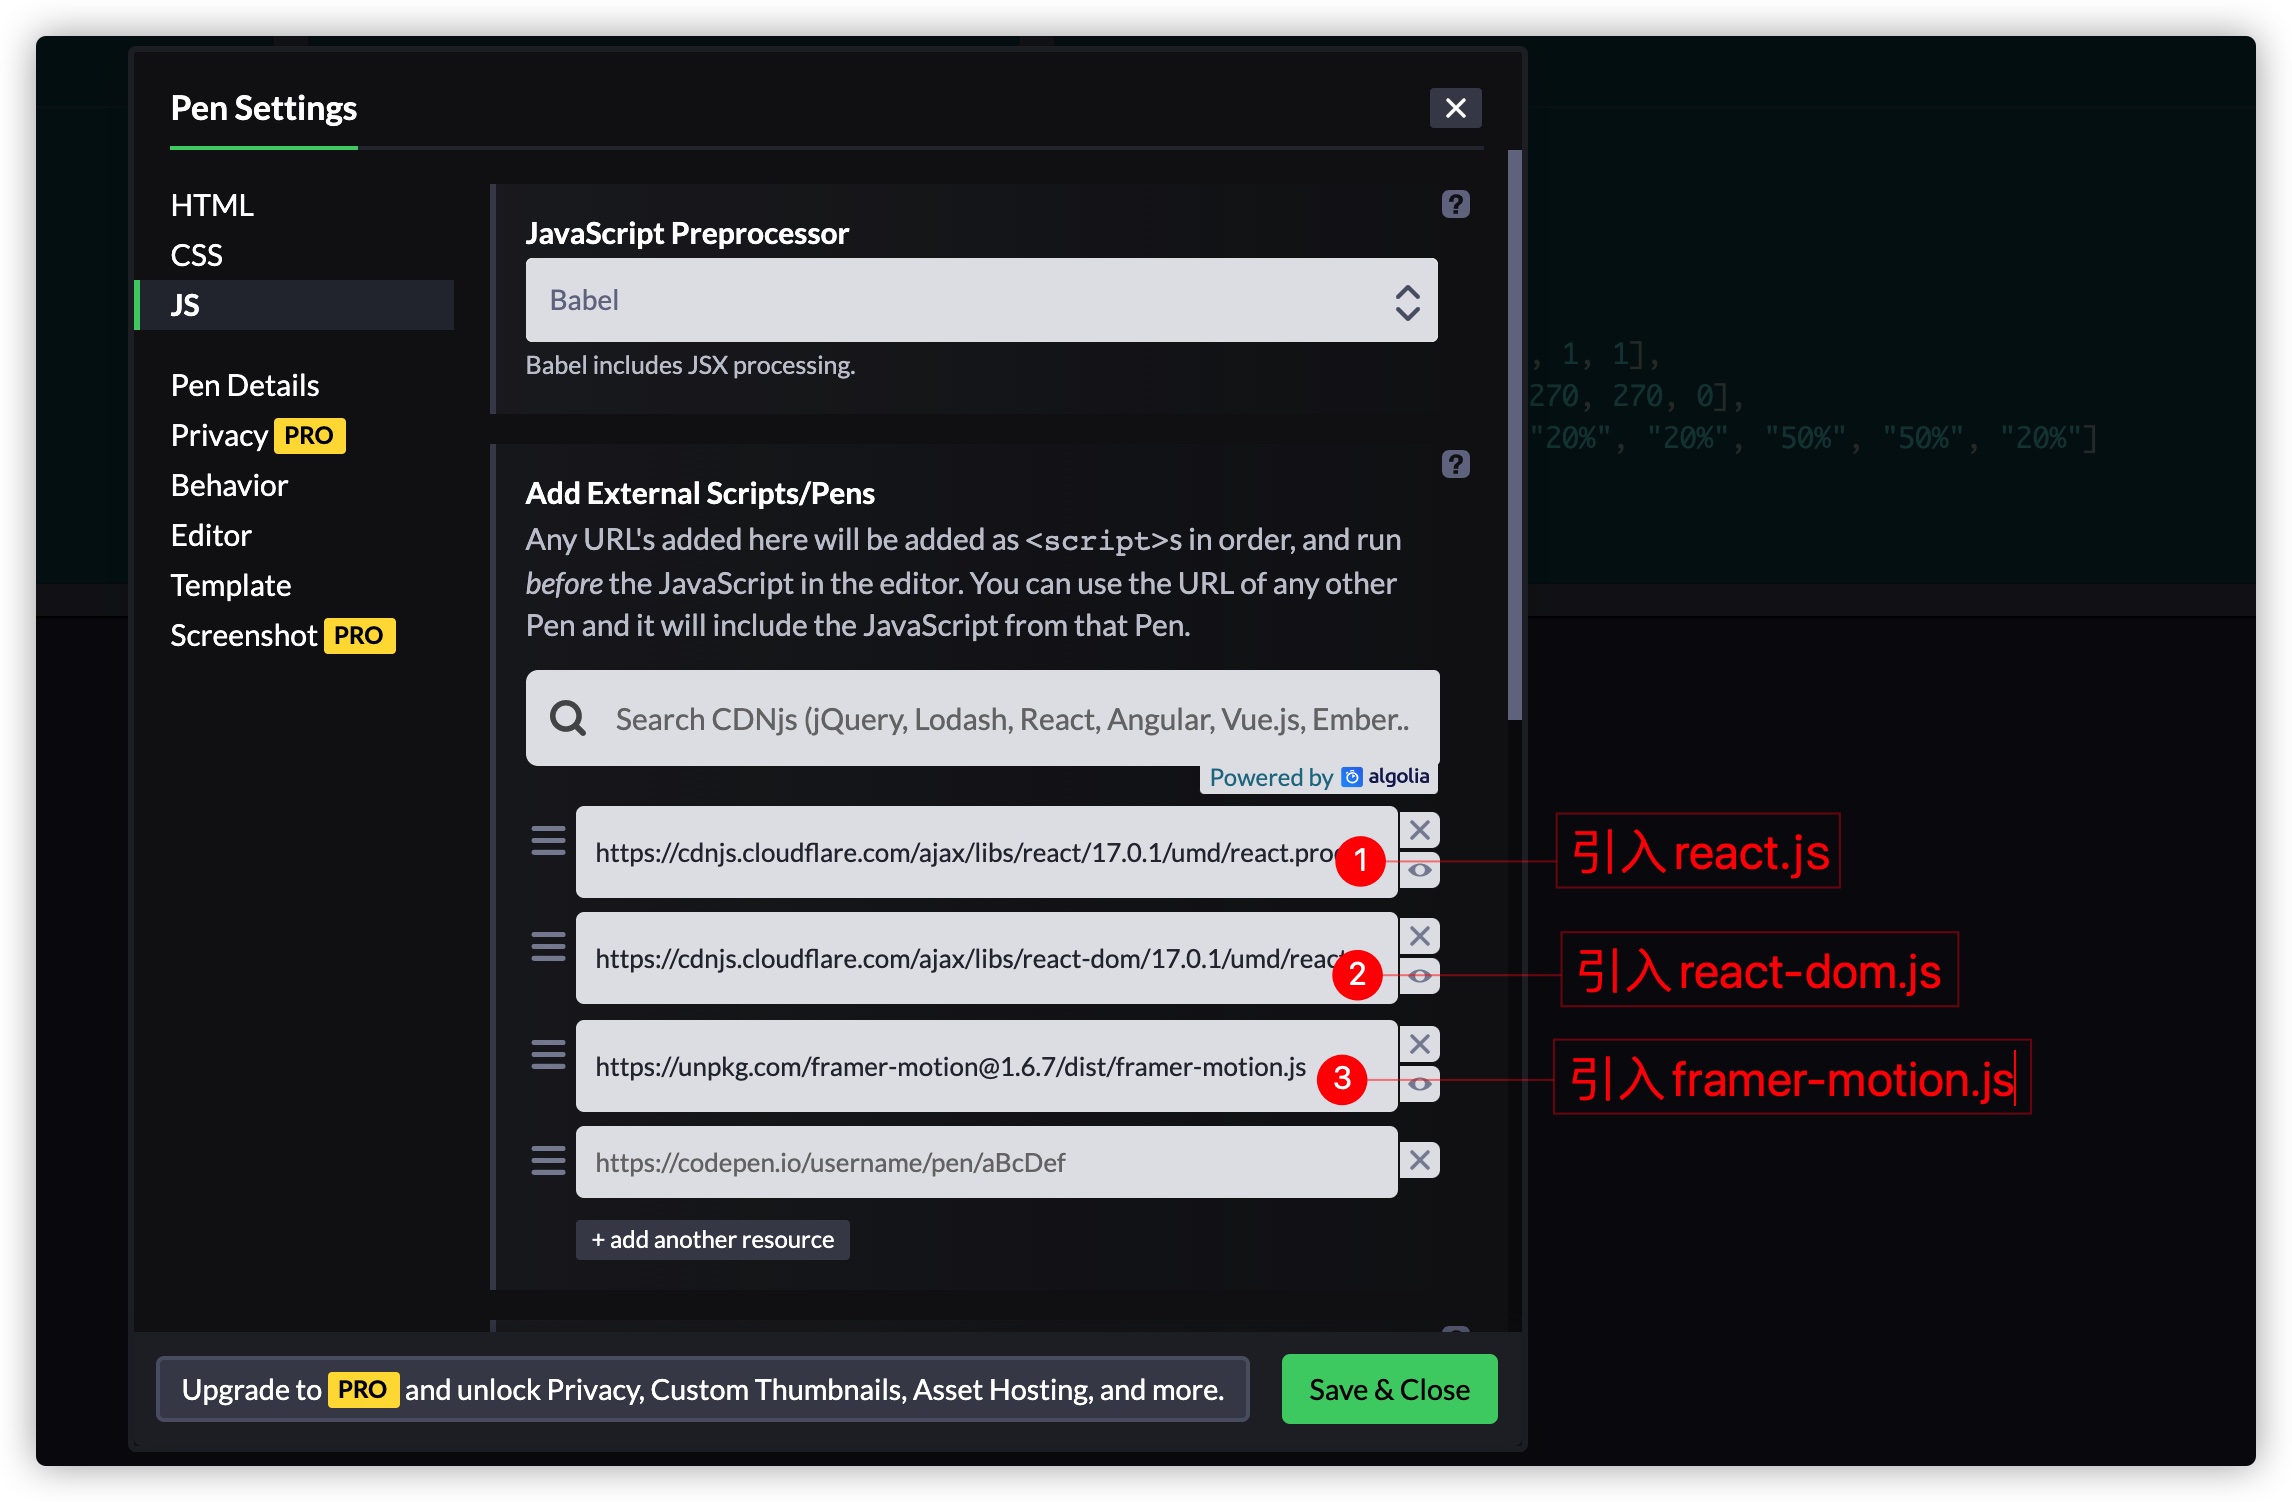
如果你只是想用一些简单的练习来掌握Framer Motion的话,还可以在Codepen中来使用:

这样也可以在Codepen以React的方式来使用Framer Motion:
const { motion } = Motion;

const App = () => {
    return (
        <motion.div
            className="box"
            animate={{
                scale: [1, 2, 2, 1, 1],
                rotate: [0, 0, 270, 270, 0],
                borderRadius: ["20%", "20%", "50%", "50%", "20%"]
            }}
            transition={{
                duration: 2,
                ease: "easeInOut",
                times: [0, 0.2, 0.5, 0.8, 1],
                loop: Infinity,
                repeatDelay: 1
            }}
        />
    );
};

ReactDOM.render(<App />, document.getElementById("root"));
你可以看到下面这样的一个动画效果:
除此之外,还可以在codesandbox上使用Framer Motion创建动效:
Framer Motion组件
Framer Motion对应的Motion API提供了三个组件:
motion:每一个HTML或SVG元素都有一个motion组件,例如motion.div、motion.circle等AnimateSharedLayout:为多个组件之间的布局变化添加动画AnimatePresence:允许组件从React树中移除时,将其动画化
不过我们今天只聊motion组件。
从Framer Motion库中引入motion之后,可以直接将HTML或SVG的元素创建成motion组件,比如motion.div或motion.circle等。创建后的motion组件可以接受相关的prop,比如animate、transition等。
我们使用motion来创建一个最简单的动画组件:
<motion.div
    animate={{
        x: 200,
        y: -100,
        rotate: [0, 360]
    }}
/>
组件一挂载就会被动画化。你会看到div在加载时向右滑动200px,向上移动100px,同时会从0旋转到360deg。示例中的x、y和rotate都没有显式设置单位,默认情况下,对于位移(x和y)计算会使用像素单位(px),对于旋转(rotate)使用的是deg单位。不过,也可以显式设置单位,比如:animate={{x: 20em,y: -10em}}。
默认情况下,motion组件将从其样式定义的状态到animate属性中设置的状态,即:
- 样式定义的状态是 初始状态
motion中animate设置的状态是 最终状态
类似于CSS transition的start到end:

在实际使用的时候,如果想要改变初始状态的话,可以使用motion的initial来给motion组件设置动画的初始状态,即:
initial: 是组件在持载之前定义它们的行为animate: 是组件在挂载时的行为
比如下面这个示例:
<motion.div
    className="box"
    initial={{
        x: "-100vw",
        borderRadius: 0
    }}
    animate={{
        x: "0vw",
        borderRadius: "50%"
    }}
/>
实现的效果有点类似:
@keyframes ani {
    from {
        transform: translateX(-100vw);
        border-radius: 0
    }

    to {
        transform: translateX(0);
        border-radius: 50%
    }
}
使用motion组件创建的动画不局限于单一的动画。在animate的一个值中定义一个数组,通过数组的形式来定义一系列的动画,这个效果被称为keyframes。每个值都会按顺序得到动画。
<motion.div
    className="box"
    animate={{
        y: [-20, -40, -20, 0]
    }}
/>
你可能已经发现了,这几个Demo的效果看上去比较生硬。这主要是因为没有设置控制动效的相关参数,比如animation-timing-function、animation-delay和animation-duration等。其实在motion组件中可以使用transition这个prop来定义动画的发生方式。通过它,我们可以定义动画如何从一个状态到另一个状态。即,可以使用该属性定义动画的持续时间(duration)、动画的延迟(delay)和动画的类型(type)(动画的缓动函数)等。
<motion.div
    className="box"
    initial={{
        x: "-100vw",
        scale: 0,
        rotate: 0,
        opacity: 0
    }}
    animate={{
        x: 0,
        scale: 1,
        rotate: 360,
        opacity: 1
    }}
    transition={{
        type: "tween",
        duration: "6",
        delay: "1",
        loop: Infinity,
        repeatDelay: 1
    }}
/>
另外我们还可以使用transition来控制动画的时序,就是同时有多个motion创建的动画组件时,动画的播放顺序。比如下面这个简单的Loading动画:
<div className="container">
    <motion.span
        animate={{
            y: ['0%', '100%', '0%']
        }}
        transition={{
            ease:'linear',
            duration: '.6',
            delay: '.3',
            loop: Infinity
        }}
    />
    <motion.span
        animate={{
            y: ['0%', '100%', '0%']
        }}
        transition={{
            ease:'linear',
            duration: '.6',
            delay: '.2',
            loop: Infinity
        }}
    />
    <motion.span
        animate={{
            y: ['0%', '100%', '0%']
        }}
        transition={{
            ease:'linear',
            duration: '.6',
            delay: '.1',
            loop: Infinity
        }}
    />
</div>
除此之外,还可以使用motion组件的variants属性,将描述motion组件的动画定义提取出来,并放在variaants对象中。这样做了可以让代码变得更干净和易读之外,还可以让我们创建更强大,更复杂的动画。比如下面这个示例:
const App = () => {
    const [isActive, setIsActive] = React.useState(false);

    return (
        <motion.div
            className="box"
            onClick={() => setIsActive(!isActive)}
            animate={{
                rotate: isActive ? 90 : 0,
                scale: isActive ? 1.5 : 1,
                opacity: isActive ? 1 : 0.75
            }}
        >
            Click Me (^_^) !{" "}
        </motion.div>
    );
};
使用variants可以调整为:
const variant = {
    active: {
        rotate: 90,
        scale: 1.5,
        opacity: 1
    },
    inactive: {
        rotate: 0,
        scale: 1,
        opacity: 0.75
    }
};

const App = () => {
    const [isActive, setIsActive] = React.useState(false);

    return (
        <motion.div
            className="box"
            onClick={() => setIsActive(!isActive)}
            variants={variant}
            animate={isActive ? "active" : "inactive"}
        >
            Click Me (^_^) !{" "}
        </motion.div>
    );
};
效果如下:
Framer Motion案例
有这些基础之后,我们就可以通过Framer Motion实现一些有意思的动画效果,比如下面这个 @Liam 在Codepen创建的动画效果:
小结
Framer Motion是一个非常优秀的制作动画的库。通过framer-motion提供的相关API,我们可以很轻易的在React中构建一些优秀的动画效果,而且非常容易。在这篇文章中,只是介绍了Framer Motion最基础的部分,以及motion组件的几个简单prop。如果你感兴趣的话,可以关注后续的更新,在接下来教程中,将和大家一起来探讨如何使用Framer Motion构建复杂的动画效果。
